RLC Installation and Administration Guide
189
June 2005
Configuring the RLC
5
Click on the
Send
button to update the RLC with the new information.
Result:
The administration PC saves the changes in a temporary file.
6
To save changes to the RLC’s Flash memory, select Upload
→
Save to
Flash from the Menu Bar.
Note:
Refer to page 168 for information on the CallParrot Business Call
Recording feature.
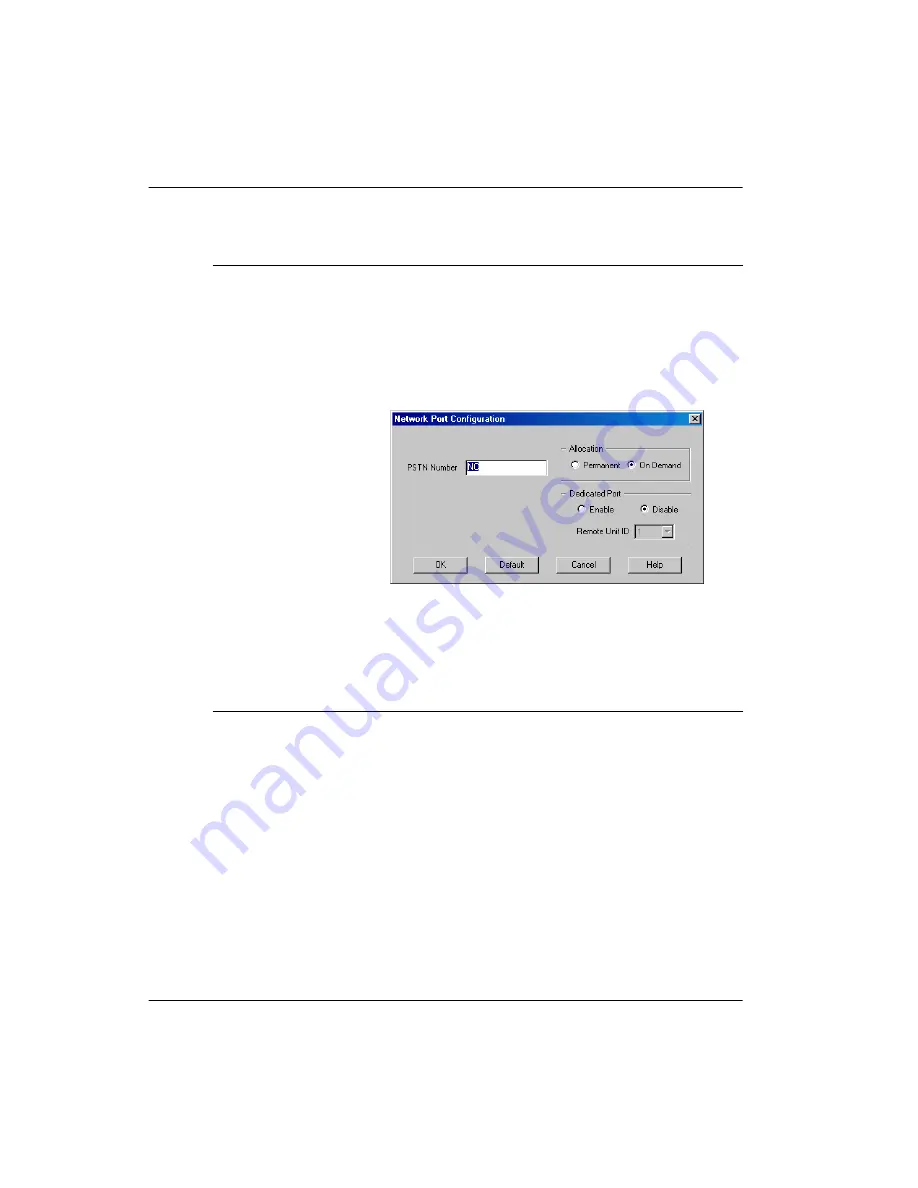
network port,
complete the following steps:
a
Click on the
Network Port
option button on the
line of the port number you are configuring.
b
Click on the
Configure
button on the same line.
Result:
The Network Port Configuration dialog
box displays, similar to the following:
c
Select the desired settings according to the
“Network Port Configuration field descriptions”,
on page 194.
d
Click on the
OK
button to save the information
to a temporary file on your administration PC.
IF you want to
configure a
THEN
Summary of Contents for RLC
Page 2: ......
Page 4: ......
Page 6: ...vi RLC Installation and Administration Guide Publication history Standard 4 0 ...
Page 16: ...xvi RLC Installation and Administration Guide Contents Standard 4 0 ...
Page 26: ...xxiv RLC Installation and Administration Guide About this document Standard 4 0 ...
Page 102: ...76 RLC Installation and Administration Guide Planning for RLC installation Standard 4 0 ...
Page 132: ...106 RLC Installation and Administration Guide Installing the RLC Standard 4 0 ...
Page 262: ...236 RLC Installation and Administration Guide Configuring the RLC Standard 4 0 ...
Page 376: ...350 RLC Installation and Administration Guide Planning forms Standard 4 0 ...
Page 402: ...376 RLC Installation and Administration Guide Sample configuration files Standard 4 0 ...
Page 448: ...422 RLC Installation and Administration Guide Fields Index Standard 4 0 ...
Page 465: ......


