background image

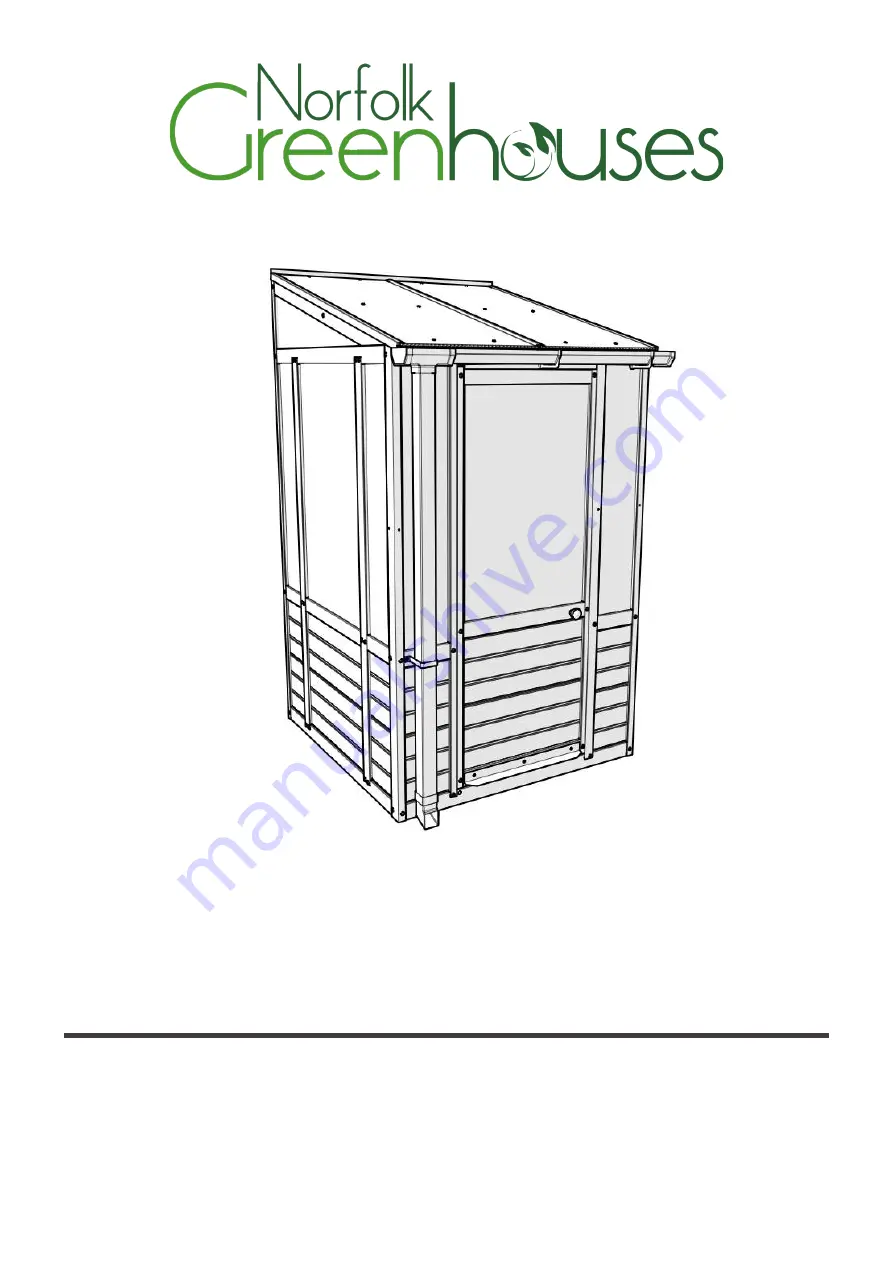
Porch 1.3m

BCPG

Assembly Instructions

IMPORTANT

 Please read these instructions thoroughly before starting assembly.

Check all parts are present before assembly, call 020 3011 2040 for replacement parts.

These instructions should be kept in a safe place for future use.

Summary of Contents for BCPOSW1280+G

Page 1: ...structions IMPORTANT Please read these instructions thoroughly before starting assembly Check all parts are present before assembly call 020 3011 2040 for replacement parts These instructions should be kept in a safe place for future use ...

Page 2: ...fore starting the assembly If there are any damaged or missing parts please call us on 020 3011 2040 We will express any missing parts to you as soon as possible Keep these instructions in a safe place for future use They can be useful for identifying parts when ordering replacements should you suffer severe storm damage or vandalism We are confident you will get a long life from your product We o...

Page 3: ...rea around your work place area clean and tidy Take care when handling sharp tools and never carry sharp tools in your pocket Never leave your product unattended or partially built especially outside on a windy day You are advised to take care and wear suitable personal protective equipment such as safety glasses gloves where possible Tools Required Large flat head screwdriver PZ2 screwdriver Plie...

Page 4: ...4 Porch Parts List Framework 4x RL1 2x RL2 2x RL11 1x RL13 4x HS1 2x YS1 1x YSC1A 2x US4 1x US5 2x US24 2x RLD1 2x RLD2 6x RLD3 2x RLD4A 1x RLD5A 1x AN1 1x AN2 1x DP1725W 1x T6 1x GUT1155W ...

Page 5: ...5 Contact Support on 020 3011 2040 Norfolk Greenhouses Framework 2x SEB1 16x IG1 2x IG2 2x IG3 2x SET1 1x SJB1 1x SJT1 18x IC1 4x FS1A 2x TS1 ...

Page 6: ...6 Porch Parts List Roof Windows TW150 1395mm x 620mm 2x 2x TW151 1030mm x 275mm 6x SAN34 1145mm x 225mm 2x SAN33 1145mm x 665mm 1x SAN35 990mm x 650mm ...

Page 7: ...7 Contact Support on 020 3011 2040 Norfolk Greenhouses Cladding 12x CD6W 238mm 2x CD7W 661mm 4x CD8W 677mm ...

Page 8: ...8 Porch Parts List Hardware WROS1 WRES2 WRES1 WRKS1 WRCS1 1x 2x 1x 1x 1x WRBS3 1x AB1 10x HBD 2x HINGE 3x DOOR LOCK KIT 1x MSM6X30 1x STUD30 60x ...

Page 9: ...t Support on 020 3011 2040 Norfolk Greenhouses Hardware ST4X34 ST8X5 RBM5X16 RBM5X25 PLUG 46x 10x 2x 4x 5x 1x Clear Mastic 1x White Mastic 1x Ø5mm Drill bit 1x Ø8 5mm Drill bit ST10X114 8x NYLOC 121x TUS5X80 4x ...

Page 10: ...10 Porch Side Wall Assembly Step 2 Insert 5x IC1 into each side of HS1 and US24 Step 1 Assemble RL1 with US24 and 2x HS1 as shown ...

Page 11: ...11 2040 Norfolk Greenhouses Step 3 Slide 4x CD6W and 2x CD8W into IC channels as shown Step 4 Fix RLD2 and 2x RLD3 on top of Cladding i Using pliers compress top edge of Cladding Board to help it fit inside the channel of the RLD ...

Page 12: ... Porch Step 6 Slide SAN33 and 2x SAN34 into IG channels as shown Step 5 Insert 5x IG1 into each side of HS1 and US24 Side Wall Assembly i Remove blue green film from SAN panels before inserting into frame ...

Page 13: ...13 Contact Support on 020 3011 2040 Norfolk Greenhouses Step 8 Insert IG3 into US24 then insert TW151 Step 7 Fasten RLD1 in position to retain SAN panels ...

Page 14: ...10 Repeat Steps 1 9 with Cladding Boards reversed to create Right Side Wall Step9 Fasten RLD4A in position using fixings as shown Side Wall Assembly i Do not over tighten TUS5X80 screws Left Side Wall Right Side Wall ...

Page 15: ...15 Contact Support on 020 3011 2040 Norfolk Greenhouses Step 11 Assemble RL1 2x YS1 US5 and YSC1A as shown EXTENSION KIT Step 12 Insert 4x IC1 into each side of uprights ...

Page 16: ...rch Step 14 Fix 2x RLD3 on top of Cladding Step 13 Slide 4x CD6W into IC channels as shown Front Wall Assembly i Using pliers compress top edge of Cladding Board to help it fit inside the channel of the RLD ...

Page 17: ...tact Support on 020 3011 2040 Norfolk Greenhouses Step 15 Insert 4x IG1 into each side of uprights Step 16 Slide 2x SAN34 into IG channels i Remove blue green film from SAN panels before inserting into frame ...

Page 18: ...18 Porch Step 17 Fix RL1 as shown to retain SAN panels Front Wall Assembly ...

Page 19: ...ontact Support on 020 3011 2040 Norfolk Greenhouses Step 18 Fit IC1 and IG1 to Left wall assembly then connect to Front assembly Step 19 Fit IC1 and IG1 to Right wall assembly then connect to Front assembly ...

Page 20: ...p 21 Fix RL13 in position between HBD brackets with groove facing up Step 20 Fix AN1 through holes provided flush with the rear of the building Add 2x HBD brackets to the inside of each RLD4A as shown Roof Assembly ...

Page 21: ...x SEB1 on top of RLD4A through holes provided repeat for left side Step 23 Fasten top of SJB1 through holes provided i Ensure outside edge of SEB1 is flush with outside of YS1 and parallel with building i Note orientation of SJB1 so that central holes align with RL13 ...

Page 22: ...22 Porch Step 25 Remove TW150 place 2x FS1A and TS1 in each roof bay as shown Step 24 Using TW150 as a guide align SJB1 and fix to RL1 and RL13 Roof Assembly ...

Page 23: ...23 Contact Support on 020 3011 2040 Norfolk Greenhouses Step 26 Replace TW150 in each bay snap fit SJT1 and 2x SET1 Step 27 Fix TW150 through holes in TS1 and FS1A into RL1 and RL13 x8 ...

Page 24: ...24 Porch Step 28 Drill holes through TW150 to allow fixing through FS1A and AN3 Roof Assembly i Drill holes using Ø5mm Drill Bit provided x4 ...

Page 25: ...ontact Support on 020 3011 2040 Norfolk Greenhouses Step 29 Assemble RL2 2x US4 and Hinge as shown Step 30 Insert 2x IC1 to each US4 i Note that NYLOC and STUD30 fixing passes through largest hole in hinge ...

Page 26: ...26 Porch Step 32 Fix RLD5A and Hinge in position as shown Step 31 Slide 2x CD7W into channel in IC1 Door Assembly ...

Page 27: ...27 Contact Support on 020 3011 2040 Norfolk Greenhouses Step 33 Insert 2x IG2 to each US4 Step 34 Slide SAN35 into channels in IG2 i Remove blue green film from SAN panel before inserting into frame ...

Page 28: ...28 Porch Step 36 Using Door Lock Kit provided assemble door lock and handle Step 35 Fix RL2 and Hinge in position as shown Door Assembly ...

Page 29: ...n 020 3011 2040 Norfolk Greenhouses Step 37 Fix T6 to underside of RL11 as shown Step 38 Fix AN2 to the foot of the exterior side of the door i Cut section from T6 to allow clearance of door at hinge side of the door frame ...

Page 30: ...30 Porch Step 39 Fix door in opening with the Hinges on the inside Door Assembly i Allow min 5mm gap below door ...

Page 31: ...31 Contact Support on 020 3011 2040 Norfolk Greenhouses Step 40 Assemble gutter and downpipe Step 41 Fix gutter to building using brackets and fixings as shown ...

Page 32: ...ding to floor and wall Step 42 Drill holes in AN3 and fix to wall fixings not provided Fix Seal i Use appropriate fixings for application i Offer AB1 brackets between building and wall floor in desired location Drill hole through the building using Ø8 5mm drill bit ...

Page 33: ...33 Contact Support on 020 3011 2040 Norfolk Greenhouses Step 44 Fix AB1 bracket to building using 2x NYLOC and STUD30 Step 45 Fix building to wall floor through small hole in AB1 fixings not provided ...

Page 34: ...34 Porch Step 47 Apply Mastic around all windows and cladding Step 46 Apply Mastic between AN3 and Wall and between AN3 and TW150 Fix Seal ...

Page 35: ...35 Contact Support on 020 3011 2040 Norfolk Greenhouses Step 48 Push fit PLUG into any remaining holes ...

Page 36: ...Porch Norfolk Greenhouses 1 Vincent Avenue Crownhill Industry Milton Keynes MK8 0AB Tel 020 3011 2040 E mail info norfolk greenhouses co uk ...

Reviews: