


3-10
Installation
3.10 Installing the Laptop Computer
1.
Remove the laptop computer from its packaging.
2.
Remove the keys from the lock and give them to the person responsible for the machine.
The keys are used to lock the laptop computer to the dispensing system tray.
3.
Power on the laptop computer.
The laptop computer is shipped from the factory fully charged.
4.
Open Windows Explorer.
5.
Follow the steps below to verify the serial number of the dispensing system and the laptop
computer are the same.
a.
Locate C:\Asymtek\Recovery\SNXXXXX.ACL.
b.
Compare the serial number located in the name of the ACL file with the serial number
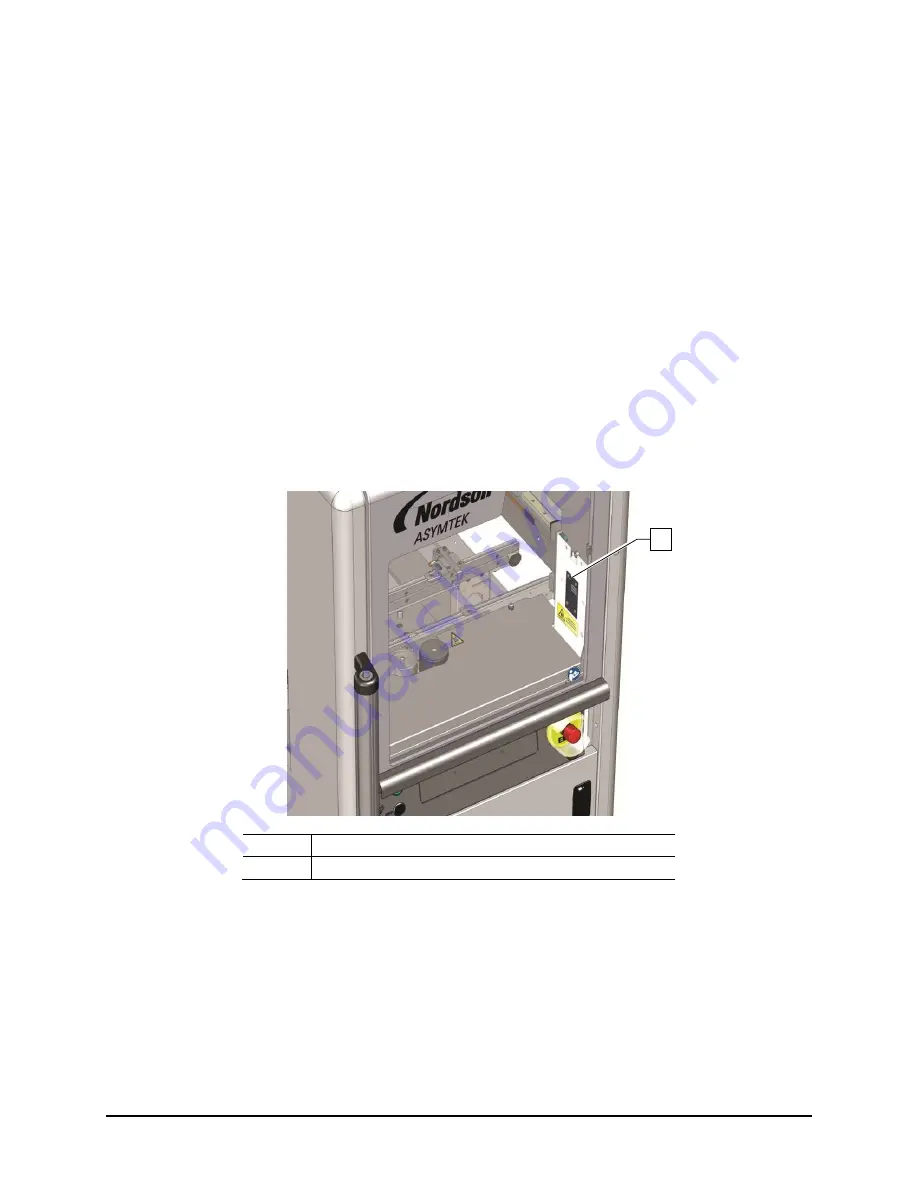
on the dispensing system (Figure 3-10). If the numbers are not the same, contact
Nordson AYSMTEK Technical Support.
Item
Description
1
Serial Number Label
Figure 3-10 Dispensing System Serial Number Label
6.
Power off the laptop computer.
7.
Move the laptop tray arm bracket on the dispensing system so that the laptop tray is facing
forward.
8.
Attach the USB and Network cables and grounding wire attachment to their respective ports
on the computer.
9.
Attach the power cable to the rear of the computer.
1
Summary of Contents for Spectrum II S2-900 C Series
Page 2: ......
Page 36: ...1 22 Introduction 1 11 8 Rear View Open Figure 1 9A S2 900 Rear View Open 1 2 3 4...
Page 40: ......
Page 124: ......
Page 157: ...Calibration and Adjustment 5 33 Figure 5 38 Dispense Lift Table Controls...
Page 159: ...Calibration and Adjustment 5 35 Figure 5 40 Beacon Configuration Window...
Page 186: ......
Page 197: ...Troubleshooting 7 11 Figure 7 1 Scale Setup Menu Figure 7 2 Scale Error Message...
Page 200: ......
Page 215: ...Parts Replacement 8 15 Figure 8 11 Replacing a Panel Mounted Fuse...
Page 218: ......
Page 223: ...Specifications 9 5 Top View mm Back View mm Figure 9 2 S2 900 System Dimensions 2 of 2...
Page 225: ...Specifications 9 7 Top View mm Back View mm Figure 9 4 S2 9XXC System Dimensions 2 of 2...
Page 228: ...A 2 Appendix A Material Safety Information A 2 1 Multemps PS NO 2...
Page 229: ...Appendix A Material Safety Information A 3...
Page 230: ...A 4 Appendix A Material Safety Information...
Page 231: ...Appendix A Material Safety Information A 5...
Page 232: ...A 6 Appendix A Material Safety Information...
Page 233: ...Appendix A Material Safety Information A 7...
Page 235: ...Appendix A Material Safety Information A 9...
Page 236: ...A 10 Appendix A Material Safety Information...
Page 237: ...Appendix A Material Safety Information A 11...
Page 238: ...A 12 Appendix A Material Safety Information...
Page 239: ...Appendix A Material Safety Information A 13...
Page 240: ...A 14 Appendix A Material Safety Information...
Page 246: ......
Page 252: ......
Page 258: ......


