OPERATING AND INSTALLATION
INSTRUCTIONS OF
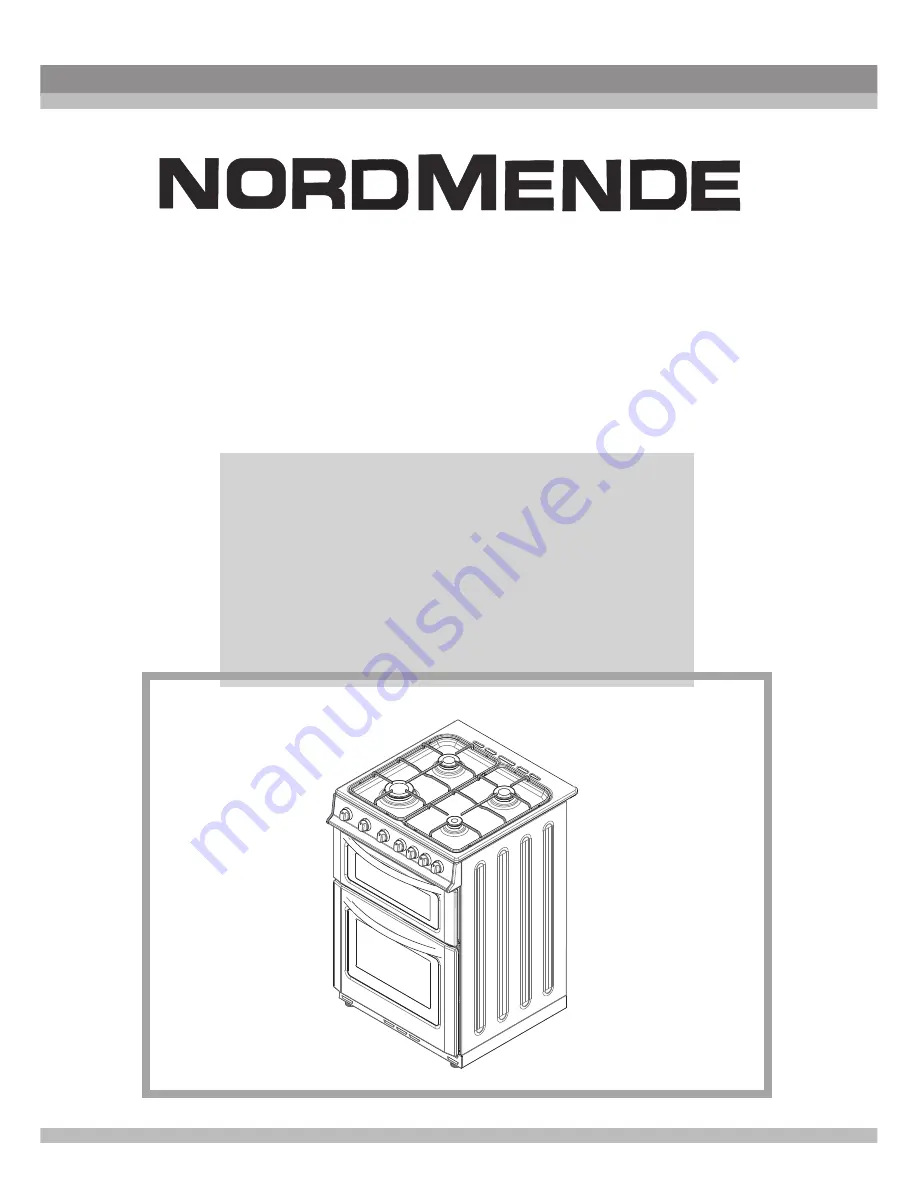
FREESTANDING
GAS DOUBLE OVEN
TM
CTG50WH
CTG50LPGWH
CTG60WH
CTG60LPGWH
CTG60LPGBK
CTG60BK
Page 1: ...OPERATING AND INSTALLATION INSTRUCTIONS OF FREESTANDING GAS DOUBLE OVEN TM CTG50WH CTG50LPGWH CTG60WH CTG60LPGWH CTG60LPGBK CTG60BK...
Page 2: ...includes the basic information for right and safe installation maintenance and use please contact to the nearest Authorized Service for the installation of your product CE Declaration of conformity Th...
Page 3: ...5 Electric connection and security 3 6 General warnings and measures 3 7 Gas conversions 4 Part USE OF YOUR OVEN 4 1 Use of gas burners 4 1 1 Control of hob burners 4 1 2 Control of oven burner 4 1 3...
Page 4: ...or Handle 4 Supply Leg 5 Oven Door 6 Oven Tray 7 Wire Grid 8 Grill 9 Oven Lamp 10 Semi Rapid Burner 11 Rapid Burner 12 Auxillary Burner 13 Hob Grids 14 Semi Rapid Burner 4 1 2 3 5 6 7 9 8 2 Rack 1 Rac...
Page 5: ...cted to a combustion products evacuation device It shall be installed and connected in accordance with current installation regulations Particular attention shall be given to the relevant requirements...
Page 6: ...persons including children with reduced physical sensory or mental capabilities or lack of experience and knowledge unless they have been given supervision or instruction concerning use of the applia...
Page 7: ...t where your appliance will be installed 3 2m h air per kw input 2 These air holes must have at least the effective cross section of 100cm for fresh air circulation One or more air holes can be opened...
Page 8: ...hout hood Air inlet section 2 min 100cm Figure 5 Figure 3 Figure 4 3 2 Installation of oven There are some factors that must be paid attention to while installing your oven Surely be very careful to w...
Page 9: ...is required not to move the appliance by dragging it should be moved by lifting it up The connection of the appliance should be performed in accordance with local and international standards and regul...
Page 10: ...ween different components always use the seals provided in the spare set The seals used during connection should also be approved to be used in gas connections Do not use plumbing seals for gas connec...
Page 11: ...Do not use an extension cord The power cord must not touch to the hot surface of the product In case the cord is damaged contact Authorized Service to have it changed Any wrong electric connection ma...
Page 12: ...at has occured in this case and turn the cooker off The oven and heat adjustment switches must be adjusted for cooking in your oven Otherwise the oven does not operate When the door or drawer of oven...
Page 13: ...at is placed on the tip of the burner For grill burners this screw is already visible Remove the screw pull the grill burner to yourself and you will see the injector revealed on the rear surface of t...
Page 14: ...re accesible only when the knobs are removed With the help of a small screwdriver fasten or loosen the by pass screw around 90 degrees When the flame has a length of at least 4mm the gas is well distr...
Page 15: ...he marker on the knob points at the grill sign Then keep the knob pressed and approach a match taper or another manual aid to the holes that are situated on the burner Move the ignition source away as...
Page 16: ...burner in max position you can adjust the flame length between max and min positions Do not operate the burners when the knob position is between max and off positions After the ignition check the fla...
Page 17: ...hot for a prolonged period of time do not touch it and do not place any object on top of the hob Never place knives forks spoons and lids on the hob as they will get hot and could cause serious burns...
Page 18: ...are dark heavy or non stick utensils increase base browning Shiny aluminum or polished steel trays reflect the heat away and give less base browning When cooking more than one dish in the oven place d...
Page 19: ...be turned over during cooking as required Food should be thoroughly dried before grilling to minimize splashing Brush lean meats and fish lightly with a little oil or melted butter to keep them moist...
Page 20: ...its old form only when the tray cooled after cooking This is a normal physical event that occurs during heat transfer Do not leave this tray or dish in cold environment right away after cooking in gla...
Page 21: ...in the cavity Removal of wire shelf 1 2 Removal of catalitic panel Telescopic rails Pull the wire shelf as shown in the picture After releasing it from clips lift it up Remove G screws on the each cat...
Page 22: ...once more and then dry it It may be required to use a liquid cleaning material from time to time and make a complete cleaning Do not clean with dry powder cleaners or steam cleaners Cleaning of Your...
Page 23: ...ve powders or abrasive cleaning metarials Do not leave vinegar coffee milk salt water lemon or tomato juice to remain in contact with stainless steel parts long periods of time 5 2 Maintenance Change...
Page 24: ...y be depleted Except these if you still have any problem with your product please call to the Authorized Service 6 2 Information related to transport If you need any transport keep the original case o...
Page 25: ...TOP OVEN BURNER Injector Diameter Nominal Rating kW Consumption in 1h GRILL BURNER Injector Diameter Nominal Rating kW Consumption in 1h Injector Diameter 1 100mm 1 100mm 1 100mm 1 100mm 1 100mm 1 100...
Page 26: ...ipment By ensuring this product is disposed of correctly you will help prevent potential negative consequences for the environment and human health which could otherwise be caused by inappropriate was...