


A
CCESS
G
ATEWAY
System Administration
177
6.
Define how you want to display the subscriber session time:
a.
Elapsed Time
(how much time has elapsed since the start of the session)
b.
Time Remaining
(how much time is remaining for the session)
7.
You must now decide what you want the ICC to do if the subscriber closes it. Choose one
of the following options:
a.
Redisplay itself
b.
Logout (return the subscriber to a “pending” state) – valid only with RADIUS and Post Paid
PMS.
8.
You must now assign the buttons that you want to display to subscribers.
Assigning Buttons
When assigning the redirect buttons that will appear in the ICC, you can define one
ISP Logo Button
(large
button) and up to 8 smaller buttons (
Button 2
through
Button 9
), with the following parameters:
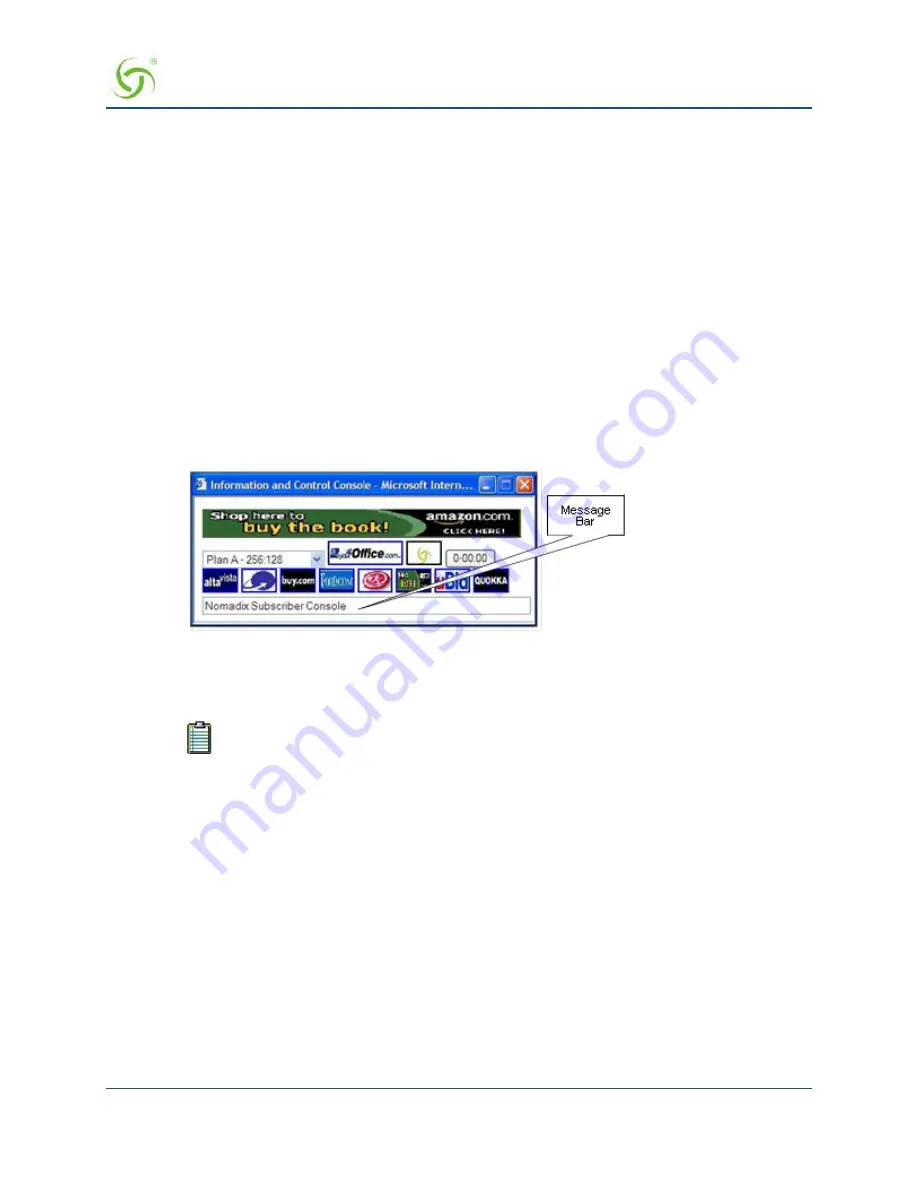
Name/Text
– The name of the button and the mouse-over text. The mouse-over text is the text that
appears in the ICC’s Message Bar when your mouse pointer “rolls” over a button image.
Target URL
– Where subscribers are sent when they click on the button.
Image Name
– The representative image file you want to use for the button.
When assigning images for buttons, refer to
on page 178.
If you assign (or change) button images or banner images, the Access Gateway must be
rebooted for your changes to take effect.
When you have completed assigning all your redirect buttons, click on the
Save
button to save your changes,
or click on the
Restore
button if you want to reset all the values to their previous state.
You can now assign the banners that you want to display to subscribers.
Assigning Banners
From the
Subscriber Console (Information and Control Console - ICC) Setup
screen, click on the
Configure Banners
link. The
Subscriber Console (Information and Control Console - ICC) Banners
Setup
screen appears:
Summary of Contents for AG 2300
Page 1: ......