Service Manual Level 1 and 2
Nokia Lumia 510
RM-889 RM-898
Version 1.0
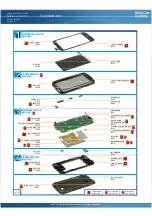
Exploded view
TP/LCM SPONGE
I0001
DISPLAY
I0003
TOUCH PANEL ADHESIVE
I0005
A-COVER
I0006
EARPIECE
I0007
VOLUME KEY
I0008
POWER KEY
I0010
LIGHT SWAP PWB
I0011
PROXIMITY SENSOR RUBBER
I0016
TP CONNECTOR RUBBER
I0018
TYPE LABEL
I0014
MYLAR RECEIVER
I0022
CAMERA
I0024
GPS ANTENNA
I0028
D-COVER
I0029
TOUCH PANEL
I0002
LIGHT GUIDE
I0004
CAMERA KEY
I0009
RF SHIELD
I0012
BASEBAND SHIELD
I0013
MIC RUBBER
I0015
LCD CONNECTOR RUBBER
I0017
BACK & HOME
KEY LED SPONGE
I0019
SEARCH KEY LED SPONGE
I0020
SPEAKER SEALING SPONGE
I0021
MYLAR USB
I0023
IHF SPEAKER
I0025
MAIN ANTENNA
I0027
SPEAKER MESH
I0026
BATTERY COVER
I0031
SCREW TORX+ SIZE 5
I0030
A-COVER ASSEMBLY
(I0005, I0006)
2
LIGHT SWAP PACKAGE
(I0011-I0023)
3
D-COVER ASSEMBLY
(I0026-I0029)
4
TOUCH PANEL ASSEMBLY
(I0001, I0002)
v1.0
Only available
as assembly
Not reuseable
after removal
Repair/swap
only in level 3
©2012 Nokia | Nokia Internal Use only | All Rights Reserved.
Summary of Contents for Lumia 510
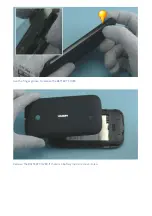
Page 7: ...Remove the D COVER Use tweezers to remove the CAMERA KEY ...
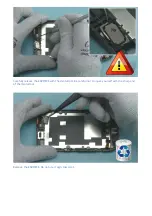
Page 8: ...Remove the POWER KEY Remove also the VOLUME KEY ...
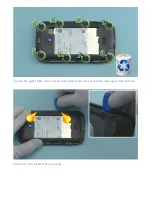
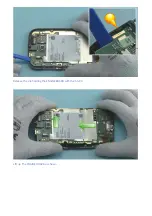
Page 10: ...Release the clip holding the ENGINE BOARD with the SS 93 Lift up The ENGINE BOARD as shown ...
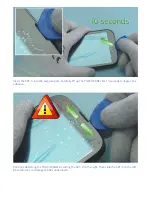
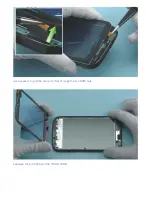
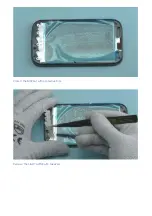
Page 15: ...Protect the DISPLAY with protective film Remove the LIGHT GUIDE with tweezers ...
Page 22: ...Lift up the IHF SPEAKER with the SS 93 Remove the IHF SPEAKER with tweezers ...
Page 27: ...Use tweezers to pick up a new LIGHT GUIDE Bend the transparent appendices with fingers ...
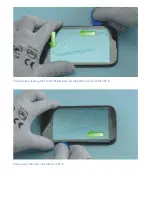
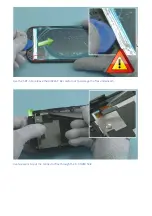
Page 29: ...Peel off the protective film from the A COVER Remove the protective film from the display ...
Page 35: ...Place the POWER KEY with tweezers Place the VOLUME KEY with tweezers ...


