- 40 -
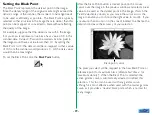
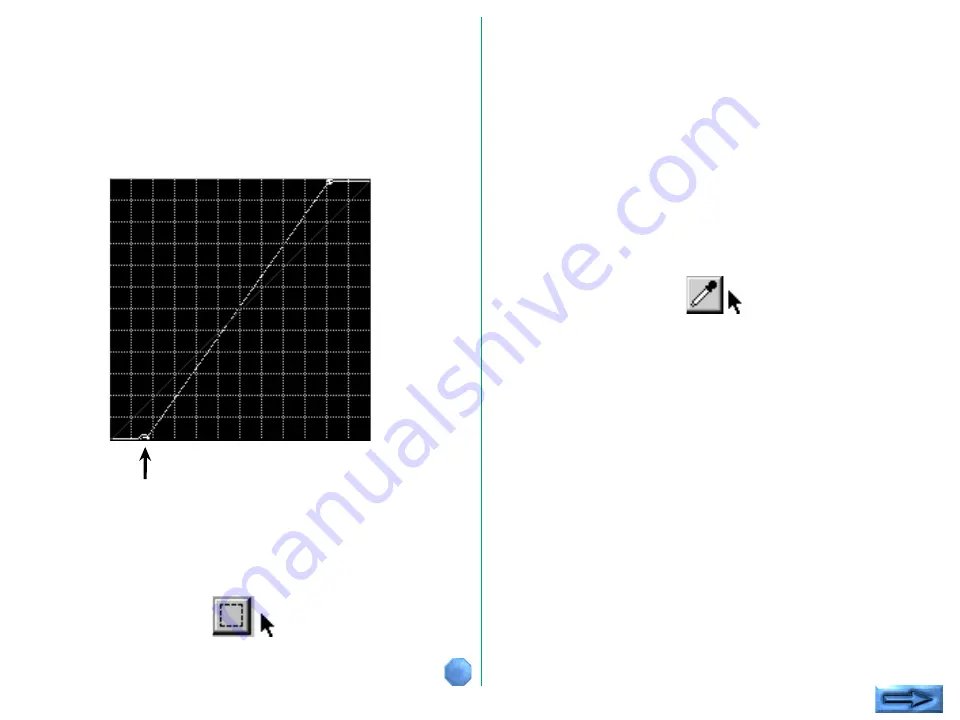
New black point
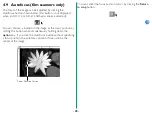
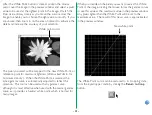
When you decide on the pixel you want to use as the Black
Point of the image, clicking the mouse forces the gamma curves
to use this value as the minimum value in the preview window.
Any pixels darker than the black point will be set to the
minimum value. The result of this new curve is approximated in
the preview window. Observe the increase in contrast, and
also the reduced White Point, covered in the next section.
Setting the White Point
The White Point represents the lightest point in the image, thus
providing a function opposite to that of the Black Point. Like
the Black Point, however, selection of a White Point reduces
the tonal range of the scanner so as not to waste any of its
tonal range on light areas that are not actually present in the
original.
The White Point is typically selected so that all values in the
image that are lighter than this point can be mapped, or
converted to white without affecting the quality of the image.
To set the White Point, click the
White Point
button.
The Black Point cursor can be restored to its ‘cropping’ state,
from the ‘eyedropper’ state, by clicking the
Return to Crop
button.


