- 23 -
4.7
Cropping
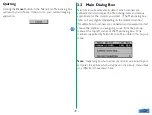
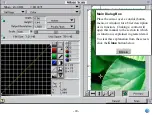
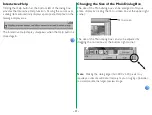
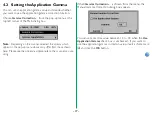
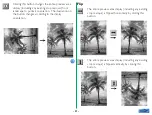
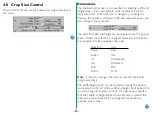
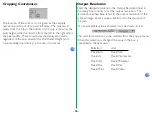
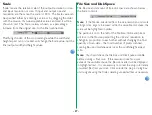
You can use your cursor in the crop/preview area, to set up a
new crop, or to move or change the size of the current crop
area.
Establishing a New Crop
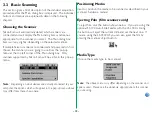
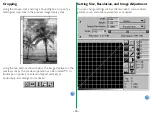
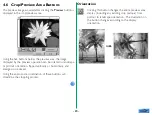
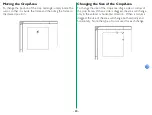
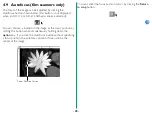
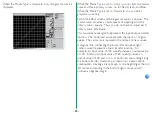
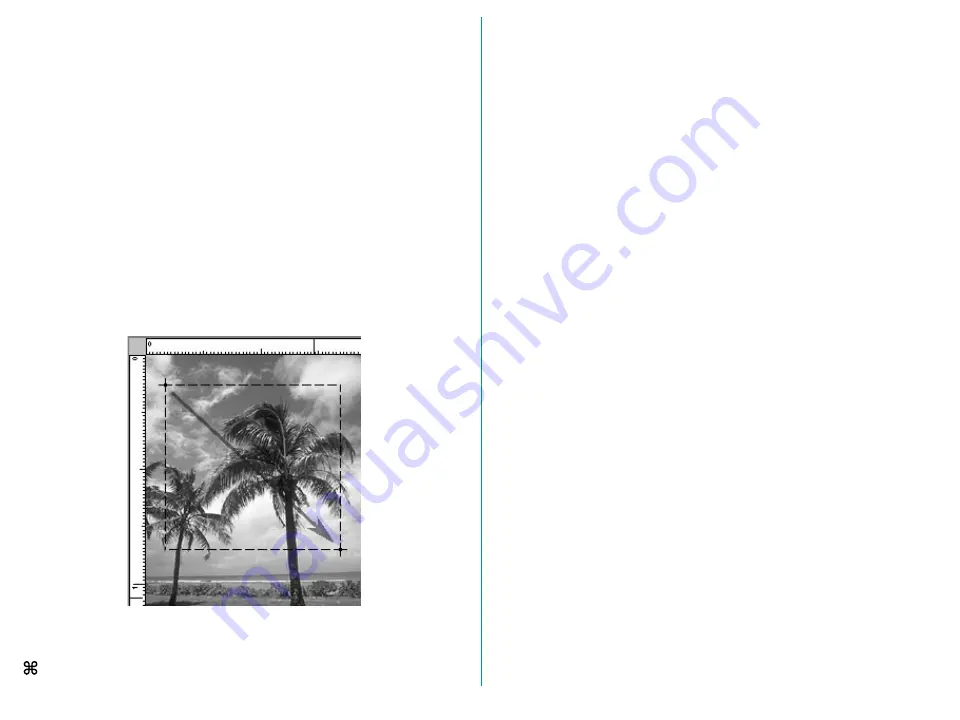
After the preview image is displayed, locate the cursor at any
starting point on the preview (the top left is shown in the
example), and then drag the cursor to another location
(bottom right in the example), thus forming a rectangle, which is
referred to as a ‘marquis’ of ‘marching ants’.
Note:
‘Dragging’ means moving the mouse while holding the
mouse button down.
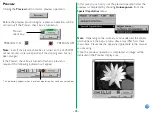
The entire preview area can be re-selected by double-clicking
anywhere in the preview window, or by choosing
Select All
( A)
.
Note:
For reasons involving the compression and display of the
preview image, there may be a slight difference between the crop
area specified on the screen and the area that is actually scanned.
When cropping an image, allow sufficient safety margin to ensure
that important elements are not cropped out.

