3
Getting Started
48
Pulse Laser Station NPL-302 Series Instruction Manual
When you select an option from this screen, the
change is applied immediately, and the selected
data type appears.
Press
[ESC]
to return to the previous observation
screen.
List Display
3.1
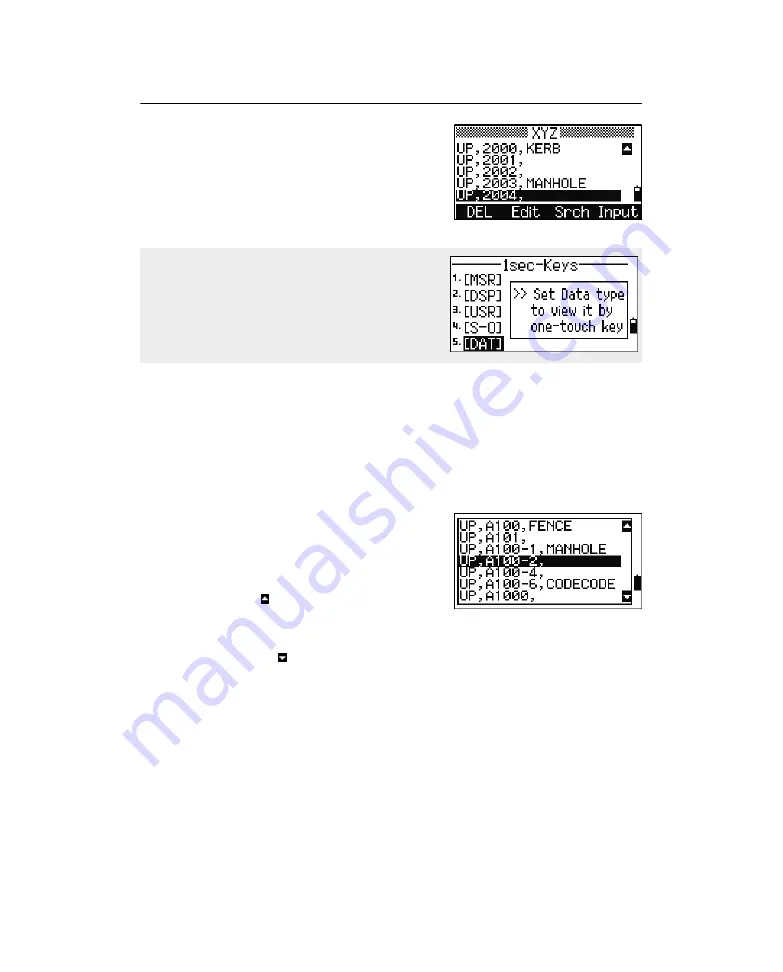
Available jobs or data appear in a list display when you do any of the following:
• view or edit data (
MENU > Data
)
• open the code list, point list, or Job Manager (
MENU > Job
)
• search for points or codes
In the list, the current cursor position is shown in
reverse video (it appears as white text on a black
background).
Press
[^]
or
[v]
move the cursor one line up or down.
If the Page Up icon appears, there are more
pages before the current page. Press
[<]
to move up
one page.
If the Page Down icon appears, there are more pages after the current page. Press
[>]
to move down one page.
To select an item from the list, move the cursor onto the item and press
[ENT]
.
To change the type of data that is assigned to
[DAT]
, go to
MENU > 1sec-Keys > [DAT]
.
For more information, see [DAT] key settings,
page 166.
Summary of Contents for NPL-302 Series
Page 4: ......
Page 5: ...Safety 1 In this chapter Q Introduction Q Laser Safety Q Warnings and Cautions ...
Page 12: ...Safety xii Pulse Laser Station NPL 302 Series Instruction Manual ...
Page 28: ...1 Introduction 8 Pulse Laser Station NPL 302 Series Instruction Manual ...
Page 46: ...2 Preparation 26 Pulse Laser Station NPL 302 Series Instruction Manual ...
Page 82: ...3 Getting Started 62 Pulse Laser Station NPL 302 Series Instruction Manual ...
Page 188: ...5 Menu Key 168 Pulse Laser Station NPL 302 Series Instruction Manual ...
Page 196: ...6 Checking and Adjustment 176 Pulse Laser Station NPL 302 Series Instruction Manual ...
Page 208: ...8 System Diagrams 188 Pulse Laser Station NPL 302 Series Instruction Manual ...


