97
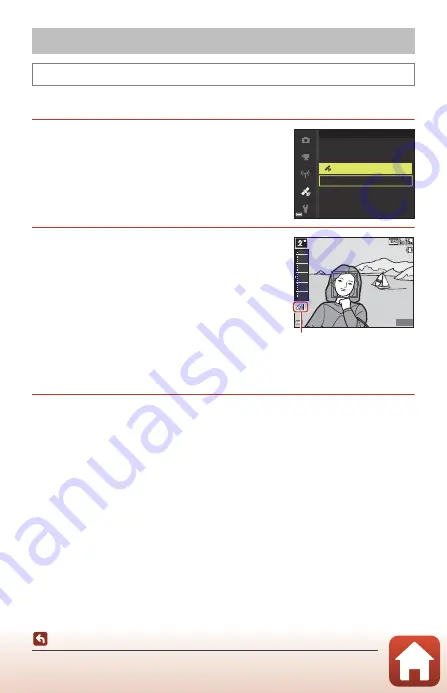
Recording the Location Data on the Image
Set
Time zone and date
(
162) correctly before using the location data functions.
1
Set
Use built-in location data
to
On
.
•
After the settings are complete, press the
d
button or shutter-release button to exit the menu.
•
To receive signals easily, operate in an open-air
area.
2
Check the location data reception on
the shooting screen.
•
n
or
o
: Signals are being received from four or
more satellites, or from three satellites, and
location data is being obtained. The location data
is recorded on the image.
•
z
: Signals are being received, but location data
cannot be obtained. The location data is not
recorded on the image.
•
y
: Signals cannot be received from the satellites,
and location data cannot be obtained. The location data is not recorded on the
image.
3
Shoot images while positioning is being performed.
•
The location data is recorded on shot images.
•
z
is displayed on images with recorded location data in the camera’s playback
screen (
7).
•
The recorded location data can be checked on a map by using ViewNX-i after
transferring images to a computer (
Recording the Location Data on the Image
Press the
d
button
M
z
menu icon
M
Location data options
M
k
button
Use built-in location data
On
Off
40
10
0
-10
30
20
25m 0s
25m 0s
500
500
15m
15m
1010hPa
1010hPa
Location data reception


