


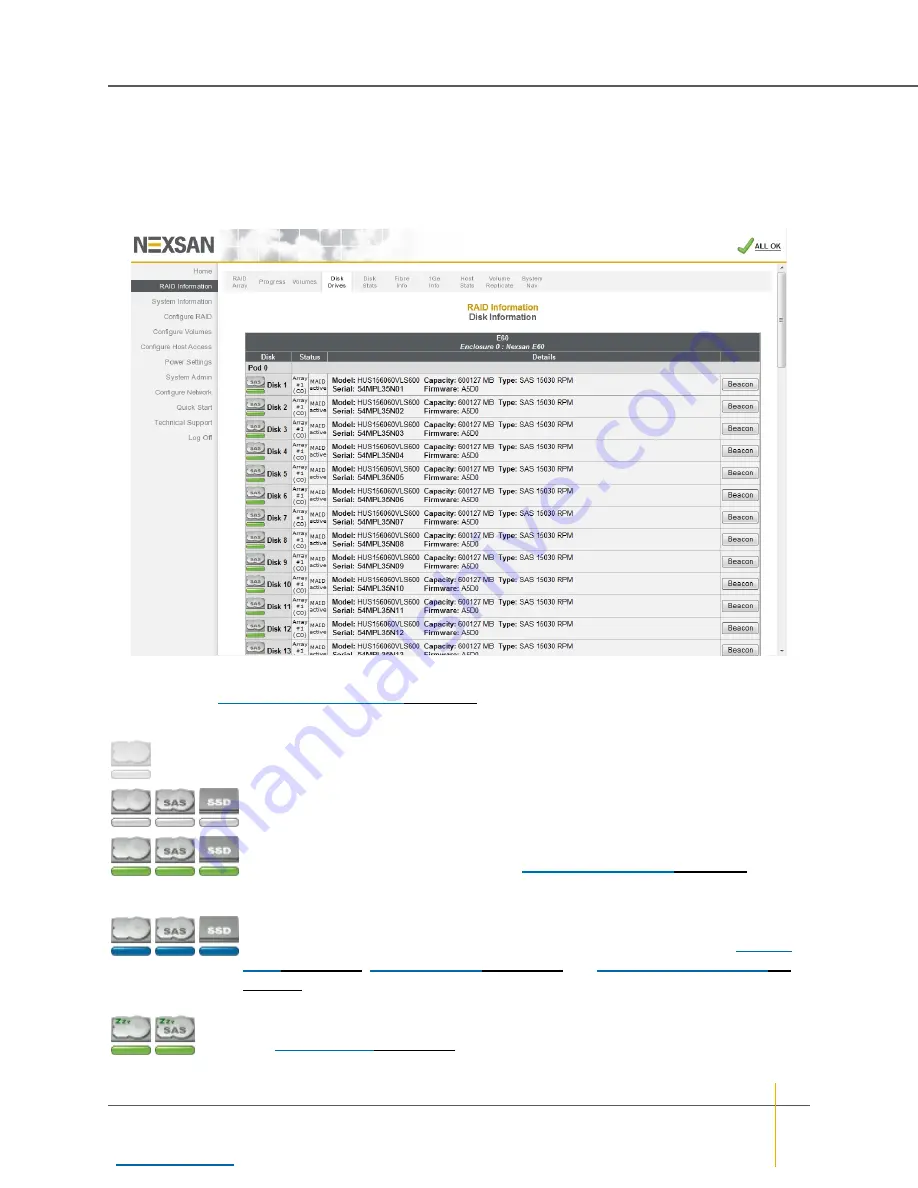
Disk Information
Clicking
RAID Information > Disk Drives
takes you to the
Disk Information
page, which shows all of the
disk drives in the system and displays information about each disk. On E-Series systems, this information is
organized by drawer (
Pod 0
,
Pod 1
, etc.).
Figure 3-18:
Disk Information
page
The
Disk
column displays the disk number and a disk icon. Clicking the disk icon takes you to a detail page
for that disk (see
The disk icon indicates the disk’s type and state:
Disk not present
: A grayed out icon with a grayed out status bar indicates that no drive
is installed in that slot.
Disk not configured
: A gray status bar indicates that the drive is functioning, but is not
assigned to an array and is not designated as a spare.
Array disk, functioning normally
: A green status bar indicates that the drive is
functioning and is part of a RAID array (see
on page 63). The
text below it indicates which RAID array it belongs to and which RAID Controller owns
that array.
Spare disk
: A blue status bar indicates that the drive is functioning and is designated as
a spare, which will be used to rebuild RAID arrays when other drives fail (see
on page 128, and
page 132). The text below it indicates whether it is a “Pool Spare” (which can be used by
any RAID array) or a dedicated spare (assigned to a specific RAID array).
Disk idle
: A green “Zzz” on a disk icon indicates that the drive is in low-power mode
(see
on page 181). This does not apply to SSD disks.
Chapter 3: The Graphical User Interface — RAID Information
Nexsan High-Density Storage
User Guide
71