


Configure time and date
Clicking
Configure Network > Date and Time
takes you to the
Configure Time and Date
page, which lets
you set the time and date used by the unit’s internal clock. This can be done manually or automatically.
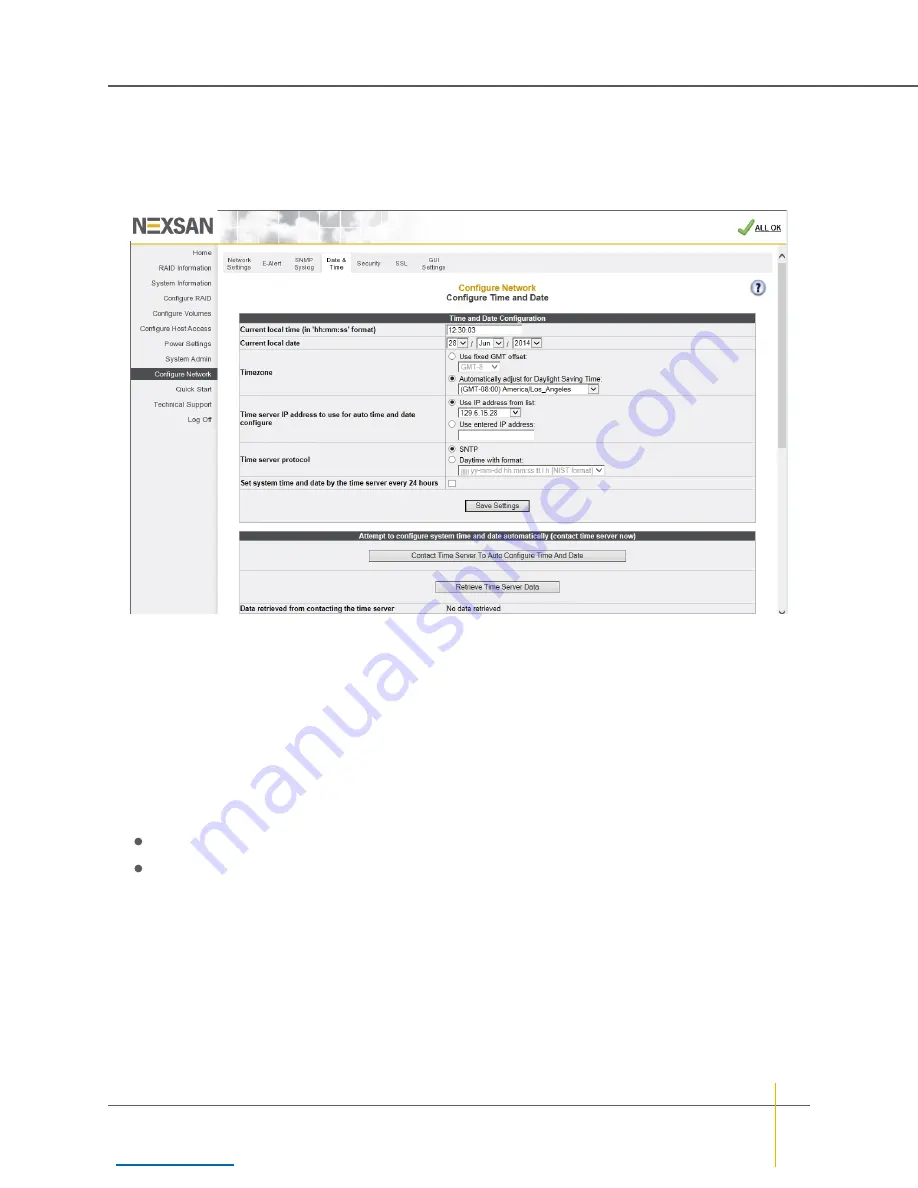
Figure 3-157:
Configure Time and Date
page
Set time and date manually
►
To set time and date manually:
1. Enter the time in the
Current local time (in ‘hh:mm:ss’ format)
field.
Note
The time entered in the
Current local time (in ‘hh:mm:ss’ format)
field will be set when the
Save
Settings
button is clicked. Therefore, it is suggested that you enter the time rounded to the next five-
minute mark, then click
Save Settings
when the entered time is reached.
2. Enter the date using the
Current local date
drop-down lists.
3. In the
Timezone
section, do one of the following:
Select
Use fixed GMT offset
and set the GMT offset using the drop-down list.
Select
Automatically adjust for Daylight Saving Time
and select the appropriate time zone in the
drop down list.
4. Click
Save Settings
.
Chapter 3: The Graphical User Interface — Configure Network
Nexsan High-Density Storage
User Guide
216