


30
| SmartNA-X Administration | SmartNA-X 1G/10G Modular
SmartNA-X
™
1G/10G User Guide 1.4
©
2015 Network Critical Solutions Limited
CONTROLLER>
set user User password
new-password
Changing password for user User
CONTROLLER>
set user Audit password
new-password
Changing password for user Audit
Managing the system time
Network time synchronization is critical because every aspect of managing, securing, planning, and debugging a network
involves determining when events occur. Time also provides the only frame of reference between all devices on the
network.
Without synchronized time, accurately correlating log files between these devices is difficult, even impossible.
A few of the specific reasons include, tracking security breaches and network usage. Problems affecting a large number of
components can be nearly impossible to track if timestamps in logs are inaccurate. Time also reduces confusion in shared
file systems, as it is important for the modification times to be consistent, regardless of the machine on which the file
systems reside.
For these reasons, it is important that the time configured on the all devices on the network be accurate.
Note:
The SmartNA-X device supports Network Time Protocol (NTP) and when enabled, the device dynamically
synchronizes the device time with the NTP server time. The device operates only as an NTP client, and cannot
provide time services to other devices.
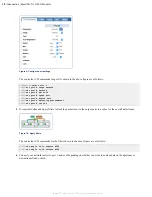
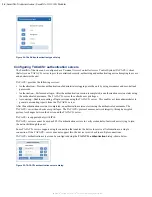
Adding an NTP server
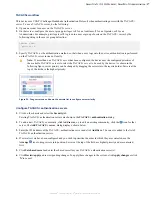
SmartNA-X can be configured to synchronize with your network NTP server.
1.
Click on the chassis and select the
Security
tab.
2.
In the
NTP server
field, enter the IP address of the network NTP server.
3.
Click
Review/apply
and review pending changes. To apply these changes to the system, click
Apply changes
or click
'
X
' to cancel.
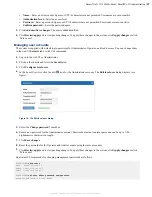
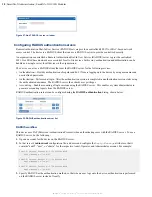
Saving the current configuration
Administrators can save the current configuration to permanent memory to create a backup of port settings, port maps,
port maps, packet filters, and the SNMP configuration. User accounts and network settings are not saved, however.
1.
Click on the chassis and select the
Management
tab.
2.
Click
Saved configurations
. The
Saved configurations
dialog displays.


