Page 65/ 191
10.15 Sizing
To capture the entire image, the image size and offset values must be adjusted using the controls
under the
Sizing
tab. When adjusting the sizes, remember that a proper capture should fill the
Capture window and keep all 4 edges of the image within the Capture window.
•
Important! It is NOT mandatory
to adjust the captured image so that it completely fills
the entire capture window.
•
The image should be adjusted so that it is as
close as possible to the top and left edges
of the capture window
to set the least amount of black space on the right and bottom of
the capture window.
10.16 Horizontal/Vertical Offset
First, adjust the Horizontal and Vertical offset:
1.
Press the “Start” button in the
Horizontal/Vertical Offset
section on the Sizing tab page.
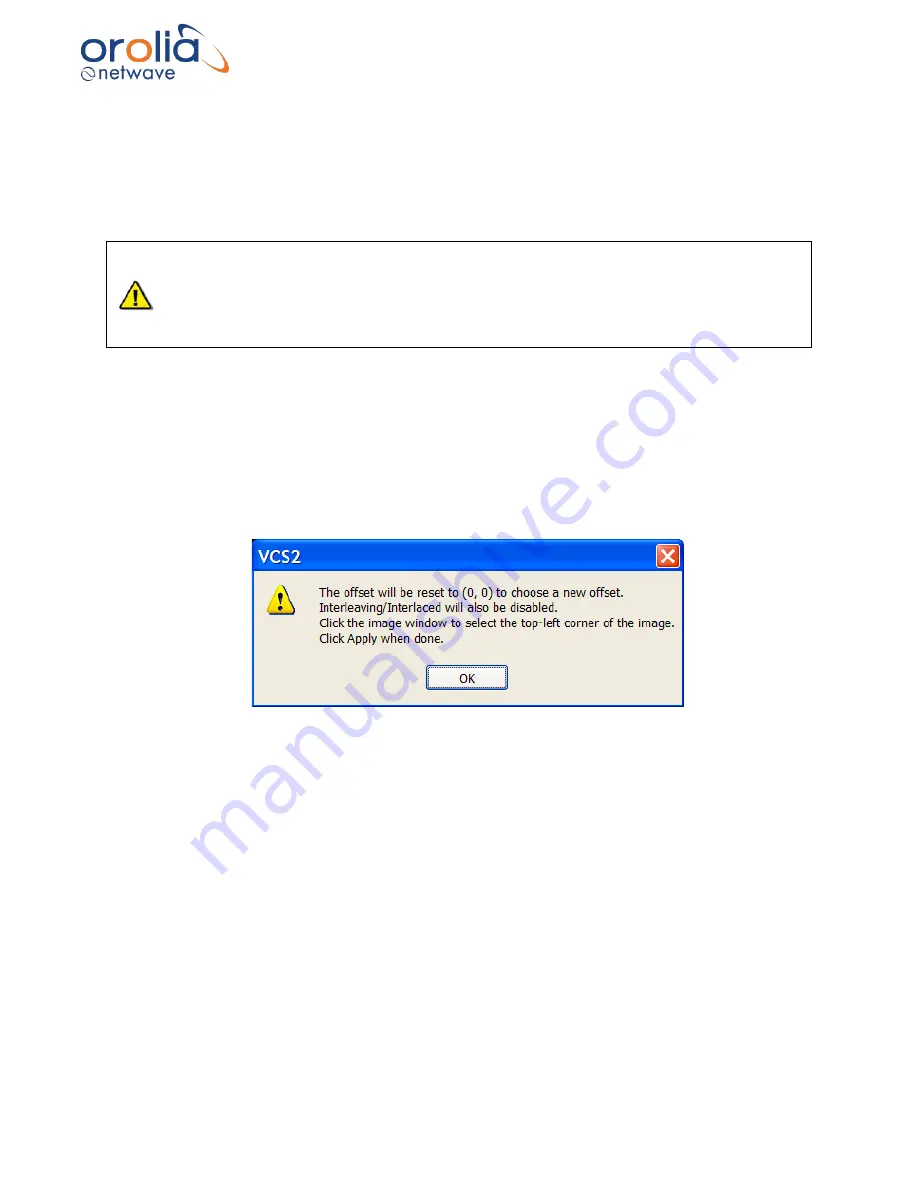
2. This will display the following warning:
Figure 10.16.1 - Offset Adjustment Warning
Summary of Contents for NW6000
Page 1: ......
Page 91: ...Page 91 191...
Page 92: ...Page 92 191...
Page 120: ...Page 120 191 Figure 17 4 2 Connection figure Digital Module 16 channels...
Page 121: ...Page 121 191 Figure 17 4 3 Connection figure Digital Module 24 channels...
Page 125: ...Page 125 191 Figure 18 4 2 Connection figure Analogue Module 8 channels...
Page 126: ...Page 126 191 Figure 18 4 3 Connection figure Analogue Module 12 channels...
Page 184: ...Page 184 191 Figure 5 8 1 Sample dataset playback...


