background image

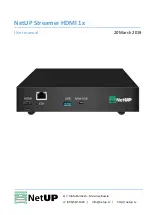
NetUP Streamer HDMI 1x. User manual 


Installation guide 

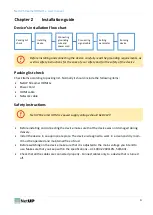
Device’s installation flow chart 


Before installing and connecting the device, carefully read the grounding requirements, as 

well as safety instructions for the sake of your safety and for the safety of the device 

Packing list check   

Check items according to packing list. Normally it should include the following items: 


NetUP Streamer HDMI 1x 


Power Cord 


HDMI cable 


Network cable 

Safety instructions 


NetUP Streamer HDMI 1x power supply voltage should be DC12V 


Before installing and connecting the device make sure that the device was not damaged during 
delivery.  


Install the device in an appropriate 

place. The device is designed to work in a clean and dry room. 

It must be operated and maintained free of dust.  


Before switching on the device make sure that it is adjusted to the mains voltage you intend to 
use. Make sure that you keep within the specifications – 

AC 100V

-

220V±10%, 50/60Hz.


Check that all the cables are connected properly.  Connect cables only to a device that is turned 
off. 


Packing list 

check 

Connecting 

grounding 

wire and 

power cord 

Installing 

device 

Connecting 

signal cable 

Setting 

parameter 

Running 

device 

Summary of Contents for Streamer HDMI 1x

Page 1: ...1 7 Ulofa Palme str Moscow Russia 7 495 510 1025 info netup tv http netup tv NetUP Streamer HDMI 1x User manual 20 March 2019...

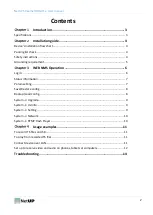
Page 2: ...WEB NMS Operation 6 Login 6 Status information 7 Param setting 7 Save Restore config 8 Backup Load config 8 System Upgrade 9 System Usrinfo 9 System Setting 9 System Network 10 System RTMP Flash Play...

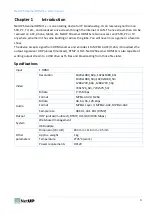
Page 3: ...64 it broadcasts the output signal over UDP unicast multicast RTMP or HLS NetUP Streamer HDMI 1x is also capable of writing output stream to a USB drive as TS files and broadcasting from those files l...

Page 4: ...ly voltage should be DC12V Before installing and connecting the device make sure that the device was not damaged during delivery Install the device in an appropriate place The device is designed to wo...

Page 5: ...Keep proper contact with the metal housing of the device Grounding wire must be made out of copper and as thick and short as possible Make sure the two ends of grounding wire conduct electricity and...

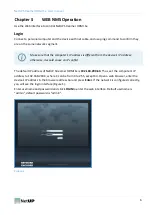
Page 6: ...IP address otherwise it would cause an IP conflict The default IP address of NetUP Streamer HDMI 1x is 192 168 200 64 Thus set the computer s IP address to 192 168 200 X where X can be from 0 to 255...

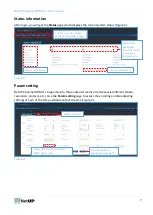
Page 7: ...fferent bitrate resolution protocol etc Use the Param setting page to access the encoding and broadcasting settings of each of the three available output streams Figure 3 Figure 3 Select UDP unicast m...

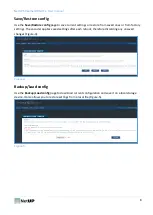
Page 8: ...nes or from factory settings The encoder applies saved settings after each reboot therefore discarding any unsaved changes Figure 4 Figure 4 Backup Load config Use the Backup Load config page to downl...

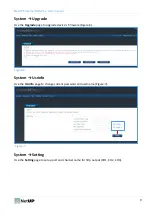
Page 9: ...grade page to upgrade device s firmware Figure 6 Figure 6 System Usrinfo Use the Usrinfo page to change current password and username Figure 7 Figure 7 System Setting Use the Setting page to setup por...

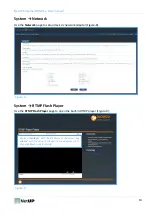
Page 10: ...ce s network adapter Figure 8 Figure 8 System RTMP Flash Player Use the RTMP Flash Player page to open the built in RTMP player Figure 9 Figure 9 Replace localhost with the IP address of the server my...

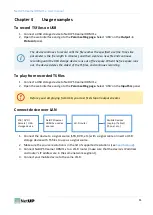
Page 11: ...storage device with TS files to use as a signal source 2 Make sure the source resolution is in the list of supported resolutions see Specifications 3 Connect NetUP Streamer HDMI 1x to a Wi Fi router...

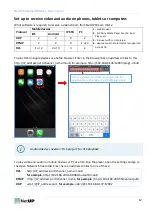
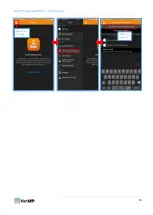
Page 12: ...the browser bar an address similar to this http IP_address port channel_name m3u8 for example http 192 168 0 136 12003 prog1 m3u8 To play video and audio on mobile devices or PC use VLC Run the playe...

Page 13: ...NetUP Streamer HDMI 1x User manual 13 Open VLC settings Enter an address...

Page 14: ...correctly Turn off the device and unplug the power cord in the following cases The power cord or socket is damaged A liquid is splashed on the device A short circuit has occurred The device is in dam...

Reviews: