


Customizing the Tester for your Network
53
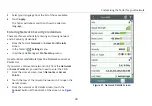
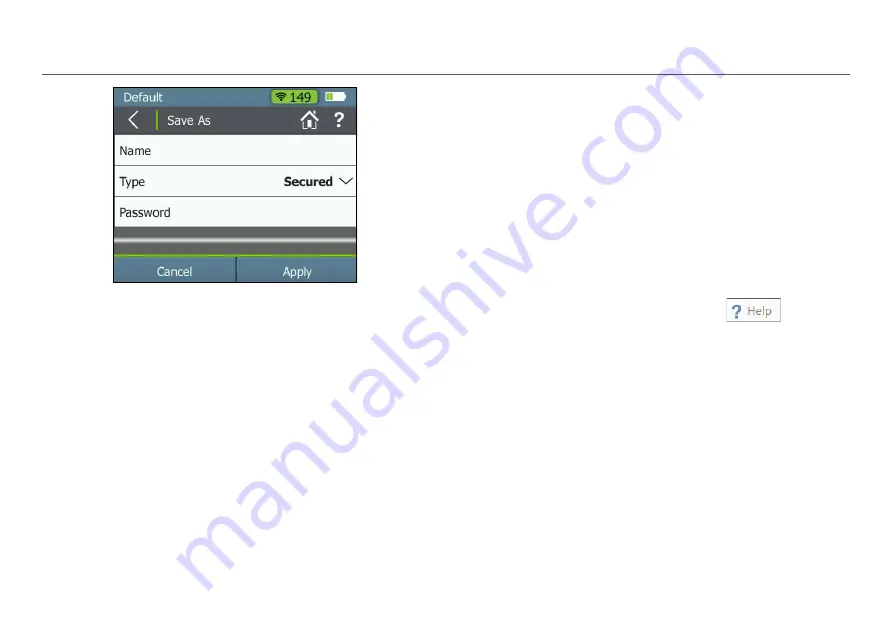
Figure 34. Profiles > Save As
b. Touch
Name
and use the on-screen keyboard to
type in a new name.
c. Touch
DONE
when finished.
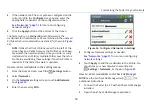
To save a
Secured
Profile:
a. Touch the down arrow to change the default
Type
from Open to
Secured
.
b. Touch
Password
to enter a password on the on-
screen keyboard.
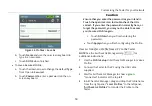
Caution
Ensure that you enter the password as you intend it.
Touch the open lock icon to double-check that it is
correct. If you enter the password incorrectly here, or
forget the password, you may not be able to access
your Secured Profile again.
c. Touch
DONE
when you finish entering the
password.
Touch
Apply
when you finish configuring the Profile.
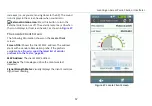
How to: Transfer a Profile from a PC to the Tester
NOTE:
See the AirCheck G2 Manager Help
for
additional instructions.
1
Use the
Profile Setup
in AirCheck G2 Manager to make a
Profile.
2
Connect the Tester to the PC using the USB cable
supplied.
3
Wait for AirCheck G2 Manager to show a
green
“Connected” indicator at the top left.
4
In AirCheck G2 Manager, drag and drop the Profile name
from the right panel, “
Local Profiles
,” to the left panel
,
“
AirCheck G2 Profiles
”
to transfer the Profile to the
Tester.


