Secure Files
29
ReadyNAS Duo, NV+, and 1100
Manage Users and Groups
If you selected the user security mode, you can set up user accounts. Create a user account
for each person who accesses your ReadyNAS system. When you create a share, use these
accounts to specify who can access its files.
To manage large numbers of users more efficiently, create groups. A group can contain any
number of users, and a user can belong to as many groups as you want. If you frequently
give the same list of users the same access rights to different shares, create a group that is
made up of those users.
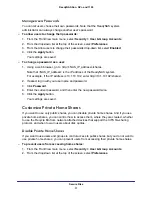
Each user has a private home share where he or she can store personal files. Unlike a public
share, a private home share has the same name as the user name for the account and can
be accessed only by that user and by the ReadyNAS system’s administrator. You can disable
private home shares if you want to use only public shares.
Manage Users
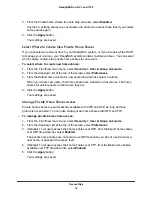
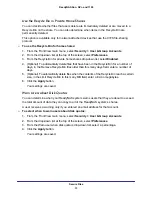
With FrontView, you can add new users, modify existing users, and choose how to handle
the users’ private home shares.
Add Users
In the Add User screen, you can add up to five users at a time.
To add users:
1.
From the FrontView main menu, select
Security > User & Group Accounts
.
2.
Click the
Add User
tab.
3.
For each user, follow these steps:
a.
Enter the name for the user.
This is also the name for the user’s private home share.
b.
(Optional) If you want the user to receive notifications, enter the user’s email
address.
The user is notified when the account is created and when the user’s data quota is
approached.
c.
(Optional) If you want to specify a specific user ID (UID), enter the UID.
You need to know the UID if you plan to connect to the user’s private home share
over NFS. If you do not enter a UID, one is automatically generated.
d.
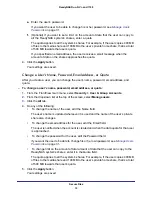
Select the user’s primary group.
You can add the user to other groups in the Manage Groups screen. For more
information, see
34.


