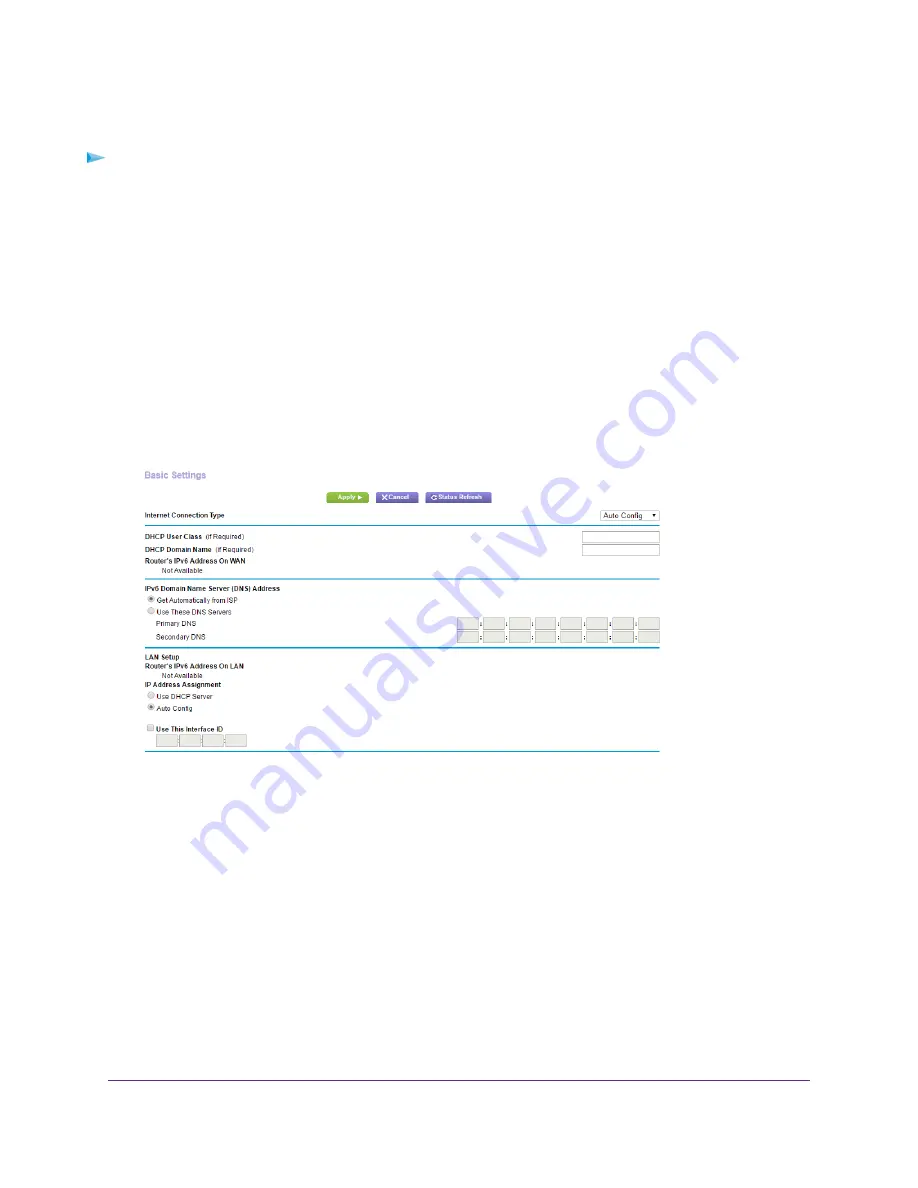
Use Auto Config for an IPv6 Internet Connection
To set up an IPv6 Internet connection through autoconfiguration:
1.
Launch a web browser from a WiFi-enabled computer or mobile device that is connected to the network.
2.
Enter http://www.routerlogin.net.
A login window opens.
3.
Enter the modem router user name and password.
The user name is admin. The default password is password. The user name and password are
case-sensitive.
The BASIC Home page displays.
4.
Select ADVANCED > Advanced Setup > IPv6.
The IPv6 page displays.
5.
From the Internet Connection Type menu, select Auto Config.
The modem router automatically detects the information in the following fields:
•
Router’s IPv6 Address on WAN. This field shows the IPv6 address that is acquired for the modem
router’s WAN (or Internet) interface. The number after the slash (/) is the length of the prefix, which
is also indicated by the underline (_) under the IPv6 address. If no address is acquired, the field
displays Not Available.
•
Router’s IPv6 Address on LAN. This field shows the IPv6 address that is acquired for the modem
router’s LAN interface. The number after the slash (/) is the length of the prefix, which is also indicated
by the underline (_) under the IPv6 address. If no address is acquired, the field displays Not Available.
6.
(Optional) In the DHCP User Class (If Required) field, enter a host name.
Most people can leave this field blank, but if your ISP gave you a specific host name, enter it here.
7.
(Optional) In the DHCP Domain Name (If Required) field, enter a domain name.
Specify Your Internet Settings
34
Nighthawk AC1900 WiFi LTE Modem Router


