Getting Started
25
Insight Managed 28-Port Gigabit Ethernet Smart Cloud Switch with 2 SFP 1G & 2 SFP+ 10G Fiber Ports
A NETGEAR web page opens.
7.
Follow the prompts online.
How to Configure Interface Settings
For some features you can apply the same settings simultaneously to any of the following:
•
A single port
•
Multiple ports
•
All ports
•
A single LAG
•
Multiple LAGs
•
All LAGs
•
Multiple ports and LAGs
•
All ports and LAGs
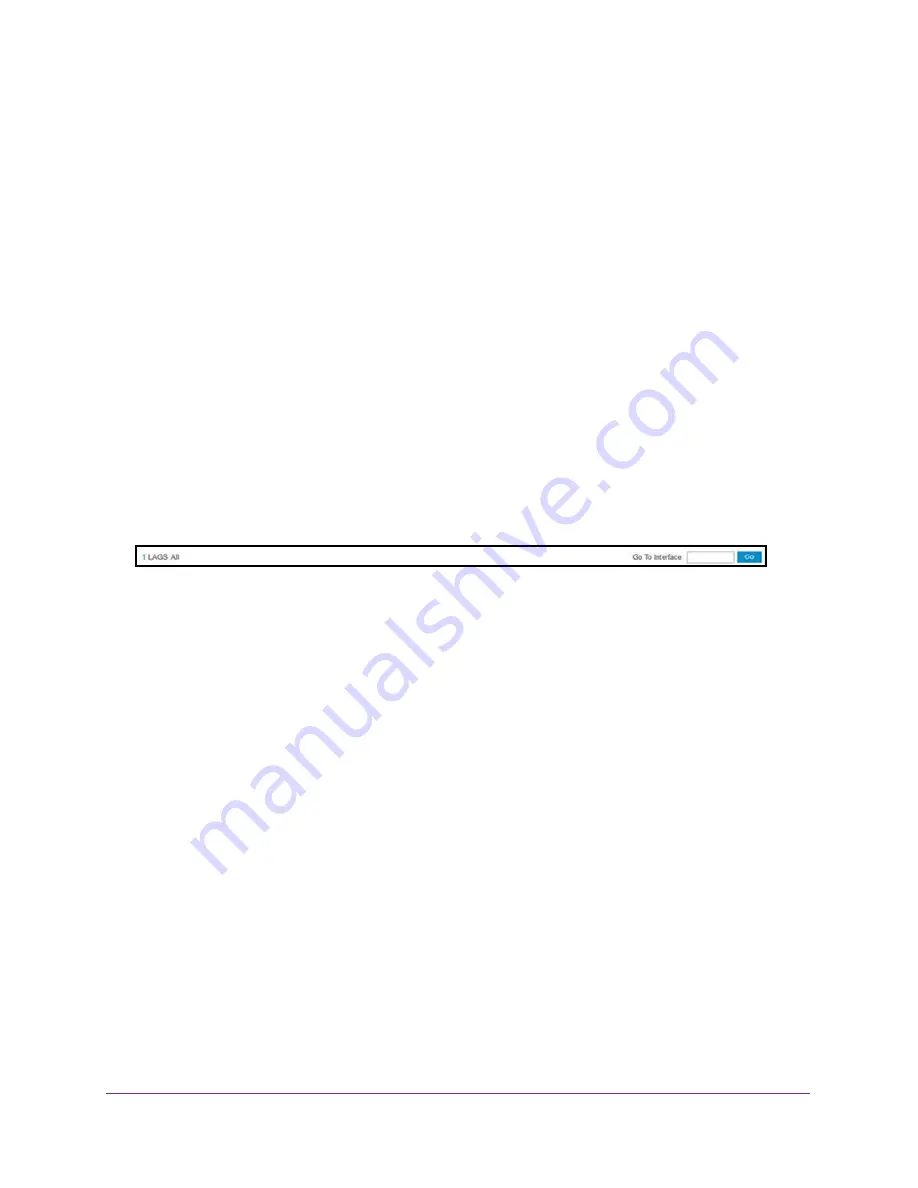
Many of the pages that allow you to configure or view interface settings include links to
display all ports, all LAGs, or all ports and LAGs on the page.
Use these links as follows:
•
To display all ports, click the
1
link. The LAGs are not displayed.
•
To display all LAGs, click the
LAGS
link. The ports are not displayed.
•
To display all ports and LAGs, click the
All
link.
The procedures in this section describe how to select the ports and LAGs to configure. The
procedures assume that you are already logged in to the switch. If you do not know how to
log in to the switch, see
To configure a single port or LAG:
1.
Click the
All
link to display the all ports and LAGs.
2.
Do one of the following:
a.
In the
Go To Interface
field, type the port number and click the
Go
button.
For example, type
g4
for a port or type
l3
for a LAG. For more information, see
The check box for the interface is selected, the row for the selected interface is
highlighted, and the interface number displays in the heading row.
b.
Select the check box for the port or LAG.
The row for the selected interface is highlighted, and the interface number displays in
the heading row.


