

Installation Guide
External Power Adapter
Model EPS90W, EPS130W, and EPS200W
WARNING:
Read this document first before connecting the new
power adapter to a device.
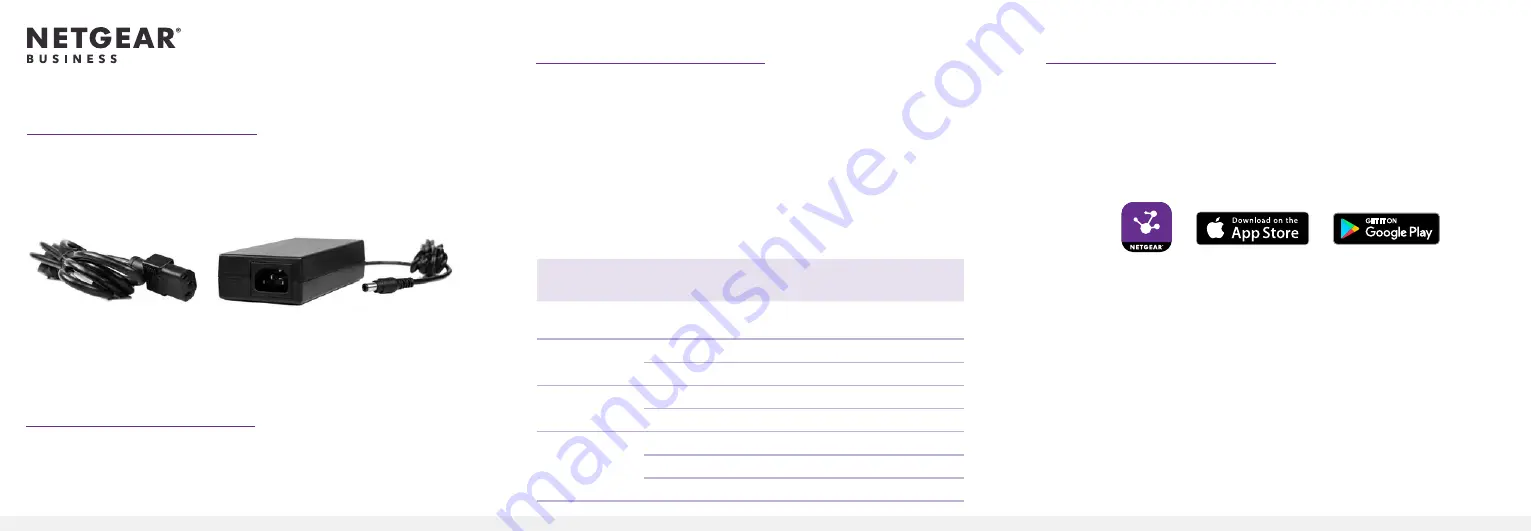
Package contents
• Power adapter
• Power cord (varies by region)
• Installation guide
Flexible PoE power budget
For NETGEAR switches that support a flexible PoE budget, you
can increase or decrease the available PoE power. To do this, you
must first change the PoE power budget setting for the switch and
then connect the new power adapter. For managed switches, log
in to the local browser interface to change the PoE power budget.
Unmanaged switches come with a physical PoE power budget
setting on the hardware.
Note:
Only connect the power adapter to a compatible NETGEAR
switch listed in the following table.
Switch
Model
Power Adapter
Model
Power Adapter
Wattage
PoE+ Power
Wattage
GC108P and
GC108PP
EPS130W
130W
126W
GS110TPP
EPS130W
130W
120W
EPS200W
200W
190W
GS108LP and
GS108PP
EPS90W
90W
83W
EPS130W
130W
123W
GS116LP and
GS116PP
EPS90W
90W
76W
EPS130W
130W
115W
EPS200W
200W
183W
Register with the NETGEAR Insight app
Use the NETGEAR Insight app to register your new power adapter
(and your switch if you haven’t already) to activate your warranty
and access support.
1. On your iOS or Android mobile device or tablet, visit the app
store, search for NETGEAR Insight, and download the latest
version of the app.
2. Open the NETGEAR Insight app.
3. If you did not set up a NETGEAR account, tap
Create
NETGEAR Account
and follow the onscreen instructions.
4. Enter the email address and password for your account and
tap
LOG IN
.
5. To register the new power adapter, tap the menu in the upper
left corner and select
Register Any NETGEAR Device
.
6. Scan the serial number barcode using the camera on your
mobile device, or manually enter the 13-digit serial number.
7. Tap
Go
.
8. To register your switch, repeat Steps 5–7.