Control Access to the Internet
22
ADSL2+ Gateway
5.
When prompted, click the
Yes
button to proceed.
6.
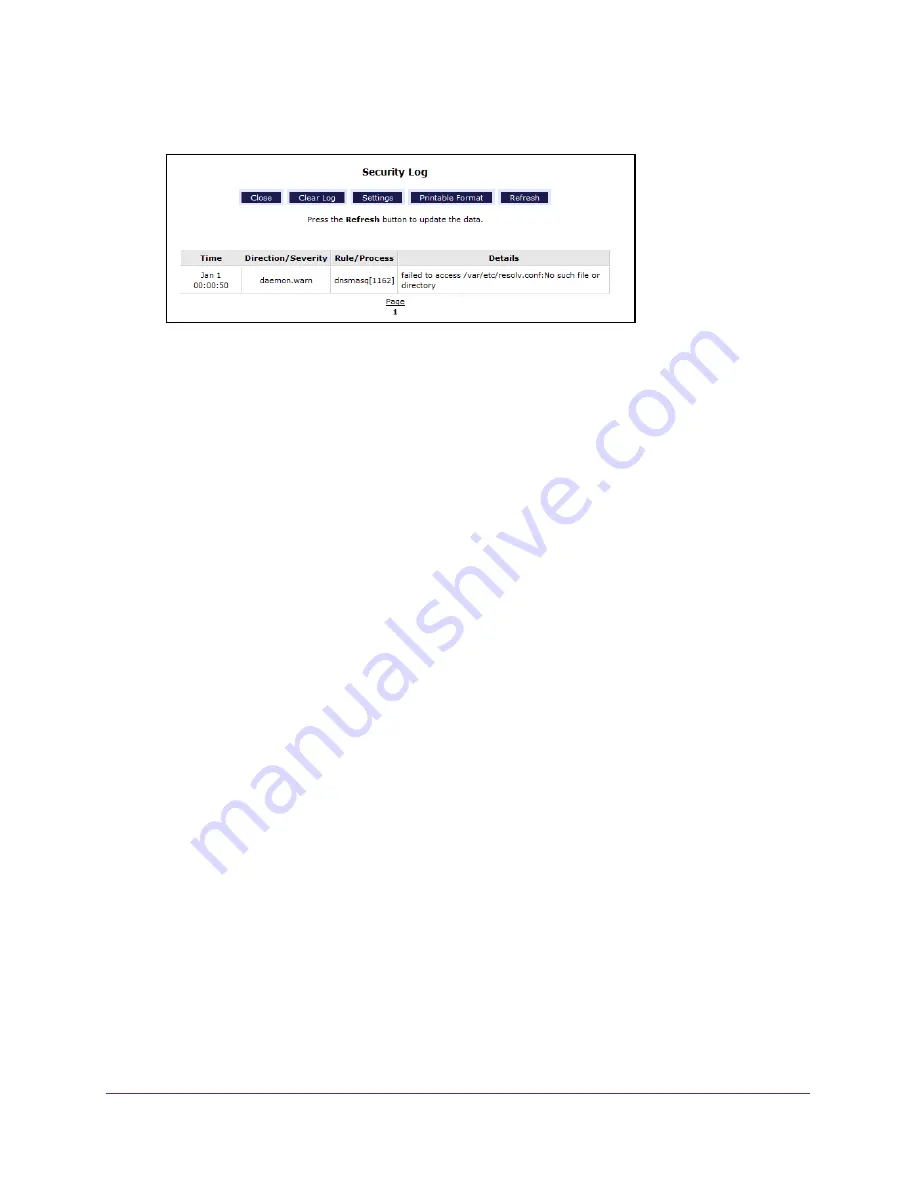
To customize the log, do the following:
a.
Click the
Settings
button.
The Security Log Settings page displays.
b.
Select
Enabled
or
Disabled
for each of these settings:
•
Log Allowed Traffic
.
•
Log Blocked Traffic
.
•
Log Traffic Specified in Rules
.
•
Log Administrative Access
.
c.
Select or clear the Remote Logging
Enable
check box
d.
If you enabled remote logging, complete the
Remote IP Address
field.
e.
Click the
Apply
button.
7.
To refresh the log page, click the
Refresh
button.
8.
To clear the log entries, click the
Clear Log
button.
9.
To save the log in a printable format, click the
Printable Format
button.
Port Forwarding Overview
Port forwarding allows you to forward incoming traffic from the outside network, to a range of
WAN ports on an IP address on the LAN. You can also enable traffic from local network to a
specified port range to be allowed to go outside of the network in medium firewall settings.
All the settings on this page are associated with a Service Profile in the Current Profile
drop-down list. If no profile has been created, the default profile is used.
To configure port forwarding, you need to know which inbound ports the application needs.
You usually can determine this information by contacting the publisher of the application or
the relevant user groups or news groups.
A typical application of port forwarding occurs when a remote computer’s browser needs to
access a web server running on a computer in your local network. Using port forwarding, you
can tell the gateway, “When you receive incoming traffic on port 80 (the standard port number
for a web server process), forward it to the local computer at 192.168.1.123.” The following
sequence shows the effects of the port forwarding rule you have defined:
DRAFT


