


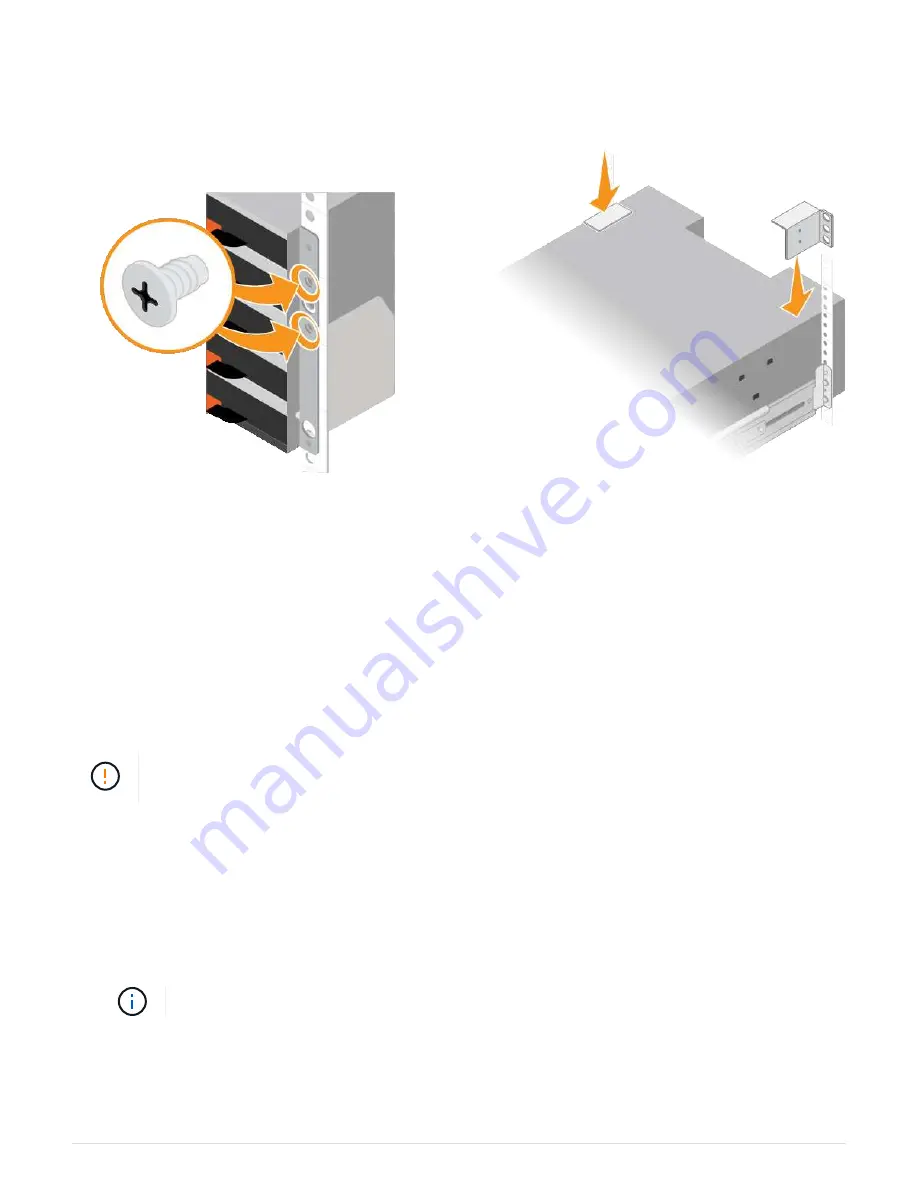
7. Secure the shelf to the rear of the cabinet.
Place two back brackets on each side of the upper rear section of the shelf. Insert screws into the first and
third holes of each bracket.
8. Repeat these steps for any expansion shelves.
SG6060: Install drives
After installing the 60-drive shelf into a cabinet or rack, you must install all 60 drives into
the shelf. The shipment for the E2860 controller shelf includes two SSD drives, which you
should install in the top drawer of the controller shelf. Each optional expansion shelf
includes 60 HDD drives and no SSD drives.
What you’ll need
You have installed the E2860 controller shelf or optional expansion shelves (one or two) in the cabinet or rack.
To avoid damaging the hardware, never move the shelf if drives are installed. You must remove
all drives before moving the shelf.
Steps
1. Wrap the strap end of the ESD wristband around your wrist, and secure the clip end to a metal ground to
prevent static discharge.
2. Remove the drives from their packaging.
3. Release the levers on the top drive drawer, and slide the drawer out using the levers.
4. Locate the two SSD drives.
Expansion shelves do not use SSD drives.
5. Raise each drive handle to a vertical position.
6. Install the two SSD drives in slots 0 and 1 (the first two slots along the lefthand side of the drawer).
7. Gently position each drive into its slot, and lower the raised drive handle until it clicks into place.
32


