n
WASHER-DRYER
en
Installation and operating instructions
Page 1: ...n WASHER DRYER en Installation and operating instructions...
Page 2: ...leaning and care 17 What to do if 19 After sales service 22 Installation instructions Installation instructions 23 Appendix Table of programmes 28 Consumption rates 29 Index 30 Please read the Install...
Page 3: ...es Risk of fire or explosion contains dust residues e g coal dust or flour Risk of explosion contains foam rubber Before using for the first time Set up the washer dryer according to the installation...
Page 4: ...Instead of D Cottons Cottons Coloureds 90 C select the y Cottons Eco 60 C programme This gives comparable results but uses less energy Measure the detergent according to the manufacturer s instructio...
Page 5: ...e condensation principle The condensate that is produced during drying runs via the Drain hose into the Drain tank Caution the water supply hose and water Drain hose must be correctly connected during...
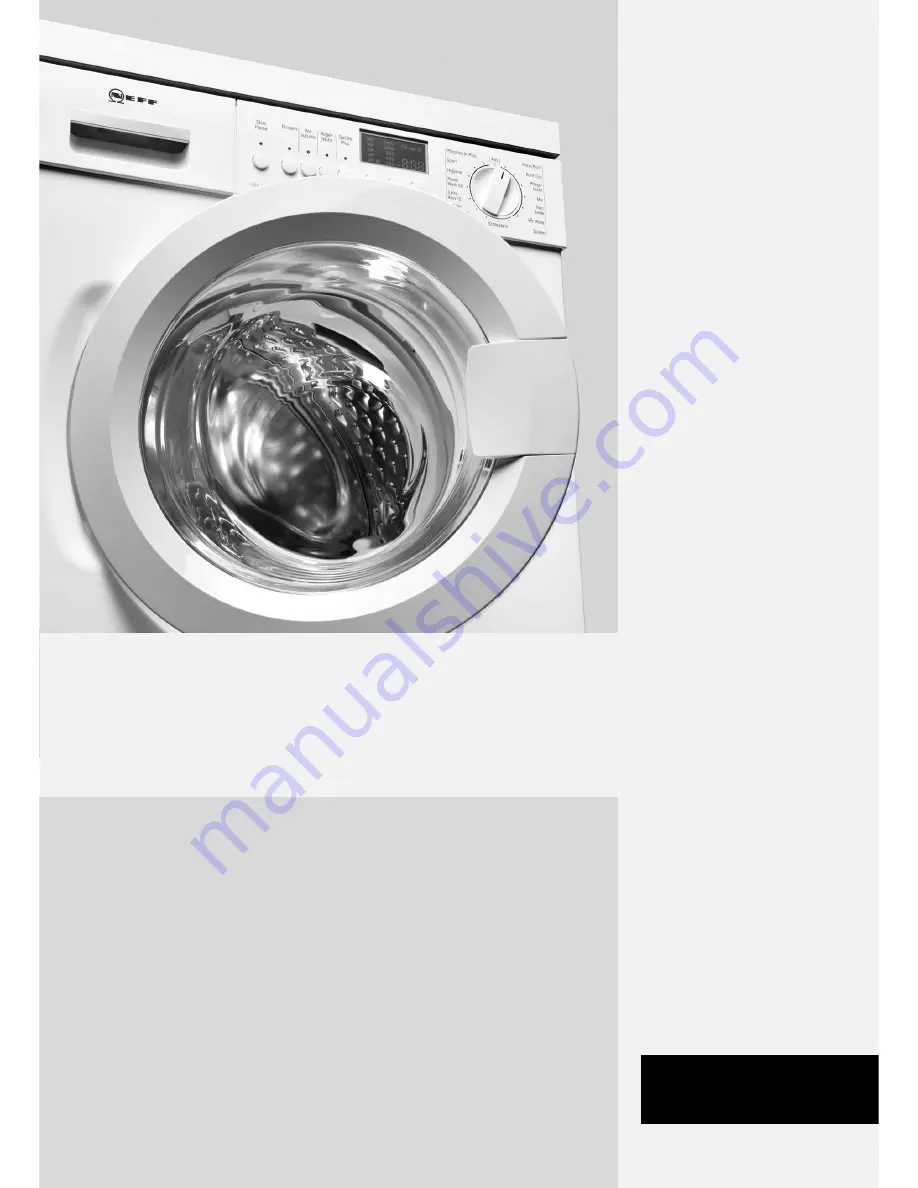
Page 6: ...proof lock Fluff removal cycle recommended load Indicator lamp Display panel Washing and drying options page 13 p Temperature individual adjustment of the washing temperature B Spin speed individual a...
Page 7: ...the detergent drawer Turn the programme selector to the 60 C programme Press the A Start Pause button At the end of the programme turn the programme selector to Off Open the door Leave the door open t...
Page 8: ...and knitted fabrics e g jerseys T shirts or sweatshirts inside out Preparing laundry for drying Only dry fabrics that have already been washed rinsed and spun Also spin easy care fabrics before drying...
Page 9: ...compartment II forwards as far as the stop and push it down Insert the detergent drawer Descaler can be added to compartments I and II according to the man ufacturer s instructions Add detergent firs...
Page 10: ...ergent to compartment II Only use liquid detergent for the main wash cycle with no prewash To do this Add the recommended amount of detergent to a liquid detergent measuring aid and place it in the dr...
Page 11: ...e programme for delicate washable fabrics e g silk satin synthetics or blended fabrics e g curtains Gentle spinning between the rinse cycles and reduced final spin speed p Wool Woollens Wool becomes m...
Page 12: ...automatically determined by the washer dryer and is indicated by the l symbol on the display panel The l symbol remains lit until the programme has been successfully completed To run the Fluff Clean l...
Page 13: ...roll through Options symbols on the display panel T Pre wash Prewash at 35 C Suitable for heavily soiled laundry X Intensive Prolonged washing time Suitable for particularly heavily soiled laundry wit...
Page 14: ...programme The 2 Remaining time is shown on the display panel The programme start symbol is lit The programme progress is shown on the display panel Pre wash N Main wash Rinse B Final spin Drying To ch...
Page 15: ...t the drying options page 14 If you do not make a selection the e Cupboard dry option is set Load the laundry page 8 Observe the maximum load Programme table page 28 Press the A Start Pause button 2 R...
Page 16: ...is Drained and the washer dryer spins the laundry The programme is completed when appears in the display field The maximum spin speed depends on the selected wash programme If you do not wish to spin...
Page 17: ...ling the washer dryer Observe the manufacturer s instructions regarding use and dosage After descaling and removing rust from the drum run the B programme several times to remove any remaining acid If...
Page 18: ...n the supply hose Turn off the tap B Press the A Start Pause button Allow the programme to run for approximately 40 seconds Set the programme selector to Off Unplug the mains plug from the socket Unsc...
Page 19: ...ime or start the programme immediately Press the A Start Pause button The door is not properly closed Close the door Plug not inserted properly into socket Insert plug correctly The maximum spin speed...
Page 20: ...rrect for textiles and suitable for use in automatic washing machines Make sure that you use the correct dosage Several attempts to start spinning Not a fault The unbalanced load detection system atte...
Page 21: ...able drying time No display on the display panel Power cut The programme continues when power is restored If you wish to remove the laundry during a power cut you must first Drain out the water page 1...
Page 22: ...ive the after sales service the product number E Nr and pro duction number FD of the appliance Enter the number of your appliance here You can find this information on the rating plate in the frame of...
Page 23: ...vent children from locking themselves in and putting their lives in danger Remove the transport braces and cross connectors and store in a safe place In addition to the instructions provided in this d...
Page 24: ...transport safety bolts to prevent damage to the washer dryer Positioning and levelling Appliance stability is essential to ensure that the washer dryer does not creep during spin cycles The installat...
Page 25: ...d correct if necessary The washer dryer must not rest against the sides of the installation recess The lock nuts of the front appliance feet must be screwed tightly against the housing Hose and cable...
Page 26: ...ply The water pressure should be between 50 900 kPa 0 5 9 bar at least 8 litres of water flow out per minute when the tap is turned on If the water pressure is higher a pressure reducing valve must be...
Page 27: ...plate Make sure that the mains plug fits the socket the cable cross section is adequate the earthing system is properly installed the appliance is not standing on the mains cable the mains plug is acc...
Page 28: ...60 Hard wearing fabrics made of cotton or linen G G G G G G A Night S cold 30 40 60 3 kg Quiet wash programme with a reduced final spin G G G G A A G f Synthetics cold 30 40 60 3 kg Easy care fabrics...
Page 29: ...te on comparative tests For testing the test programmes wash the specified load using the maximum spin speed As a short programme for coloureds select the Mix D 40 C programme with the maximum spin sp...
Page 30: ...ions 25 Display Fault message 19 Door 5 16 Door hinges 27 Drain 12 Drain pump Cleaning 18 Draining the water 18 Draining water 16 Drum Cleaning 17 Drying 14 15 Button 6 Display panel 6 Options 14 Synt...
Page 31: ...anging 14 Pausing 14 Progress 14 Programme selector 6 11 Programme start Display panel 6 R Remedial action 19 Rinse Display panel 6 Rinse hold 13 16 Rubber 3 S Safety information 3 17 19 23 Set 13 But...
Page 32: ...Constructa Neff Vertriebs GmbH Carl Wery Stra e 34 D 81739 M nchen v6540x0eu 12 2010 9000529496...