12
5. Select the projector’s SSID (”NECLEDPJ” by default), then click [Connect].
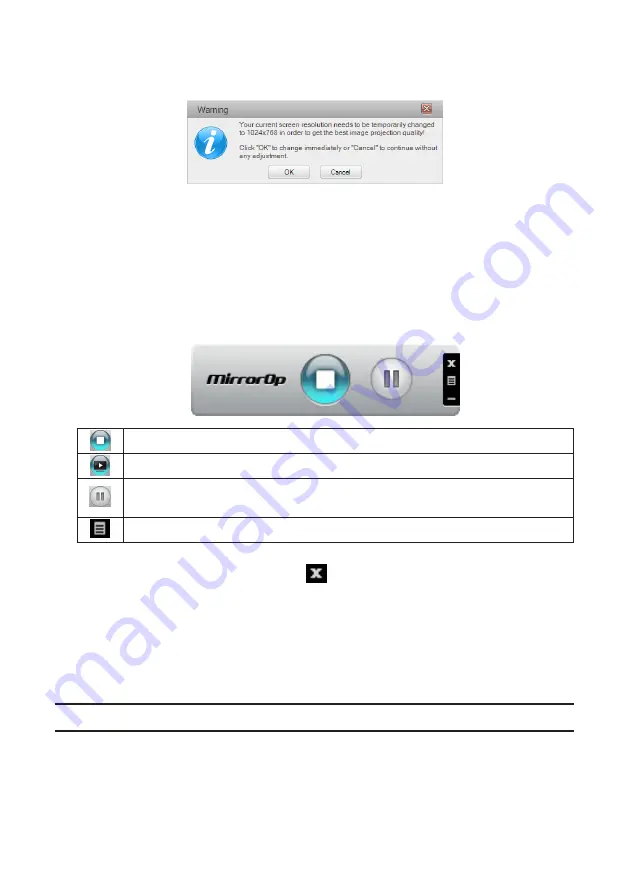
A window for confirming the change of the computer’s screen resolution appears.
Resolution shown in the window for confirming varies depending on your computer.
6. Check the message, then click [OK].
The computer’s screen resolution changes and the computer’s screen is projected from the projec-
tor.
•
To display the image without changing the current resolution, click [Cancel].
•
After the first time, the Benchmark & Configuration Tool is no longer launched when MirrorOp
Lite (for Windows) is started.
About operations on the MirrorOp Lite window
Cancels transmission of the computer’s screen.
Resumes transmission of the computer’s screen.
Sets the computer’s screen to a still picture.
When clicked again, the still picture is canceled.
Displays the sub-menu.
7. To quit MirrorOp Lite (for Windows), click
on the MirrorOp Lite window.
A window for confirming that you want to quit appears.
8. Click [OK].
MirrorOp Lite (for Windows) will quit.
• The image projected from the projector switches to wireless LAN standby screen.
3-5. Basic operation of MirrorOp Sender Lite (for Mac)
1. Connect the projector and computer by wireless LAN.
See “2-2. Connecting the projector and computer by wireless LAN”.
2. Click the “MirrorOp Sender Lite” icon in the Dock.
MirrorOp Lite (for Windows) is launched and the access point selection window appears.


