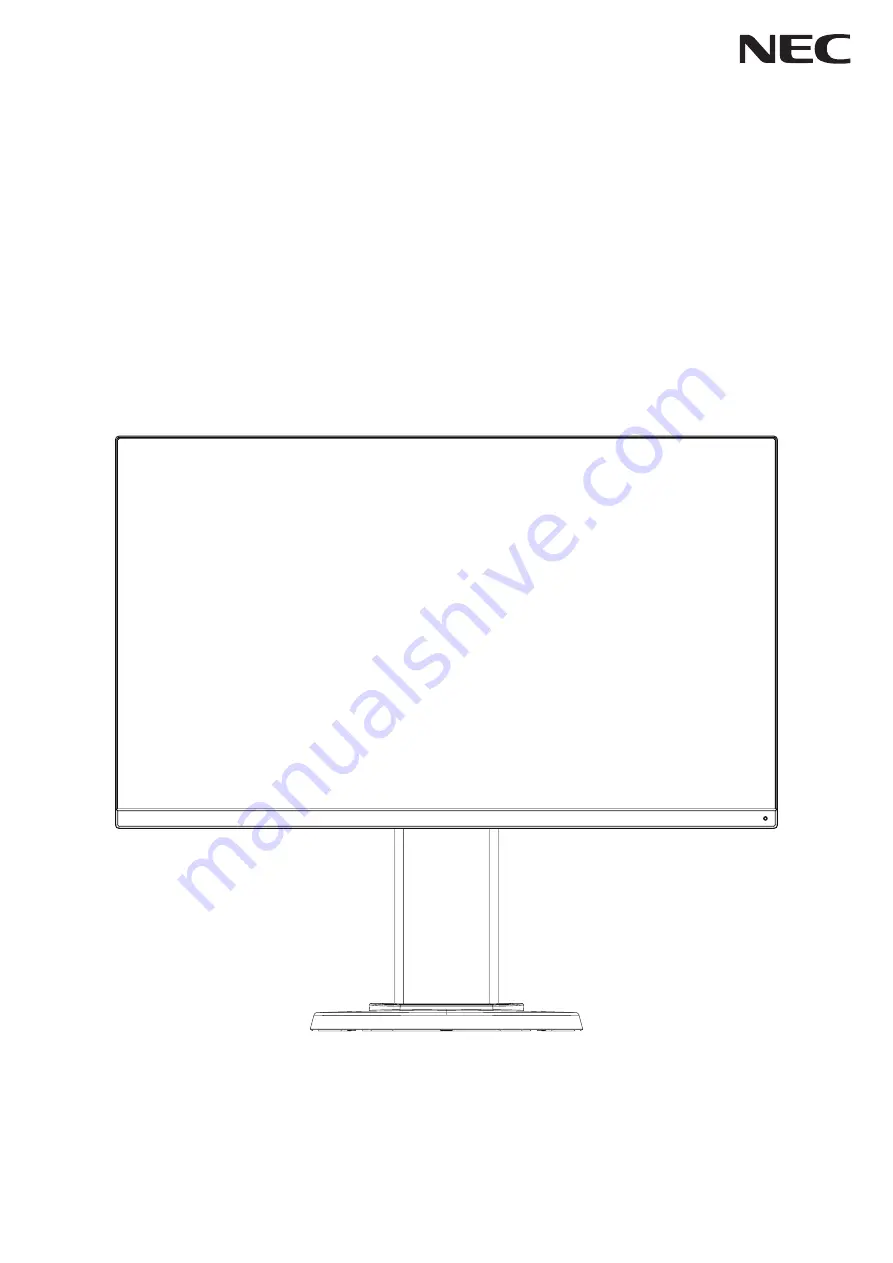
Desktop Monitor
MultiSync E242N
User’s Manual
Please find your model name in the label on the rear side of the monitor.
MODEL: M245AZ
Page 1: ...Desktop Monitor MultiSync E242N User s Manual Please find your model name in the label on the rear side of the monitor MODEL M245AZ ...
Page 2: ...formation English 3 Recommended Use English 4 Parts Name and Functions English 9 Quick Start English 10 Controls English 15 Specifications English 19 Features English 21 Troubleshooting English 22 Manufacturer s Recycling and Energy Information English 23 ...
Page 3: ...ke sure the power cord is earthed properly This symbol warns user that uninsulated voltage within the unit may have sufficient magnitude to cause electric shock Therefore it is dangerous to make any kind of contact with any part inside this unit This symbol alerts the user that important literature concerning the operation and maintenance of this unit has been included Therefore it should be read ...
Page 4: ...e unable to view material via the digital signal input this does not necessarily mean the display is not functioning properly With the implementation of HDCP there may be cases in which certain content is protected with HDCP and might not be displayed due to the decision intention of the HDCP community Digital Content Protection LLC All other brands and product names are trademarks or registered t...
Page 5: ...this equipment does cause harmful interference to radio or television reception which can be determined by turning the equipment off and on the user is encouraged to try to correct the interference by one or more of the following measures Reorient or relocate the receiving antenna Increase the separation between the equipment and receiver Connect the equipment into an outlet on a circuit different...
Page 6: ...itor s power then unplug the power cord from the power outlet Failure to do so could not only lead to fire or electric shock it could also result in vision impairment Contact your dealer for repairs Never try to repair the monitor on your own Doing so is dangerous To prevent damage to the monitor caused by tipping over due to earthquakes or other shocks make sure to install the monitor in a stable...
Page 7: ... molded plug having a black 5 A fuse installed for use with this monitor Do not disassemble the monitor Do not remove or open the monitor s cabinet Do not modify the monitor There are high voltage areas in the monitor Modifying the monitor could lead to a fire or electric shock Do not play with the plastic bag which covers the monitor Do not use this bag for any other purpose To avoid the danger o...
Page 8: ... planning to use the monitor for an extended period of time always unplug the power cord from the power outlet Handle with care when transporting To safely transport and securely install the monitor please use as many people as necessary to be able to lift the monitor without causing personal injury or damage to the monitor To ensure the monitor s reliability please clean the ventilation holes at ...
Page 9: ... time should be avoided To alleviate image persistence turn off the monitor for as long as the previous image was displayed For example if an image was on the monitor for one hour and a residual image remains the monitor should be turned off for one hour to erase the image NOTE As with all personal display devices NEC DISPLAY SOLUTIONS recommends using a moving screen saver at regular intervals wh...
Page 10: ... or reference material directly in front of you to minimize turning your head while you are typing Blink often Eye exercise helps to reduce eye strain Please contact your ophthalmologist Get regular eye checkups To avoid eye fatigue adjust the brightness to a moderate setting Place a sheet of white paper next to the LCD screen for luminance reference Do not position the Contrast control to its max...
Page 11: ...nects with external equipment such as a computer Please use this port to control the monitor from connected external equipment G USB Downstream Port Type A Connects with USB devices Connects with external equipment such as a computer compliant with USB H Headphone Jack Connects with headphones CAUTION Do not connect headphones to the monitor while you are wearing them Depending on the volume level...
Page 12: ...d in your system Figure A 1 For a PC with HDMI output Connect the HDMI cable to the connector of the display card in your system Figure A 2 For a PC with Analog output Connect a 15 pin mini D SUB signal cable to the connector of the display card in your system Figure A 3 Tighten all screws For a Mac or PC with Thunderbolt or Mini DisplayPort output Connect a Mini DisplayPort to DisplayPort cable t...
Page 13: ...eration damage display quality components of the LCD panel and or shorten the module s life CAUTION Do not bind the USB cable It may trap heat and start a fire NOTE Do not use an attenuating built in resistor audio cable Using an audio cable with a built in resistor will lower the sound level NOTE Adjustment of the volume control as well as the equalizer to settings other than the center position ...
Page 14: ...ld the monitor on each side and lift or lower to the desired height Tilt and Swivel Hold the top and bottom sides of the monitor screen with your hands and adjust the tilt and swivel as desired Screen Rotation Pivot Hold each side of the monitor screen lift to its maximum height and tilt to its maximum tilt angle then rotate the screen from landscape to portrait Tilt and Swivel Rotation Raise and ...
Page 15: ... compatible alternative mounting method Handle with care when removing the monitor stand 6 The monitor is now ready for mounting in an alternate manner Mount Flexible Arm This LCD monitor is designed for use with a flexible arm 1 Follow the instructions on how to Remove the Monitor Stand for Mounting 2 Using 4 screws that meet the specifications listed below attach the arm to the monitor Figure F ...
Page 16: ...or stand Reverse the process in the previous section to re attach the monitor stand NOTE Match TOP SIDE mark on the monitor stand to top side of the monitor when re attaching the monitor stand TOP SIDE mark Please match top side of the monitor ...
Page 17: ...s function icon Displaying on screen Function Adjustment Adjusts down Adjusts up Adjusts the function of the selected icon Resets the function NOTE You can directly change to LOW BLUE LIGHT MODE by touching the SELECT key for 3 seconds or more 2 OSD structure Main Menu Icon Select Sub Menu Icon Select Touch SELECT key Touch SELECT key again Touch or key to select an icon Main Menu Adjust Sub Menu ...
Page 18: ...gs LEFT RIGHT Analog input only Controls horizontal image position within the display area of the LCD DOWN UP Analog input only Controls vertical image position within the display area of the LCD H SIZE Analog input only Adjusts the horizontal size by increasing or decreasing the setting FINE Analog input only Improves focus clarity and image stability by increasing or decreasing this setting COLO...
Page 19: ...m port even when the monitor is in power save mode or power OFF NOTE Power consumption depends on the connected USB device even when a monitor s power is off CARBON SAVINGS Displays the estimated carbon saving information in kg The carbon footprint factor in the carbon saving calculation is based on the OECD data 2008 Edition The carbon saving information can be reset by touching the INPUT RESET k...
Page 20: ...ays VIDEO INPUT after changing the input NOTE The compliance marks that are shown when powering on the monitor the first time are not shown when switching inputs The compliance marks are not shown again unless the AC power cord has been disconnected and reconnected If you select OFF the monitor does not display VIDEO INPUT after changing the input NOTE Setting OFF also prevents the compliance mark...
Page 21: ...SuperSpeed USB USB 3 1 Gen 1 Upstream 1 Downstream 3 5 V 0 9 A Max Upstream port applicable to USB monitor control AUDIO AUDIO Input STEREO Mini Jack DisplayPort Connector HDMI Connector Analog Audio Digital Audio Digital Audio Stereo L R 0 5 Vrms 20 Kohm PCM 2ch 32 44 1 48 kHz 16 20 24bit PCM 2ch 32 44 1 48 kHz 16 20 24bit Headphone Output STEREO Mini Jack Headphone Impedance 32 Ohm Speakers Prac...
Page 22: ...0 x 1024 60 75 Hz P SXGA 1440 x 900 60 Hz P WXGA 1680 x 1050 60 Hz P WSXGA 1920 x 1080 50 Hz P FHD 1920 x 1080 60 Hz P FHD Recommend p Progressive NOTE When the selected monitor resolution is not a native panel resolution the text contents appearance in the monitor screen is expanded in a horizontal or vertical direction to show the non native resolution to full screen This expansion is done by in...
Page 23: ...trator 2 Software Offers an expanded and intuitive graphical interface allowing adjustments of the OSD display settings from a network PC No Touch Auto Adjust Analog input only Automatically adjusts the monitor to optimal settings upon initial setup Plug and Play The Microsoft solution with the Windows operating system facilitates setup and installation by allowing the monitor to send its capabili...
Page 24: ... settings to a supported mode Image is unstable unfocused or swimming is apparent Signal cable should be completely attached to the computer Disconnect the DisplayPort cable and touch SELECT key and then adjust the OSD value using the or key Use the OSD Image Adjust controls to focus and adjust the display by increasing or decreasing the FINE adjustment When the display mode is changed the OSD Ima...
Page 25: ... the Energy Saving mode is activated The monitor enters a single Energy Saving mode Mode Power consumption LED color Maximum Operation 39 W Blue Normal Operation 12 W Default setting Blue Energy Saving Mode 0 30 W Amber Off Mode 0 27 W Unlit For additional information visit https www necdisplay com in USA https www nec display solutions com in Europe https www nec display com global index html Glo...