Desktop Monitor
MultiSync E221NMultiSync E241N
User’s Manual
Please fi nd your model name in the label on the backside of monitor.
Page 1: ...Desktop Monitor MultiSync E221N MultiSync E241N User s Manual Please find your model name in the label on the backside of monitor ...
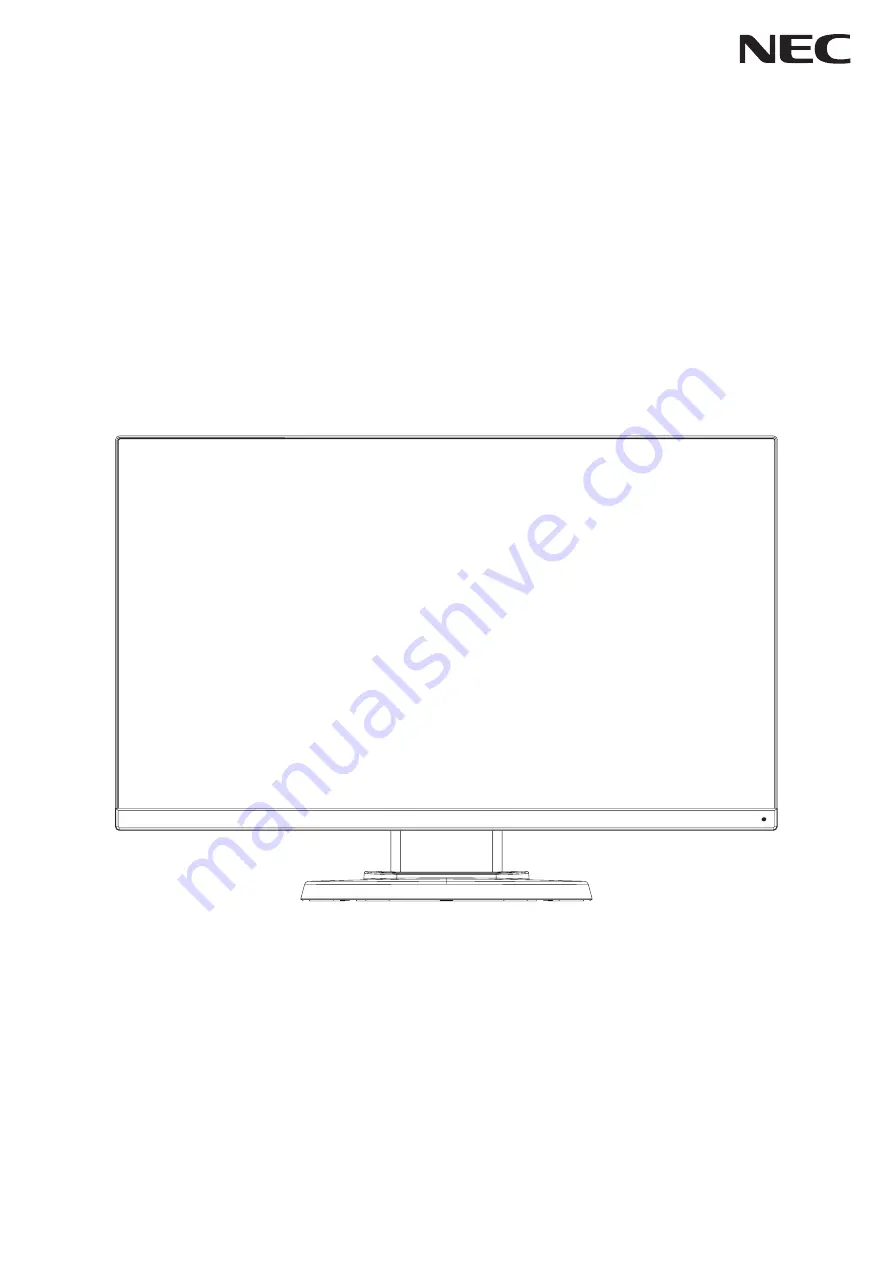
Page 2: ...eaning the LCD Panel English 5 Cleaning the Cabinet English 5 Contents English 6 Quick Start English 6 Controls English 12 Specifications E221N English 16 Specifications E241N English 17 Features English 18 Troubleshooting English 19 Manufacturer s Recycling and Energy Information English 20 The model name is on the label Rating label on the back of the display ...
Page 3: ...rous to make any kind of contact with any part inside this unit This symbol alerts the user that important literature concerning the operation and maintenance of this unit has been included Therefore it should be read carefully in order to avoid any problems CAUTION Please use the power cord provided with this display in accordance with the table below If a power cord is not supplied with this equ...
Page 4: ...e with the instructions may cause harmful interference to radio communications However there is no guarantee that interference will not occur in a particular installation If this equipment does cause harmful interference to radio or television reception which can be determined by turning the equipment off and on the user is encouraged to try to correct the interference by one or more of the follow...
Page 5: ...istered trademarks of their respective owners ENERGY STAR is a U S registered trademark As an ENERGY STAR Partner NEC Display Solutions of America Inc has determined that this product meets the ENERGY STAR guidelines for energy efficiency The ENERGY STAR emblem does not represent EPA endorsement of any product or service DisplayPort and DisplayPort Compliance Logo are trademarks owned by the Video...
Page 6: ... monitor from the wall outlet and move to a safe location then refer servicing to qualified service personnel under the following conditions If the monitor is used in this condition the monitor may cause fall fire and electric shock If the monitor stand has been cracked or peeled If the monitor has been wobbled If the monitor has an unusual odor When the power supply cord or plug is damaged If liq...
Page 7: ... To realize the maximum ergonomics benefits we recommend the following To avoid eye fatigue adjust the brightness to a moderate setting Place a sheet of white paper next to the LCD screen for luminance reference Do not position the Contrast control to its maximum setting Use the preset Size and Position controls with standard signals Use the preset Color Setting Use non interlaced signals with a v...
Page 8: ...CD monitor is to be shipped 1 Turn off the power of your computer 2 For a PC with DisplayPort output Connect the DisplayPort cable to the connector of the display card in your system Figure A 1 For a PC with HDMI output Connect the HDMI cable to the connector of the display card in your system Figure A 2 For a PC with Analog output Connect a 15 pin mini D SUB signal cable to the connector of the d...
Page 9: ...e equalizer to other settings than the center position may increase the ear headphones output voltage and therefore the sound pressure level 5 To keep the cables neatly organized place them into the cable management system that is built into the stand Place the cables in the hooks firmly and evenly Figure C 2 and Figure C 3 NOTE Cable cover is not removable 6 Please check that you can still rotate...
Page 10: ...ly Refer to the Controls section of this User s Manual for a full description of these OSD controls NOTE If you have any problems please refer to the Troubleshooting section of this User s Manual Figure E 1 Power Key Raise and Lower Monitor Screen The monitor may be raised or lowered in either portrait or landscape mode To raise or lower screen place a hand on each side of the monitor and lift or ...
Page 11: ...e to portrait Figure R 1 Figure R 1 Tilt and Swivel Grasp the top and bottom sides of the monitor screen with your hands and adjust the tilt and swivel as desired Figure TS 1 Figure TS 1 NOTE Handle with care when tilting the monitor screen Flexible Arm Installation This LCD monitor is designed for use with a flexible arm To prepare the monitor for alternate mounting purposes Follow the instructio...
Page 12: ... S 1 NOTE In order to avoid stand drop when removing screws please support stand with your hand 5 Remove the stand Figure S 2 6 The monitor is now ready for mounting in an alternate manner 7 Connect the cables to the back of the monitor NOTE Handle with care when removing monitor stand Figure S 1 Figure S 2 8 Reverse this process to re attach stand NOTE Use only VESA compatible alternative mountin...
Page 13: ...sed with an approved arm e g TUEV GS mark NOTE Tighten all screws recommended Fasten Force 98 137N cm Figure F 1 Weight of LCD assembly 3 0 kg E221N 3 5 kg E241N 100 mm 100 mm Thickness of Bracket Arm 2 0 3 2 mm 12 mm Spring washer Flat washer Attaching VESA Plate for Thin Client Computer This LCD monitor is designed for mounting a thin client computer by using VESA plate and screws Make sure to a...
Page 14: ...enu and selects function icon Function Adjustment Adjusts down Adjusts up Adjusts the function of the selected icon Resets the function NOTE You can directly change to LOW BLUE LIGHT MODE by touching the SELECT key for 3 seconds or more 2 OSD structure Main Menu Icon Select Sub Menu Icon Select Touch SELECT key Touch SELECT key again Touch or to select an icon Main Menu Adjust Sub Menu Adjust Touc...
Page 15: ...LEFT RIGHT Analog input only Controls Horizontal Image Position within the display area of the LCD DOWN UP Analog input only Controls Vertical Image Position within the display area of the LCD H SIZE Analog input only Adjusts the horizontal size by increasing or decreasing this setting FINE Analog input only Improves focus clarity and image stability by increasing or decreasing this setting COLOR ...
Page 16: ...saving information in kg The carbon footprint factor in the carbon saving calculation is based on the OECD 2008 Edition The carbon saving information can be reset by touching the INPUT RESET key CARBON USAGE Displays the estimated carbon usages information in kg This is the arithmetic estimation not actual measurement value The carbon footprint factor in the carbon usage calculation is based on th...
Page 17: ...il OSD LOCKED OUT indicator appears To deactivate touch the SELECT key then repeat the same steps until OSD main menu displays on screen SIGNAL INFORMATION If you select ON monitor displays VIDEO INPUT MENU after changing the input If you select OFF monitor doesn t display VIDEO INPUT MENU after changing the input OSD Warning OSD Warning menus disappear by touching the SELECT key NO SIGNAL This fu...
Page 18: ...ert 476 06 mm 18 7 inches 267 79 mm 10 5 inches 267 79 mm 10 5 inches 476 06 mm 18 7 inches AUDIO AUDIO Input STEREO Mini Jack DisplayPort Connector HDMI Connector Analog Audio Digital Audio Digital Audio Stereo L R 1 0 Vrms 20 Kohm PCM 2ch 32 44 1 48 kHz 16 20 24bit PCM 2ch 32 44 1 48 kHz 16 20 24bit Headphone Output STEREO Mini Jack Headphone Impedance 32 Ohm Speakers Practical Audio Output 1 0 ...
Page 19: ...z Vert 527 04 mm 20 7 inches 296 46 mm 11 7 inches 296 46 mm 11 7 inches 527 04 mm 20 7 inches AUDIO AUDIO Input STEREO Mini Jack DisplayPort Connector HDMI Connector Analog Audio Digital Audio Digital Audio Stereo L R 1 0 Vrms 20 Kohm PCM 2ch 32 44 1 48 kHz 16 20 24bit PCM 2ch 32 44 1 48 kHz 16 20 24bit Headphone Output STEREO Mini Jack Headphone Impedance 32 Ohm Speakers Practical Audio Output 1...
Page 20: ...ace Multiple Frequency Technology Automatically adjusts monitor to the display card s scanning frequency thus displaying the resolution required FullScan Capability Allows you to use the entire screen area in most resolutions significantly expanding image size VESA Standard Mounting Interface Allows users to connect your monitor to any VESA standard third party mounting arm or bracket Environmenta...
Page 21: ...ed on a blank screen Signal frequency is out of range Choose one of the supported modes Image is unstable unfocused or swimming is apparent Signal cable should be completely attached to the computer Disconnect the DP cable and touch SELECT key and then adjust the OSD value using the or key Use the OSD Image Adjust controls to focus and adjust display by increasing or decreasing the fine total When...
Page 22: ...g mode Mode Power consumption LED color Maximum Operation 25 W E221N 28 W E241N Blue Normal Operation 15 W Default setting E221N 16 W Default setting E241N Blue Energy Saving Mode 0 29 W Amber Off Mode 0 26 W Unlit For additional information visit http www necdisplay com in USA http www nec display solutions com in Europe http www nec display com global index html Global For Energy Saving informat...