


29
5. Using On-Screen Menu
❹
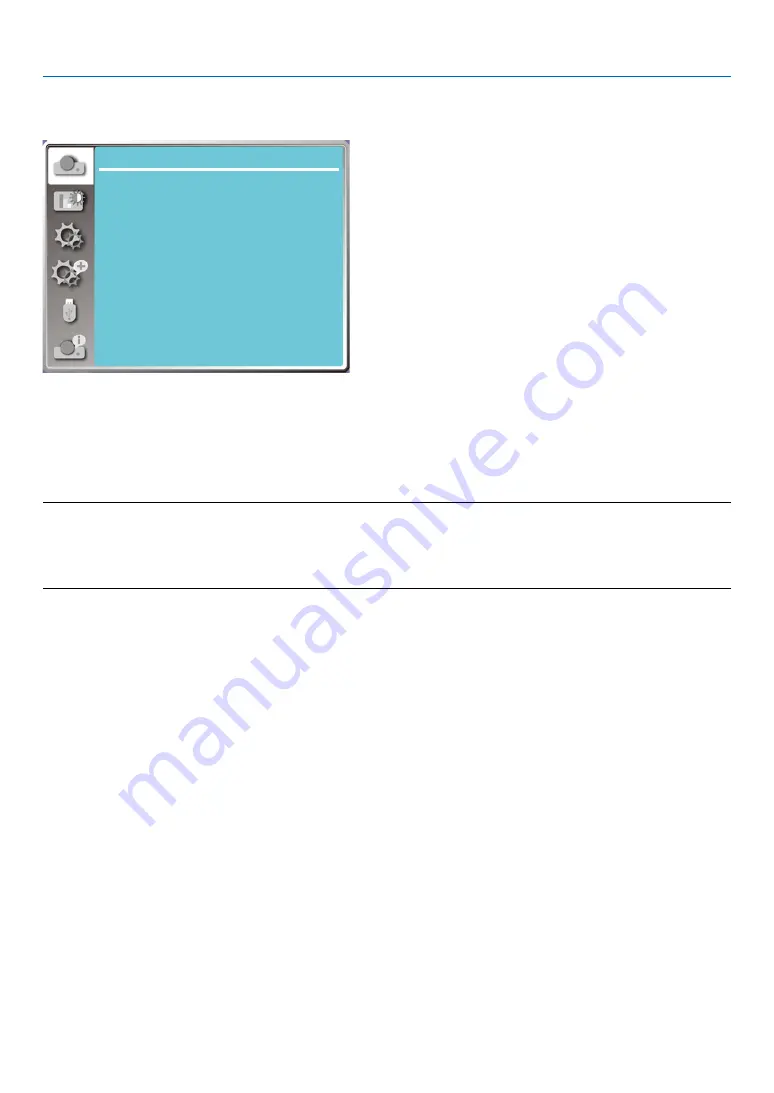
Menu Descriptions & Functions [Display menu]
[Auto PC adj.]
...
Display
Auto PC adj.
Fine sync
0
0
0
0
H position
V position
Aspect
Normal
Front
Upper left
Blue
Orientation
Menu position
Background display
System
H.size
Select Auto PC Adj. function can adjusts Fine sync, H position, V position , H. size to be compatible with the com-
puter automatically.
Press < MENU > button on the remote controller or on the top control panel to display the OSD menu.
Press
▲ ▼
button to select the Display menu ,then press <ENTER> or
▶
button.
1) Press
▲ ▼
button to select [Auto pc adj.] menu.
2) press <ENTER> button.
NOTE:
• The projector will perform Auto PC Adjustment function automatically,when its signal is input for the first time.
• Auto PC Adjustment function may fail to work if computer models is not compatible with the input signal .
• Auto PC Adjustment function may fail to work if you select the following system signal format: 480i, 576i, 480p, 576p, 720p, 1080i,1080p,
or signals from the HDMI terminal.
[Fine sync]
(Only for PC signal input)
Adujust image to the best state When the image jitters, or the image outline dims.
1) Press
▲ ▼
button to select [Fine sync] menu.
2) Press <ENTER> button.
3) Press
▲ ▼
button to adjust Fine sync .
Adjustment range is from 0 to +31. Please adjust to the least interference state.
[H position]
(Only for PC signal input)
On the premise that the relative position of both projector and the screen is set up right,you can move the image
horizontal position,if the position of the projected image on the screen is deviated.
1) Press
▲ ▼
button to select [H position] menu.
2) Press <ENTER> button.
3) Press
▲ ▼
button to adjust image H position.
Adjustment range is from -5 to +5.


