40
English ...
User Controls
Using the Projector as a Storage
Device
Important:
• Use the projector’s storage area as a temporary storage.
Back up your data on your computer’s hard disk drive before using the projector
as a storage device. We will not be liable for any data loss or damage that could
result from using the projector.
If your data is not to be used for a long period time, delete them from the projec
-
tor’s storage area.
• We will not be liable for any data loss or damage that could result from the
projector’s failure or any cause, and we will not be liable for your loss of busi
-
ness arising from the data loss or damage.
Our service includes hardware only (not including data recovery).
You can use part of the memory inside the pro
-
jector as your storage device.
This memory area can be used for saving and
loading your photos, audio, video, and Office
Reader files.
1.
Turn on the projector.
2.
Display the Multimedia and select USB-B (Connect PC) source.
3.
Use the supplied USB cable to connect the USB-B port of the projec
-
tor and the USB port (A type) of your computer.
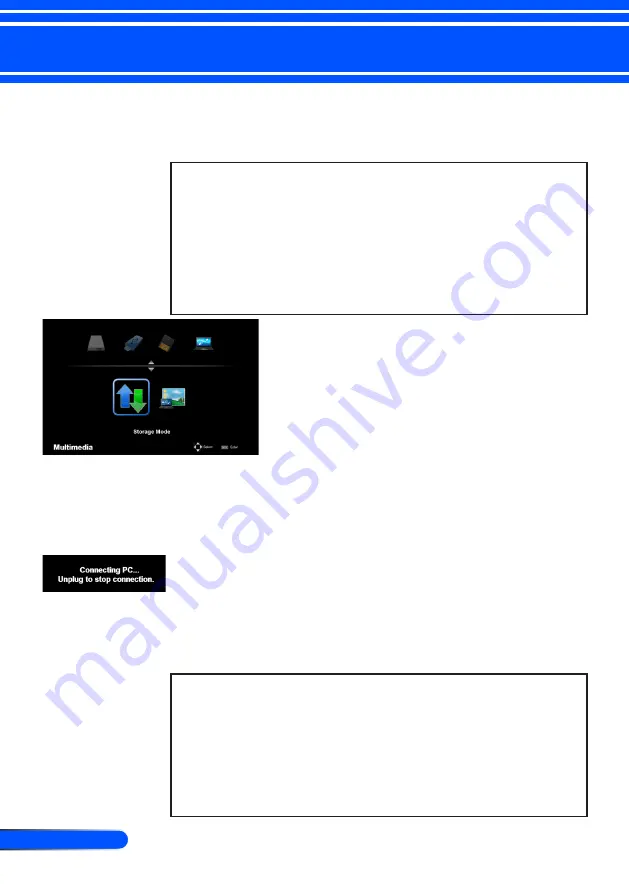
4. Select “Storage Mode” and then press “Enter”.
When you see a message as left, the drive has been added to your
computer. This allows you to read and write files to the drive of the
projector.
5. Double clicks the drive of the projector on the Windows “My Com
-
puter” on your computer.
You can access the drive of the projector to read or write files.
Note:
• Wait at least 5 seconds after disconnecting a USB memory device before recon
-
necting it and vice versa. The computer may not identify the USB memory
device if it is repeatedly connected and disconnected in rapid intervals.
• To disconnect the USB cable from the projector, first click the USB icon on the
Windows taskbar on your computer.
• Do not disconnect the power cord during data writing.
• Files in the drive of the projector will not be affected even when “Reset” is
done from the menu.
• Data of up to 1GB can be stored in the drive of the projector.


