Chapter 3 MMI Configuration
13
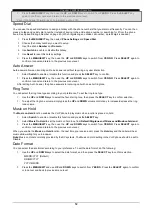
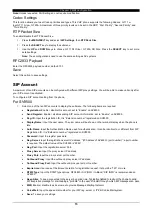
12/24Hour
You can select the time format according to your preference. To set the time format, do the following:
1.
Use the
UP
and
DOWN
keys to select the date format, and then press the
SELECT
key to confirm selection.
12 Hour (Default)
24 Hour
2.
Press the
MENU/EXIT
and use
UP
and
DOWN
keys to switch from
YES
/
NO
. Press the
SELECT
again to confirm
or to cancel and back to previous menu level.
N
N
e
e
t
t
w
w
o
o
r
r
k
k
S
S
e
e
t
t
t
t
i
i
n
n
g
g
s
s
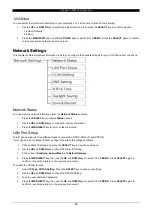
This chapter contains important information to help you configure the network settings for your VoIP phone from the phone.
Network Status
You can view the network information from the
Network
Status
submenu.
1.
Press the
SELECT
key to display
Status
options.
2.
Use the
UP
and
DOWN
keys to check the internet information.
3.
Press the
MENU/EXIT
key to return to the main menu.
LAN Port Setup
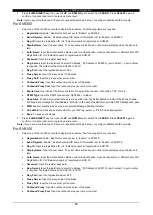
This IP phone supports three different types of connection: DHCP, Static IP, and PPPOE.
If your phone is set to Static IP client, configure the Static IP settings as follows.
1.
Choose Static IP setting and press the
SELECT
key to view the submenus.
2.
Use the
UP
and
DOWN
keys to check the Static IP Setting.
3.
Choose from
IP address
,
Subnet Mask
, and
Default Gateway
.
4.
Press the
MENU/EXIT
key, then use the
UP
and
DOWN
keys to switch from
YES
/
NO
. Press
SELECT
again to
confirm or cancel and return to the previous menu level.
To enable the PPPoE function:
1. Select
IP Type
,
PPPoE Setting
. Press the
SELECT
key to save your settings.
2. Use the
UP
and
DOWN
keys to check the PPPOE Setting.
3. Type the user name and password.
4. Press the
MENU/EXIT
key, then use the
UP
and
DOWN
keys to switch from
YES
/
NO
. Press
SELECT
again to
confirm or cancel and return to the previous menu level.


