12
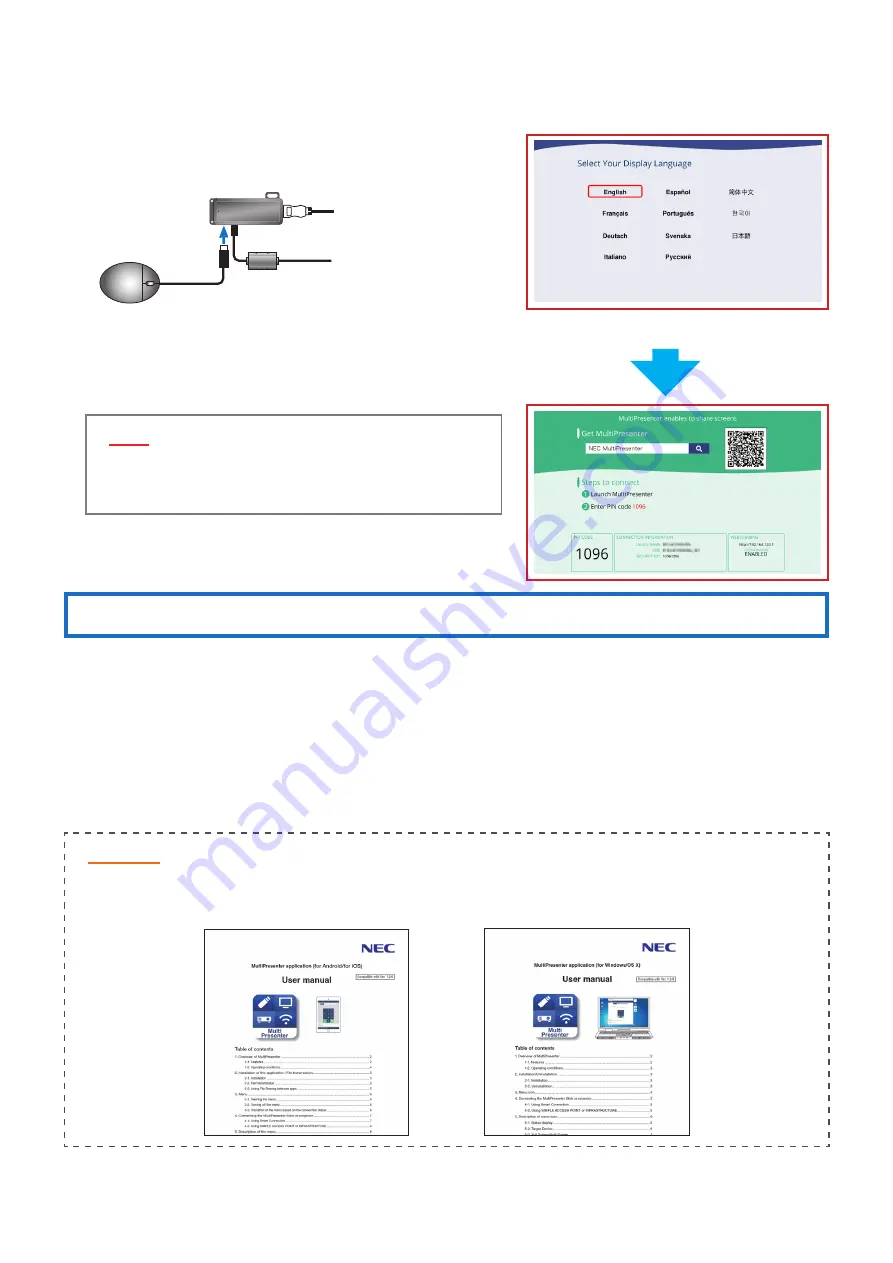
4-2-2. Making the initial settings using a commercially available USB mouse
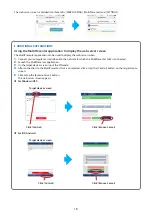
Continued from step
6
in “4-1. Connecting the MultiPresenter Stick to an image display device and turning on the power”
on page 8.
1
.
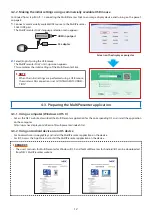
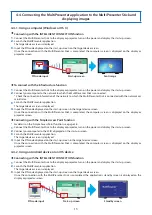
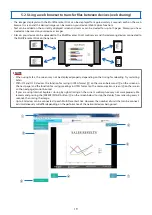
Connect a commercially available USB mouse to the MultiPresenter
Stick’s USB port.
The MultiPresenter Stick’s language selection menu appears.
HDMI input port
AC adapter
Screen on the display or projector
2
.
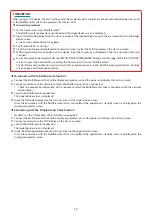
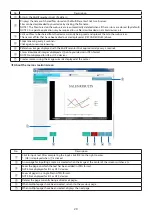
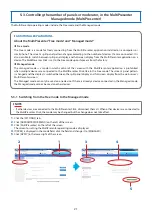
Select [English] using the USB mouse.
The MultiPresenter Stick’s start-up screen appears.
This completes the initial settings of the MultiPresenter Stick.
▸
▸
NOTE
• When the initial settings are performed using a USB mouse,
the wireless LAN connection is set to “INTELLIGENT CONNEC-
TION”.
4-3. Preparing the MultiPresenter application
4-3-1. Using a computer (Windows or OS X)
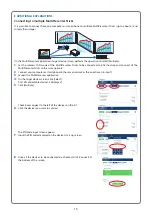
• Access the NEC website, download the MultiPresenter application for the corresponding OS and install the application
on the computer.
http://www.nec-display.com/dl/en/soft/multipresenter/index.html
4-3-2. Using an Android device or an iOS device
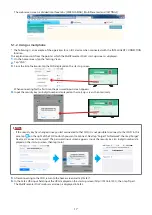
• For Android: Access Google Play and install the MultiPresenter application on the device.
• For iOS: Access the App Store and install the MultiPresenter application on the device.
▸
▸
REMARKS
• The user’s manuals for MultiPresenter for Windows/OS X and for MultiPresenter for Android/iOS can be downloaded
from NEC’s MultiPresenter website.


