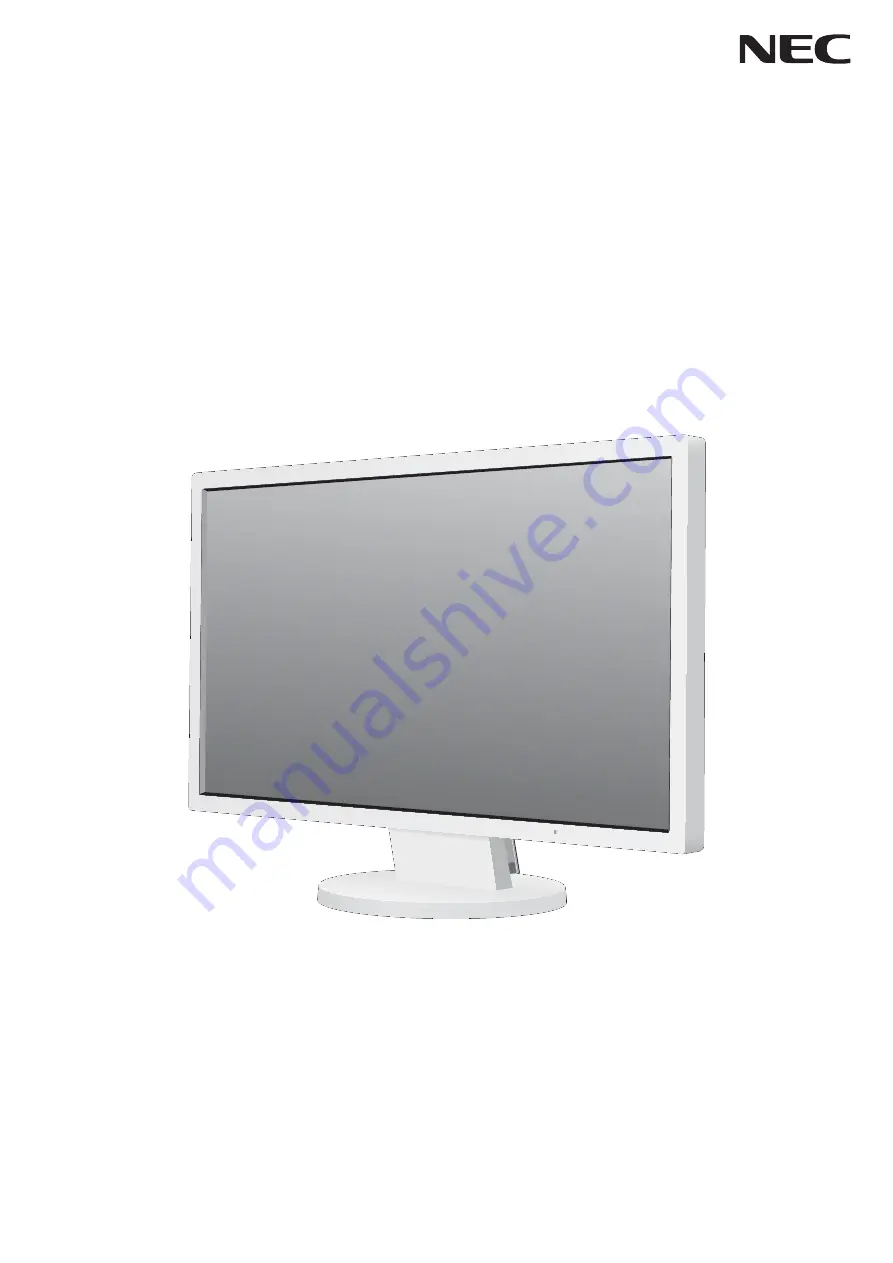
Desktop Monitor
AccuSync AS203WMi
User’s Manual
Please find your model name in the label on the backside of monitor.
Page 1: ...Desktop Monitor AccuSync AS203WMi User s Manual Please find your model name in the label on the backside of monitor...
Page 2: ...ety Precautions and Maintenance English 4 Ergonomics English 5 Cleaning the LCD Panel English 5 Cleaning the Cabinet English 5 Contents English 6 Quick Start English 6 Controls English 10 Specificatio...
Page 3: ...NOT USE THIS UNIT S POLARIZED PLUG WITH AN EXTENSION CORD RECEPTACLE OR OTHER OUTLETS UNLESS THE PRONGS CAN BE FULLY INSERTED REFRAIN FROM OPENING THE CABINET AS THERE ARE HIGH VOLTAGE COMPONENTS INSI...
Page 4: ...e with the instructions may cause harmful interference to radio communications However there is no guarantee that interference will not occur in a particular installation If this equipment does cause...
Page 5: ...office or domestic environment The product is intended to be connected to a computer and is not intended for the display of television broadcast signals To see a list of our TCO certified monitors and...
Page 6: ...your monitor from the wall outlet and move to a safe location then refer servicing to qualified service personnel under the following conditions If the monitor is used in this condition the monitor ma...
Page 7: ...Ergonomics To realize the maximum ergonomics benefits we recommend the following To avoid eye fatigue adjust the brightness to a moderate setting Place a sheet of white paper next to the LCD screen f...
Page 8: ...Figure S 1 To attach the AccuSync LCD monitor to your system follow these instructions NOTE Make sure to read Recommended Use page 4 before installation The accessories included will depend on the whe...
Page 9: ...igure B 1 Headphone Rating label on the back of the display Figure D 1 Power Button Figure C 1 Power cable The model name is on the label Input Audio Input VGA Input DVI NOTE Adjustment of the volume...
Page 10: ...ternative manner 4 Connect the AC cord and signal cable to the back of the monitor Figure R 3 5 Reverse this process to re attach stand NOTE Use only VESA compatible alternative mounting method NOTE H...
Page 11: ...screws Figure F 1 to avoid damage to the monitor or stand To meet the safety requirements the monitor must be mounted to an arm which guaranties the necessary stability under consideration of the weig...
Page 12: ...and selects function icon Moves leftward Moves rightward Function Adjustment Reset the function Mute off on switch on Volume adjustment window Adjusts the function of the selected icon Adjusts down Ad...
Page 13: ...INPUT RESET key AUTO ADJUST Analog input only Automatically adjusts the Image Position the H Size and Fine setting LEFT RIGHT Analog input only Controls Horizontal Image Position within the display a...
Page 14: ...e resolution ASPECT The image is expanded without changing the aspect ratio DDC CI Turns ON or OFF the two way communication and control of the monitor CARBON SAVINGS Displays the estimated carbon sav...
Page 15: ...1600 x 900 at 60 Hz NEC DISPLAY SOLUTIONS cites recommended resolution for optimal display performance Active Display Area Horizontal Verttical 433 9 mm 17 1 inches 236 3 mm 9 3 inches Audio Audio In...
Page 16: ...lower power consumption level when on but not in use saving two thirds of your monitor energy costs reducing emissions and lowering the air conditioning costs of the workplace Multiple Frequency Techn...
Page 17: ...ls are missing and OSD warning OUT OF RANGE is displayed Either signal clock or resolution is too high Choose one of the supported modes OSD warning OUT OF RANGE is displayed on a blank screen Signal...
Page 18: ...ww nec display com in Japan or http www necdisplay com in USA Energy Saving This monitor features an advanced energy saving capability When a Display Power Management signal is sent to the monitor the...