21
press the HOME button again to restore it. The camera will reboot by itself and the new video format is activated.
•
You can cancel it by pressing the MENU button.
•
Depending on the video client software you are using, some video software may need to be restarted
to obtain the new video format. You can select from the following video formats:
•
1080P:60/59.94/50/30/29.97/25, 1080I:60/59.94/50, 720P:60/59.94/50/30/25
NOTE:
The camera video format can also be changed by setting the rotary DIP switch at the back of
the unit.
SV (Software Version)
Software Version Number that is currently running on the camera, you may need this information for technical
support.
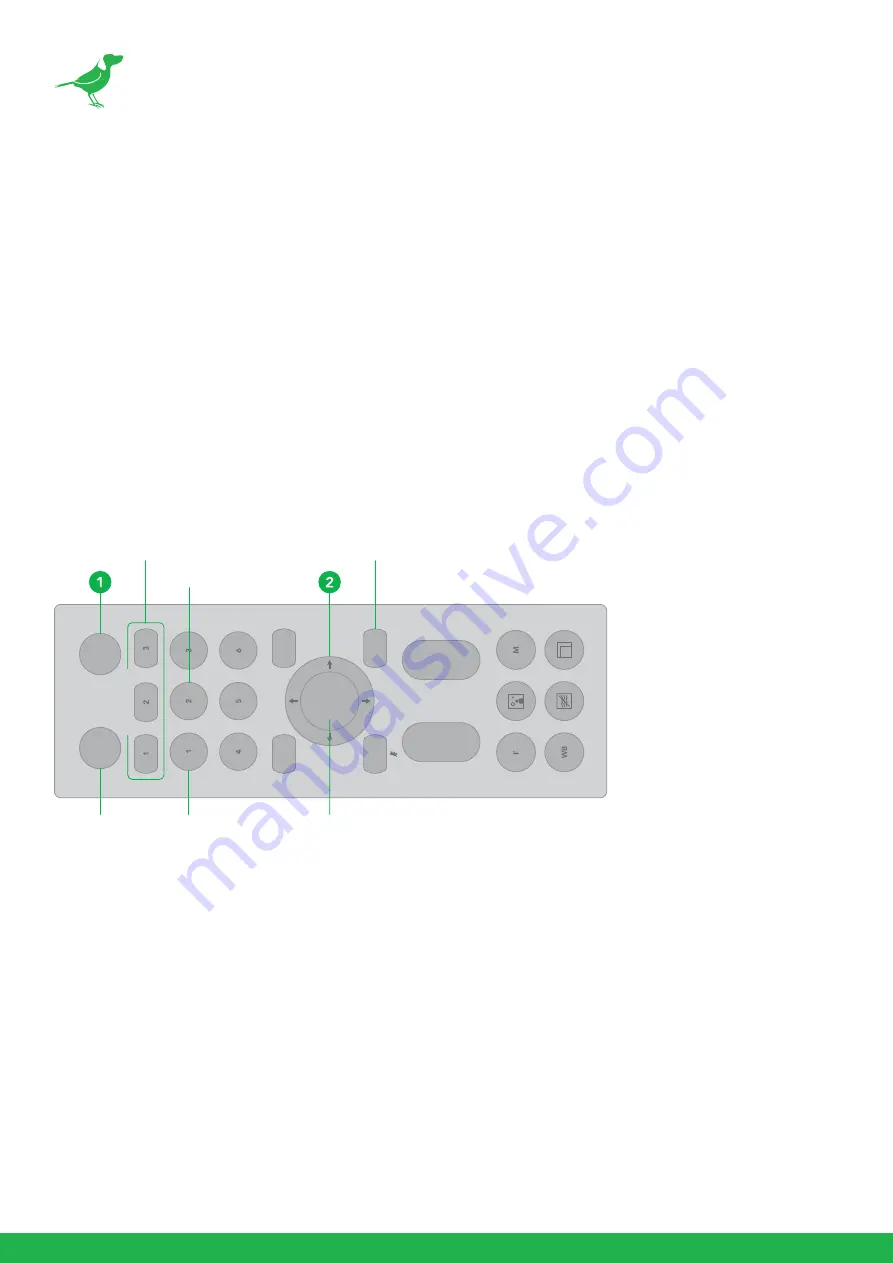
Controlling the Camera Using the Remote Controller
Panning and Tilting
1.
Press the POWER switch. The camera will turn on and perform the pan/tilt reset operation automatically.
2.
Press the arrow button to pan or tilt the camera. While checking the picture on the screen, press the desired
arrow button.
3.
To move the camera in short increments, press the button.
4.
To move the camera in long increments, press and hold the button.
5.
To move the camera diagonally, press the “
←
or
→
” button while holding down the “
↑
or
↓
” button.
6.
Press the HOME button to return to the starting position.
L/
R
DIRE
CT
IO
N
SE
T
MENU
PO
WE
R
ST
D
PR
ESET
T
W
FA
R
NE
AR
RESE
T
RE
V
ZO
OM
FOCU
S
HOME
CA
ME
RA
S
ELEC
T
CAMERA SELECT
REV
STD
HOME
MENU
L/R DIRECTION SET


