16
Using the Camera Menus
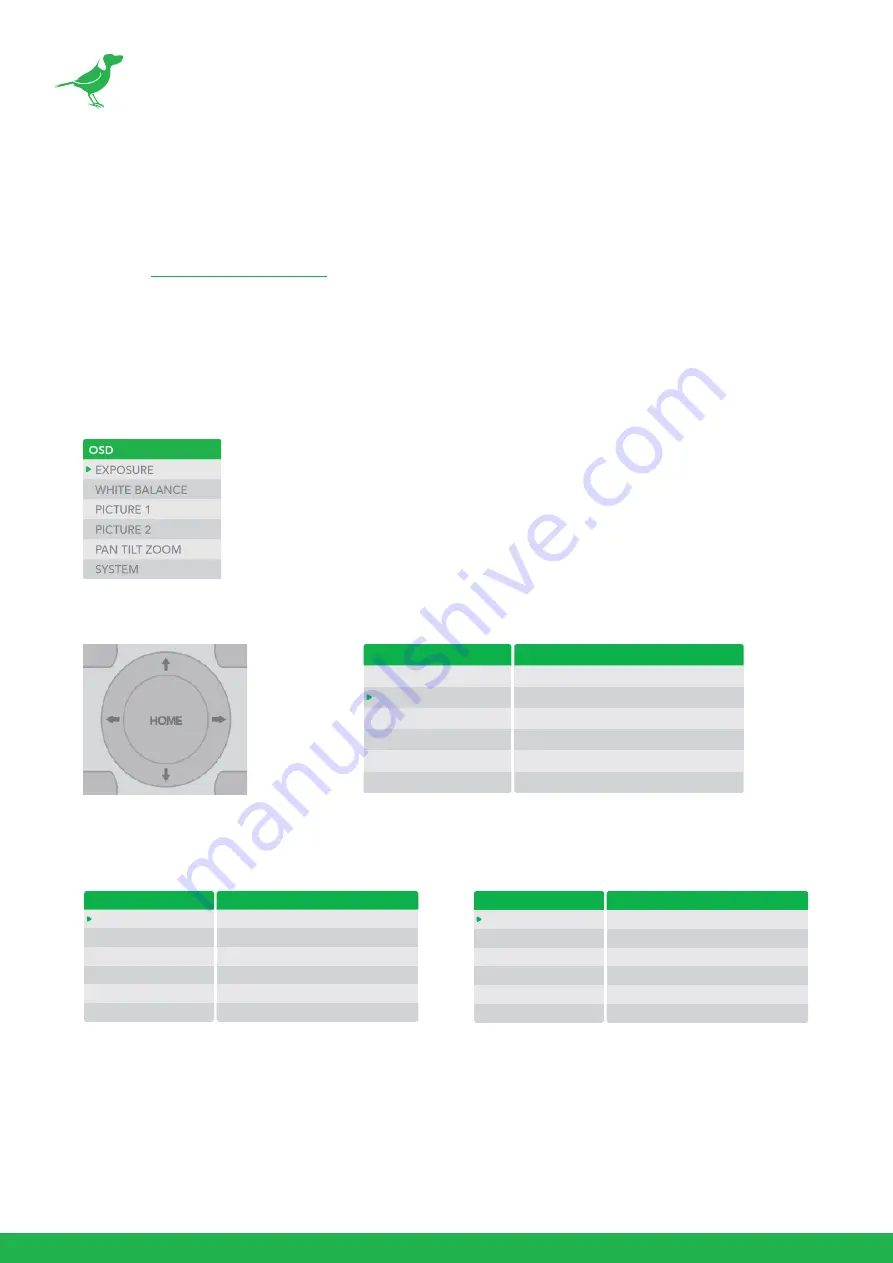
You can use the infrared remote controller to change camera settings while viewing the On Screen Display (OSD)
menus on a connected monitor. The OSD is viewable over NDI, SDI or HDMI.
However, the
(BirdUI) affords greater control of your camera with more parameters as
well as allowing remote adjusting of camera settings over NDI, and is the recommended method of adjusting your
camera.
This section explains how to navigate the menus. The menu parameters may vary according to the different
product model numbers.
1.
To display the main menu, press the MENU button on the supplied infrared remote controller. The main menu
is displayed.
2.
Use the “
↑
,
↓
” buttons to navigate between main menu items. For example, clicking the "
↓
” button once will
move the cursor to the item below.
3.
To enter the sub menu of a selected item, click either the “
→
" button or the HOME button. In the example
below, we are navigating between two sub menus of the Exposure main menu. Sub menus can also be navigated
vertically to select sub menu items.
4.
Once you've navigated to a setting value, use the “
←
,
→
”buttons to increment or decrement the value.
5.
Press the MENU button to exit the menus.
NOTE:
When you are operating the menu using the infrared remote controller, you cannot set IR- RECEIVE in the
SYSTEM menu to OFF. To set IR- RECEIVE to OFF, use the appropriate VISCA command.
OSD
EXPOSURE
WHITE BALANCE
PICTURE 1
PICTURE 2
PAN TILT ZOOM
SYSTEM
WHITE BALANCE MENU
WB MODE
AUTO
OSD
EXPOSURE
WHITE BALANCE
PICTURE 1
PICTURE 2
PAN TILT ZOOM
SYSTEM
EXPOSURE MENU: FULL AUTO
MODE
SLOW SHUTTER
S. SHUTTER LIMIT
AE RESPONSE
GAIN LIMIT
EX COMP
FULL AUTO
OFF
1/4
01
21.4dB
OFF
OSD
EXPOSURE
WHITE BALANCE
PICTURE 1
PICTURE 2
PAN TILT ZOOM
SYSTEM
EXPOSURE MENU: MANUAL
MODE
GAIN
GAIN LIMIT
SPEED
IRIS
HIGH SENSITIVITY
MANUAL
12dB
21.4dB
1/60
F1.6
OFF


