


BIOS Updating Procedure
7-86
Updating the SPI/BIOS Using the Bootable USB
Memory Key
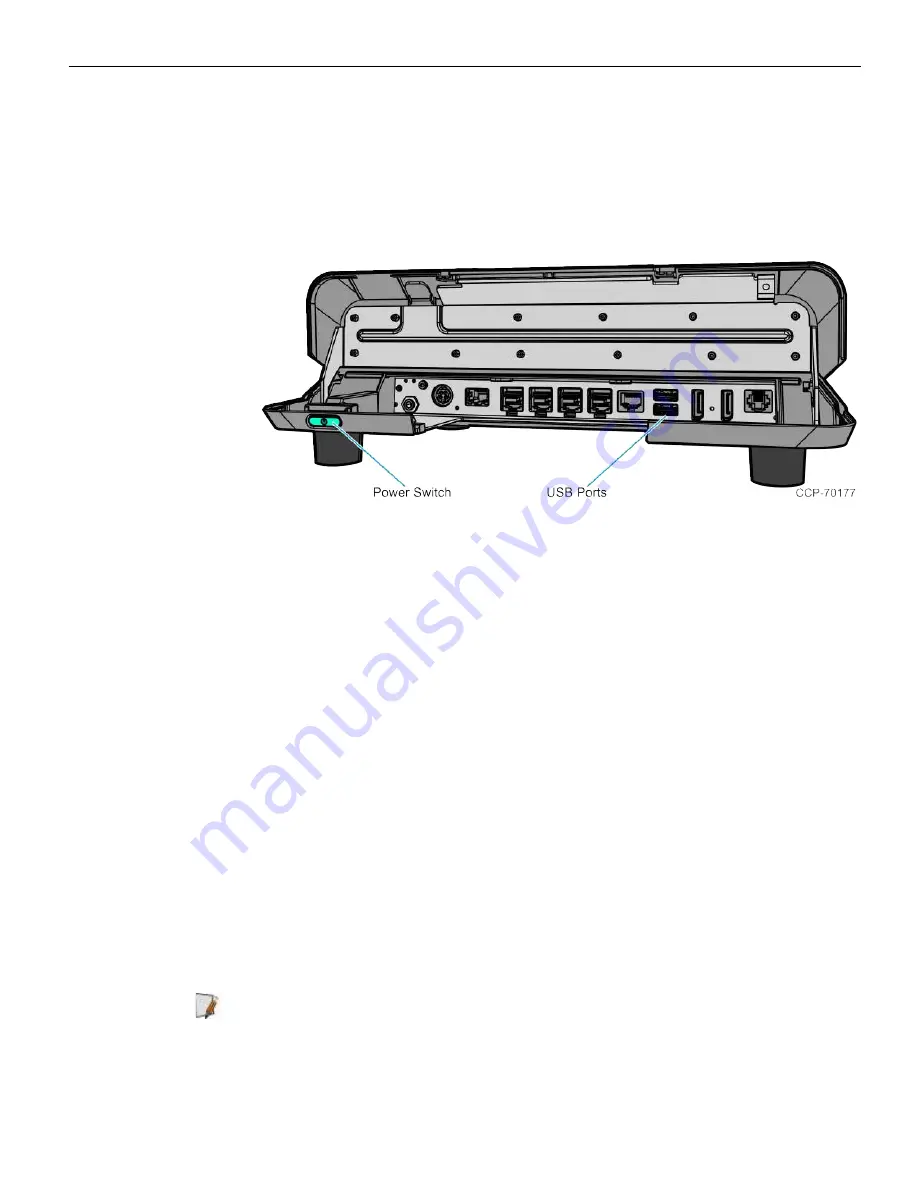
1. Insert the USB device containing the SPI/BIOS update software into the terminal.
2. Connect a USB keyboard to the terminal.
3. Power on the terminal.
4. Validate that the BIOS configuration setup has the USB Key as the first boot device
in the
Boot
menu or plan on using the [
F8
] BBS menu to force the USB key to be
booted.
5. Reboot the system. Use the [
F8
] key to force booting from the USB key. The terminal
performs a FreeDOS boot from the USB key.
6. At the displayed menu, select
Option 1
to update the complete SPI and preserve
DMI (valid or invalid). Press [
ENTER
].
7. At the prompt, press [
ENTER
] to enter the class/model, serial number, and other
information requested by the update process. Follow the on-screen format
instructions.
Example:
7613-1215-8801
[
ENTER
]
54-19378230
[ENTER]
8. After the components are updated, a message is displayed indicating a reboot is
needed. Press
[3]
to reboot the terminal (automatically executes in 2 minutes if no
keys are pressed).
9. Remove the USB device before the system boots.
Note:
After the update is completed and the terminal is rebooted, the terminal may
reboot additional times as it powers up. This is normal and expected behavior due to
the nature of the features of the BIOS/SPI.
Summary of Contents for RealPOS XR4 7602
Page 1: ...User Guide NCR RealPOS XR3 7613 Release 1 0 BCC5 0000 5154 Issue B...
Page 13: ...xi...
Page 20: ...Product Overview 1 7 Label Locations...
Page 62: ...4 49 Disk Image Backup and Recovery Tool 2 Click on the USB Button...
Page 69: ...Disk Image Backup and Recovery Tool 4 56 A progress bar is displayed as the image is applied...
Page 70: ...4 57 Disk Image Backup and Recovery Tool A message is displayed when the load is complete...
Page 71: ...Disk Image Backup and Recovery Tool 4 58 5 Reboot the POS...
Page 82: ...5 69 Power Management 2 Select Network Adapters Realtek PCIe GBE Family Controller 2...
Page 98: ...7 85 BIOS Updating Procedure 5 Select Make Bootable...
Page 124: ...2x20 Customer Display Interface 9 111 245 246 247 248 249 250 251 252 253 254 255...
Page 132: ...2x20 Customer Display Interface 9 119 245 246 247 248 249 250 251 252 253 254 255...
Page 140: ...2x20 Customer Display Interface 9 127 245 246 247 248 249 250 251 252 253 254 255...
Page 144: ...10 131 Wireless Adapter Switching 6 Select Create a new package OK...
Page 151: ...B 138 Touch Screen Calibration Do NOT touch the bezel with your other fingers...