


4-74
Touch Screen Calibration
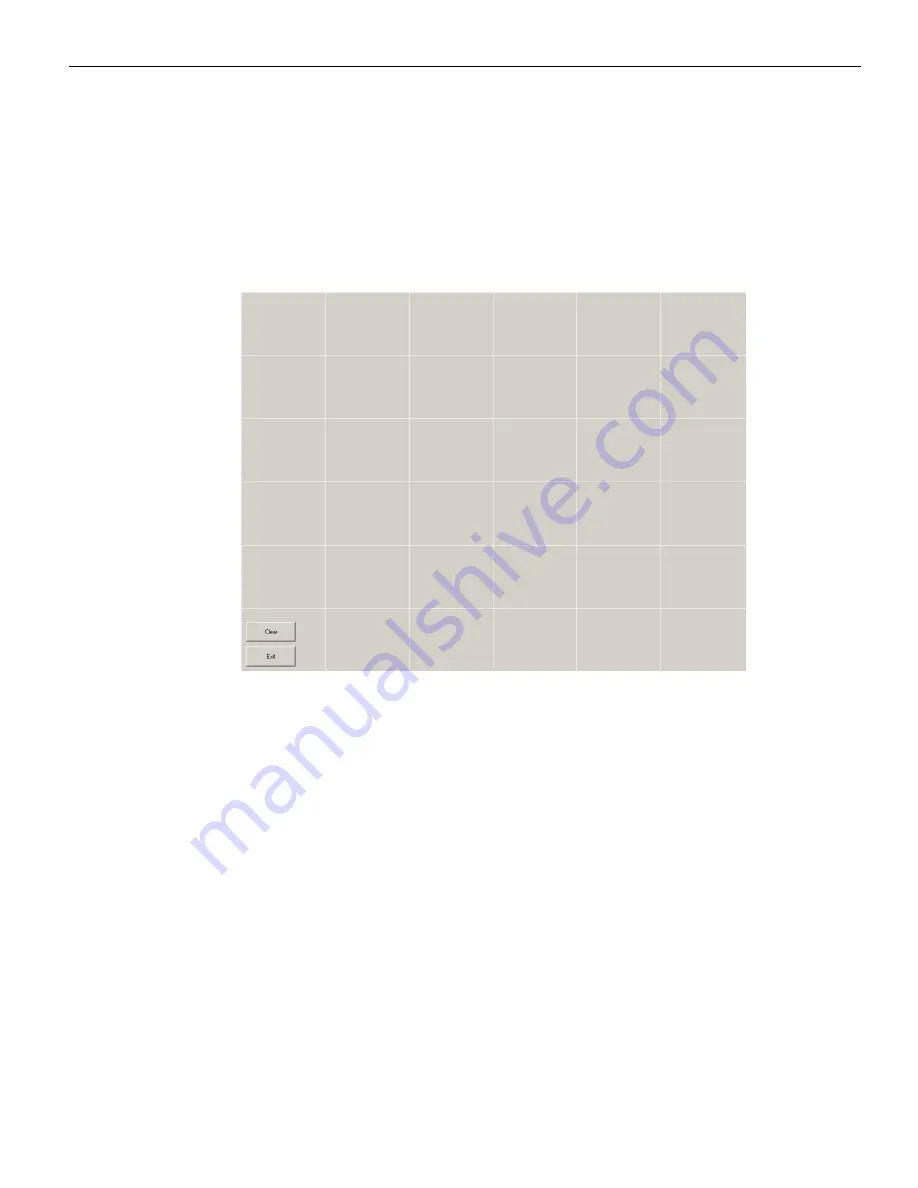
Verifying the Calibration
1. Select the
Tools
tab.
2. Select the
DrawingTest
button.
3. Test the calibration on the draw screen.
Touch the screen in various spots and trace each of the horizontal and vertical lines,
including the border around the screen.
In this test, all touches are persistent, including touch downs (green dots) and touch
ups (red dots).
After tracing the lines, review the drawn lines to make sure they closely follow the
underlying pattern. Pay close attention to the edges of the display and the corners
since this is where an incorrect calibration is most noticeable. If a line or point
appears to be outside the pattern, try pressing the area to see how far the cursor is
from the touch point. If the registered touch is greater than 7 mm away from where
the touch occurred, repeat the calibration.
4. Select
Exit
to close this screen and to return to the Microchip TSHARC Control
Panel.
5. Select the
Calibration
tab to repeat the calibration procedure or select
Apply
and
then
OK
if you are satisfied with the results and want to close the application.
Summary of Contents for RealPOS 72XRT POS
Page 1: ...USER GUIDE NCR RealPOS 72XRT POS 7616 Release 1 1 B005 0000 2228 Issue C...
Page 31: ...Product Overview 1 19 Additional peripheral connectors are located under the Customer Display...
Page 52: ...1 40...
Page 72: ...2 60...
Page 82: ...4 70 Touch Screen Calibration Do NOT get your hand and other fingers too close to the bezel...
Page 104: ...6 92...
Page 138: ...8 126...
Page 144: ...9 132 2x20 Customer Display Interface CP437...
Page 145: ...2x20 Customer Display Interface 9 133 CP858...
Page 146: ...9 134 2x20 Customer Display Interface CP866...
Page 147: ...2x20 Customer Display Interface 9 135 CP932...
Page 148: ...9 136...
Page 176: ...12 164...
Page 192: ...13 180...


