NCast Presentation Recorder Reference Manual
5. In the “Window 2” fields enter 640, 0, 240, 180 to define Window 2 as the window which will
associated with the PIP video stream. Update the change.
6. Go to the Channel Table and click “Modify” on the Channel which will be used for this custom
layout. Click on the Layout tab.
Select “Frame size 1”, “Aspect ratio 1”, “Window 1” and Window 2” in their respective menus. Check
the PIP checkbox and Update the change.
7. Click on the Image Overlays tab. In the “Overlay 1” fields enter 640, 180 to define the upper-left
corner of the overlay. Change the right-hand field to “Enabled”. Update the change.
8. In the “Overlay 1 to upload” field use the “Browse …” button to find the required .jpg or .png
image and then upload the image. This image must have dimensions of 240x300 to properly fit
in the capture window.
9. On the Sources page make these selections and press “Update”:
a. Main input:
VGA (or possibly DVI)
b. PIP input:
Composite (or possibly S-Video)
The Presentation Recorder is now ready to transmit the composite image as defined in this example.
8.1.2. Hi-Definition 720p Layout Example
For archival purposes or for playback on hi-definition 16:9 screens the following example gives the
dimensions of a 720p layout that NCast and its customers have used successfully to capture conference
proceedings and other seminars. The capture window used is WXGA at 1280x720 resolution and 16:9
aspect ratio. The Main graphics window occupies an area of 960x720 (Custom Window 1) and the PIP video
window is set to 320x240 (Custom Window 2). In this example the Graphic Overlay 1 .png image is 320x480
and is located at (0,240). For a graphics framerate of 30 frames/second a bitrate of 2.5 Mbps produces
excellent results.
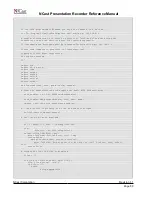
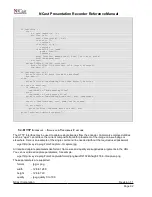
The Channel Table Layout parameters required to produce this frame arrangement is shown below:
NCast Corporation
Revision 1.1
Page 81


