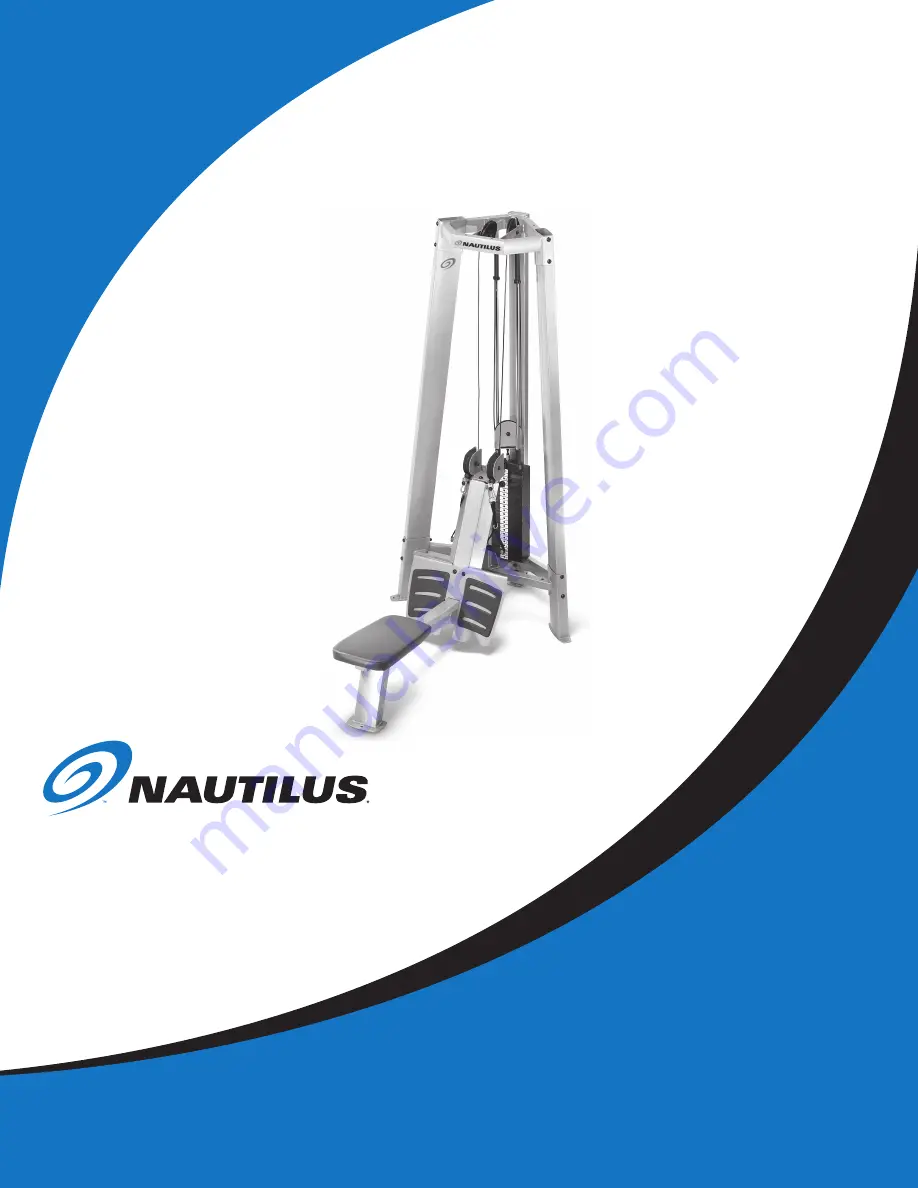
Model: F3DROW
P/N: 001-4086 Rev A (03/20/07)
Assembly Manual
Commercial Free Weights Row Tower
Be Strong.
™
Page 1: ...Model F3DROW P N 001 4086 Rev A 03 20 07 Assembly Manual Commercial Free Weights Row Tower Be Strong...
Page 2: ...o familiarize yourself with the operation of your new Nautilus Row Tower Doing so will help to insure that your users get the most out of your tower enjoying safe and effective workouts ahead Nautilus...
Page 3: ...y the machine flat when the weight stack is attached Permanent damage to the machine will result PRODUCT SPECIFICATIONS User Weight Capacity 350 lbs 158 7 kg Dimensions assembled 46 5 w x 75 l x 92 h...
Page 4: ...ill tighten turning towards the left will loosen An easy way to remember this is by remembering the expression Lefty loosey righty tighty 3 Not all of the tools needed to assemble your Nautilus Commer...
Page 5: ...LAR BLKZ 44 10 NUT NL 0500 G 5 BLKZ 21 11 SCW BHSC 0375x3 G5 BLKZ 2 12 WSH FLAT 0375 REGULAR BLKZ 2 13 SCW SHCS 0250x1 75 G5 BLKZ 1 14 SCREW BHCS 1 4x 75 TH CUTTING 1 15 WRENCH ALLEN 5 32 1 16 WRENCH...
Page 6: ...LEFT UPRIGHT 1 3 WELDMENT RIGHT UPRIGHT 1 4 WELDMENT REAR UPRIGHT 1 5 BOX 1 TOP F3DLATP 1 6 BOX 1 BOTTOM F3DMIDR 1 7 TUBE GUIDE ROD STOP 2 8 BUMPER UPPER GUIDE ROD 4 9 GUIDE ROD BUSHING 2 10 WASHER F...
Page 7: ...MBLY TOP WEIGHT 1 2 WELDMENT UPPER TRIANGLE ROW 1 3 ASSEMBLY LOOSE PARTS F3DROW 1 4 ASSEMBLY HARDWARE 1 F3DROW 1 5 BOX 1 BOTTOM F3AT 1 6 BOX 2 TOP F3DROW 1 7 STEM PIN CFW STACK 1 8 ASSEMBLY STACK PULL...
Page 8: ...box 3 REF DESCRIPTION QTY 1 ASSEMBLY ROW SEAT 1 2 ASSEMBLY LOW ROW ATTACHMENT 1 3 BOX 3 TOP F3DROW 1 4 BOX 3 BOTTOM F3DROW 1 5 COVER PLATE 1 3 4 5 2 1 box contents...
Page 9: ...Nautilus Commercial Free Weights Row Tower Assembly Manual box 4 REF DESCRIPTION QTY 1 BOX 4 TOP F3DLATP 1 2 BOX 4 BOTTOM F3DLATP 1 3 ASSEMBLY MILITARY SEAT 1 1 3 2 box contents...
Page 10: ...hts 10 lb 3 2 WRAPPLATESIN ONEPLASTICBAG PRESSBUSHINGSINTO WEIGHTPLATESPRIORTOSHIPPING REF DESCRIPTION QTY 1 BOX 10LB PLATES 1 2 WEIGHT PLATE 10LB BOTTOM 5 3 STANDARD GUIDE ROD WEIGHT BUSHING 10 box c...
Page 11: ...Manual weights 10 lb 2 1 1 3 4 PRESSBUSHINGSINTO WEIGHTPLATESPRIORTOSHIPPING WRAPPLATESIN ONEPLASTICBAG REF DESCRIPTION QTY 1 WEIGHT PLATE 10LB BOTTOM 2 2 STANDARD GUIDE ROD WEIGHT BUSHING 6 3 WEIGHT...
Page 12: ...hts 15 lb 3 2 WRAPPLATESIN ONEPLASTICBAG PRESSBUSHINGSINTO WEIGHTPLATESPRIORTOSHIPPING REF DESCRIPTION QTY 1 BOX 15LB PLATES 1 2 WEIGHT PLATE 15LB BOTTOM 5 3 STANDARD GUIDE ROD WEIGHT BUSHING 10 box c...
Page 13: ...Manual weights 15 lb 4 2 3 PRESSBUSHINGSINTO WEIGHTPLATESPRIORTOSHIPPING WRAPPLATESIN ONEPLASTICBAG 1 4 REF DESCRIPTION QTY 1 STANDARD GUIDE ROD WEIGHT BUSHING 6 2 WEIGHT PLATE 15LB SECOND 1 3 BOX 15...
Page 14: ...cals 1 2 4 3 PLACEDECALSANDINSTRUCTIONSONTOP OFSMALLERPACKAGESBEFORECLOSING REF DESCRIPTION QTY 1 DECALS 10LB WEIGHT STACK 1 2 ASSEMBLY 10LB PLATES BOX 2 1 3 ASSEMBLY 10LB PLATES BOX 1 4 4 BOX 10LB PL...
Page 15: ...nual all 15 lb weights and decals 4 1 3 2 PLACEDECALSANDINSTRUCTIONSONTOP OFSMALLERPACKAGESBEFORECLOSING REF DESCRIPTION QTY 1 ASSEMBLY 10LB PLATES BOX 2 1 2 ASSEMBLY 10LB PLATES BOX 1 4 3 BOX 10LB PL...
Page 16: ...ents Locate the following for this step Parts Ref 4 Rear Upright Weldment Qty 1 Ref 2 Upper Triangle Weldment Qty 1 Ref 9 Lower Triangle Weldment Qty 1 Hardware Ref 6 1 2 x 3 1 4 Button Head Bolt Qty...
Page 17: ...1 2 x 6 1 2 Button Head Bolt Qty 2 Ref 8 1 2 x 6 3 4 Button Head Bolt Qty 6 Ref 10 1 2 Nuts Qty 6 Ref 9 1 2 Washers Qty 14 Tools Ref 18 5 16 Allen Wrench 3 4 Wrench Refer to Figure 2 2 1 With the Asse...
Page 18: ...mm 1in of thread engagement Figure 4 In order to ensure proper thread engagement set the bottom nut at the 25 4 mm 1in minimum distance then thread the Pulley Assembly into the Top Weight refer to Ste...
Page 19: ...e Rods and Bumpers Locate the following for this step Parts Ref 2 Guide Rod Qty 2 Ref 2 Bumper Guide Rod Qty 2 Hardware None Tools None Refer to Figure 5 4 1 Place the Guide Rods and Bumpers in the Bo...
Page 20: ...lb or 15 lb Weight Plate with the extra hole in the front to retain the Weight pin This is the Second Plate and is the last plate you place before adding the Top Weight Assembly Figure 6 Note Make sur...
Page 21: ...this step Parts Ref 8 Bumper Guide Rod Qty 2 Ref 7 Tube Guide Rod Qty 2 Ref 9 Guide Rod Bushing Qty 2 Hardware Ref 12 3 4 Washers Qty 2 Tools None Refer to Figure 8 6 1 Place the components onto the G...
Page 22: ...rench Ref 15 5 32 Allen Wrench 3 4 Wrench Refer to Figure 9 7 1 Tip the Guide Rods to a vertical position Lift the Guide Rods one at a time so that the Guide Rod Bushing is seated completely into the...
Page 23: ...ecals Qty 23 Hardware None Tools None Refer to Figure 10 8 1 Prepare the Weight Plates by degreasing with denatured alcohol and a primer solution 8 2 From each Decal strip 12 Decals to a strip column...
Page 24: ...1 Hardware Ref 3 1 2 x 1 1 4 Button Head Bolt Qty 2 Ref 5 1 2 x 3 Button Head Bolt Qty 4 Ref 10 1 2 Nuts Qty 6 Ref 9 1 2 Washers Qty 12 Tools Ref 18 5 16 Allen Wrench 3 4 Wrench Refer to Figure 10 9...
Page 25: ...1 2 Washers Qty 14 Tools Ref 18 5 16 Allen Wrench 3 4 Wrench Refer to Figures 11 and 12 10 1 Secure the Cover Plate to the c channel of the Row Attachment Assembly Figure 11 10 2 Place the c channel...
Page 26: ...t Upholstery Qty 1 Hardware Ref 11 3 8 x 3 Button Head Bolt Qty 2 Ref 12 3 8 Washers Qty 2 Tools Ref 18 5 16 Allen Wrench 3 4 Wrench Refer to Figure 13 11 1 Align the holes of the Seat Upholstery with...
Page 27: ...ty 2 Ref 10 1 2 Locknuts Qty 2 Ref 9 1 2 Washers Qty 4 Tools Ref 18 5 16 Allen Wrench 3 4 Wrench Refer to Figures 14 and 15 12 1 Fasten the Pulleys to the Upper Triangle Weldment using the 1 3 4 hardw...
Page 28: ...Figure 16 13 1 Attach Cable Ball and Slotted Strap Fork to one end of the cable Cable terminations come attached Remove one set of the terminations Refer to Figures 17 and 18 13 2 Follow this sequenc...
Page 29: ...eight pin inserted amount of weight is unimportant simply ensure there is some weight pull the cable handles until the cable is just tight This should rotate the pulley to the correct orientation Tigh...
Page 30: ...load the weight stack with as much weight as you feel comfortable with and pull each cable several times to set and stretch the cables 14 6 After the cables are stretched they may need to be re tensio...
Page 31: ...to fully inspect your Nautilus Commer cial Free Weights Smith Machine Rack before using it for the first time 7 2 4 4 4 2 4 4 2 15 2 5 4 Failure to visually check and test the assembly before use can...
Page 32: ...F3OSB Olympic Supine Bench Commercial Free Weights F3ODB Olympic Decline Bench Commercial Free Weights F3OIB Olympic Incline Bench Commercial Free Weights F3OMB Olympic Military Bench Commercial Free...
Page 33: ...cts Nautilus liability hereunder is expressly limited to the replacement of goods not complying with this warranty or at Nautilus election to the replacement amount of the purchase price of the exerci...
Page 34: ...World Headquarters 16400 S E Nautilus Drive Vancouver Washington USA 98683 Phone 800 NAUTILUS INTERNATIONAL CUSTOMER SERVICE INTERNATIONAL OFFICE Nautilus International S A Rue Jean Prouv 6 1762 Givi...
Page 35: ...our home visit www Nautilus com 2007 Nautilus Inc All rights reserved Nautilus the Nautilus logo Nautilus Institute and Be Strong are either registered trademarks or trademarks of Nautilus Inc Nautilu...