4
|
ni.com
|
Getting Started NI ISM-7411/7412/7413 Integrated Steppers
Step 2: Connect the Integrated Stepper to the Network
The integrated stepper requires only a CAT5 Ethernet cable connection. You can connect the
integrated stepper directly to your PC’s network card, to an auxiliary network card in your PC,
or to a router or network switch.
1.
Physically connect the device to your network (or directly to the PC).
2.
Set the drive IP address.
3.
Set the appropriate networking properties on your PC.
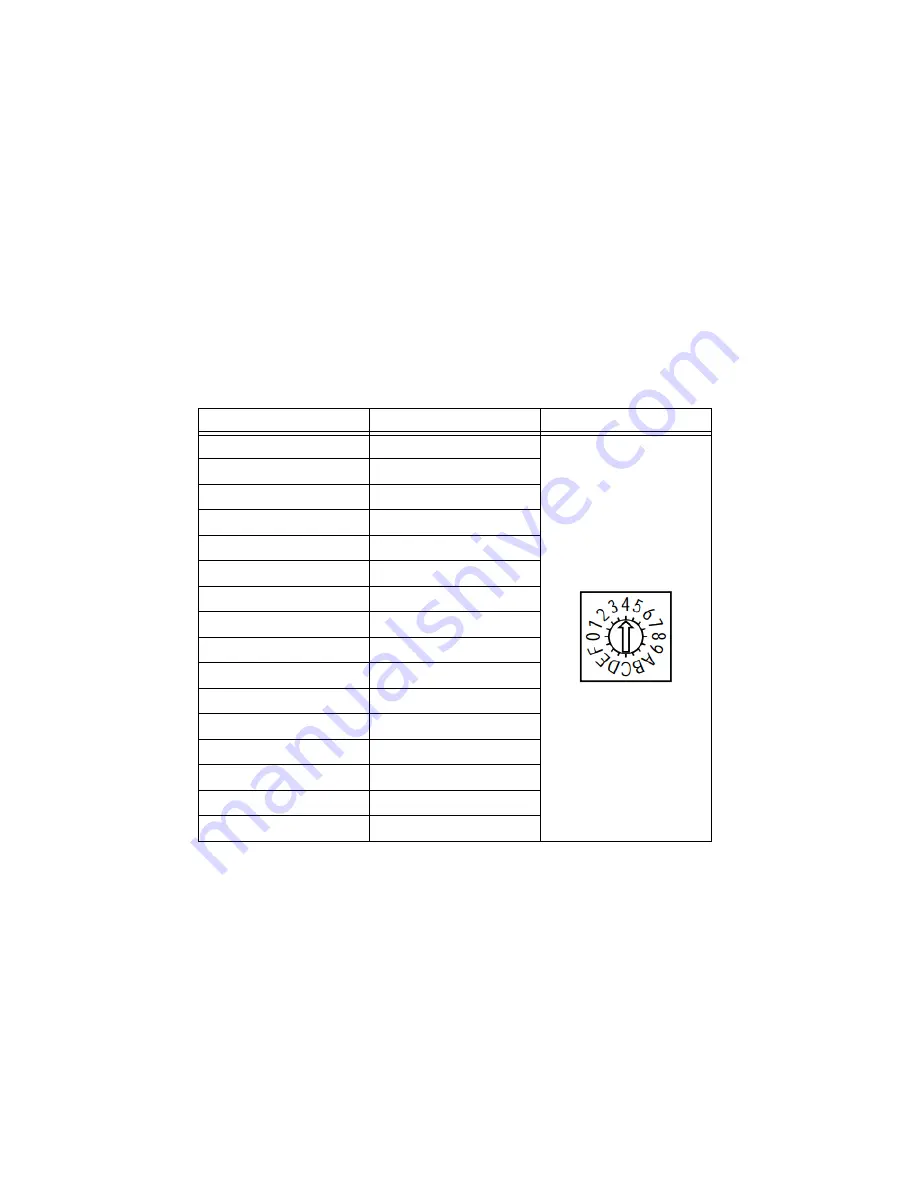
Your device includes a 16 position rotary switch for setting its IP address. The factory default
address for each switch setting is shown in the table below.
Settings 1 through E can be changed using the NI Stepper Configuration Utility software. Setting
0 is always 10.10.10.10, the universal recovery address.
Setting F is DHCP, which commands the device to get an IP address from a DHCP server on the
network. The IP address automatically assigned by the DHCP server may be dynamic or static
depending on how the administrator has configured DHCP. The DHCP setting is reserved for
advanced users.
Table 1.
IP Address Rotary Switch Settings
Position
IP Address
0
10.10.10.10
1
192.168.1.10
2
192.168.1.20
3
192.168.1.30
4
192.168.0.40
5
192.168.0.50
6
192.168.0.60
7
192.168.0.70
8
192.168.0.80
9
192.168.0.90
A
192.168.0.100
B
192.168.0.110
C
192.168.0.120
D
192.168.0.130
E
192.168.0.140
F
DHCP


