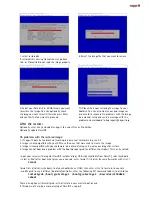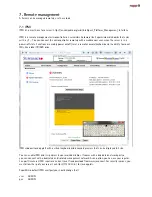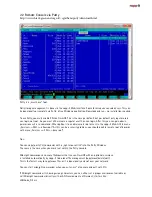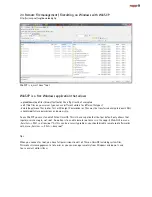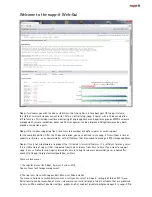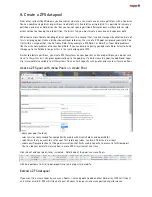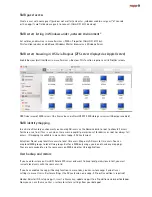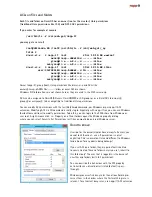
4.2 ready to use ESXi distribution (napp-in-one, virtual NAS/SAN)
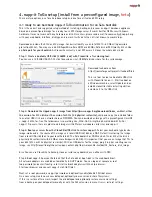
This is the fastest and easiest configuration method on ESXi that comes as a downloadable ready to use ESXi
storage server template that combines the minimalistic and in professional environments leading VM Server
ESXi with a complete but tiny Enterprise class NAS/SAN Storage solution based on the Solaris fork OmniOS as a
preconfigured ESXi VM template with napp-it and Vmware tools for ESXi up to 6.0. Both ESXi and the napp-it
VM are installed or reinstalled after a complete crash within minutes as they do not include any important con-
figurations. All services that require configuration like databases, webservers etc should be virtualized on stable
ZFS storage with online backup and snap support. The VM requires a DHCP server. You must only import the VM
(OVA Template). For disaster recovery, you can export your individual template from ESXi.
The template is ready to use. Download from http://napp-it.org/downloads/napp-in-one_en.html
You can download the image with a preconfigured napp-it VM for free.
For napp-it Pro users, there are images with newer OmniOS releases, TLS preinstalled and napp-it Pro available.
If you want to create your own storage VM, upload the OmniOS ISO to your local datastore. Create a new VM
with type Solaris 64bit and a 30 GB bootdisk and tell Esxi to boot from this ISO.
Update napp-it to newest Free or Pro edition in menu About >> Update
5. napp-it manual barebone Installation (OmniOS)
Use this method if you want to setup a different OS version or a different ditribution ex OpenIndiana
or Oracle Solaris or if the default cloning method of a preconfigured image fails.
Use a 32 GB or larger Sata SSD/disk or Sata DOM as system disk (optionally two for a boot-mirror)
ex http://www.supermicro.com/products/nfo/SATADOM.cfm
Download the usb-dd installer file from http://omnios.omniti.com/wiki.php/Installation
You can create a bootable USB stick (1 MB min) with the free imager (Windows) from
http://www.napp-it.org/doc/downloads/napp-it-to-go_tools.zip
Boot your OS installer from USB stick and install OmniOS with defaults to your bootdisk.
Select „use whole disk“. If you want to mirror two bootdisks, you can do this later in napp-it.
The OS installation is finished after a few minutes.
Reboot the system after OS setup. OmniOS is installed without a configured network.
Only the user root is available after setup with empty password (no password needed)
For a working enterprise class storage appliance, you need to
- install OmniOS, OpenIndiana or Oracle Solaris
- configure network
- run the online napp-it installer
- reboot (or set current bootenvironment, BE as default) and set a root password (for console and SMB access)
- manage the appliance with any webbrowser at address http://your_serverip:81
optionally:
- install TLS if you want to send aencrypted lerts and statusmail ex to Gmail.
Create a disaster recovery image
Create a bootable USB stick 256MB+ with CloneZilla (see 4.1) and boot the stick.
If you want a fast backup, select Expert mode and z1p compression (very fast, medium compression rate)
and save the disaster recovery image to another disk or an NFS/SMB share.
You can restore your image from a local disk (can be an USB stick) or an NFS or SMB share.
Summary of Contents for ZFS Storage
Page 8: ...3 1 ZFS Configurations...


