o w n e r s m a n u a L
C D P L a Y e r s
e n G L I s H
D e u T s C H F r a n Ç a I s I T a L I a n 0
Page 1: ...o w n e r s m a n u a L C D P L A Y ERS EN G L I S H D EU T S C H F RAN Ç A I S I T A L I AN 0 ...
Page 2: ... against harmful interference in a residential installation This equipment generates uses and can radiate radio frequency and if not installed and used in accordance with the instructions may cause harmful interference to radio communications However there is no guarantee that interference will not occur in a particular installation If this equipment does cause harmful interference to radio or tel...
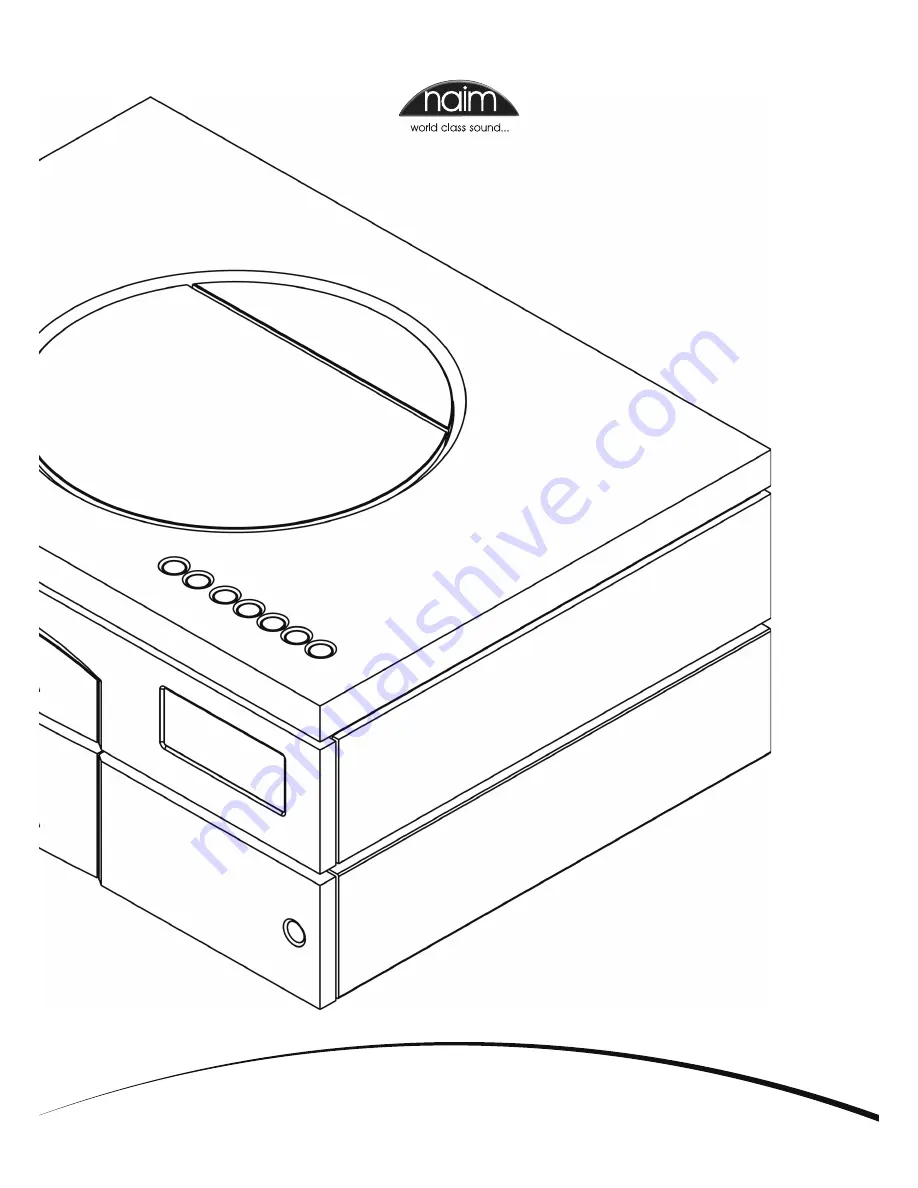
Page 3: ...tallation will help ensure that their full potential is achieved This manual covers the CD 555 CDS3 CDX2 CD5 XS and CD5i CD players and their associated or upgrade power supplies It begins with some general installation notes and statutory safety warnings Product specific information begins in Section 4 the mains lead may not correspond with the coloured markings identifying the terminals in the p...
Page 4: ...quipment left connected to the mains can be damaged by lightning 3 4 Radio Interference In some circumstances depending on where you live and the earthing arrangements in your home you may experience radio frequency interference Controls on broadcasting in some territories allow very high levels of radio frequency radiation and both the choice and exact siting of equipment may be critical Suscepti...
Page 5: ...nnecting cables or switching on Ensure that power amplifiers are switched off and the preamplifier volume is turned down before the power supply is switched on The power button is located on the front panel The player and power supply are heavy and care should be taken when lifting or moving them Make sure that the surface on which they are to be placed can support their weight 4 1 Transit Screws ...
Page 6: ... information Note The optional RJ45 socket Comms Interface can provide external control of the player in custom installations Contact your dealer or Naim Audio directly for further information CD 555 5 CD 555 Connections 5 1 Rear Panel 5 2 CD 555 Connected to CD 555PS Cable direction marker ch1 ve nc nc ch2 CD 555 DIN Output Note Two different Burndy cables are required to connect the CD 555 to th...
Page 7: ...the puck with Blu Tack to remove debris from its underside Do not under any circumstances use any solvents or fluids for the cleaning process HDCD High Definition Compatible Digital and Pacific Microsonics are either registered trademarks or trademarks of Pacific Microsonics Inc in the United States and or other countries 6 3 Player Door Reset and Calibration If at any time the player door fails t...
Page 8: ...player once the transit screws are removed The player and power supply should be installed in their final locations before connecting cables or switching on Ensure that power amplifiers are switched off and the preamplifier volume is turned down before the power supply is switched on The power button is located on the front panel The power supply is heavy and care should be taken when lifting or m...
Page 9: ... can provide external control of the player in custom installations Contact your dealer or Naim Audio directly for further information 8 CDS3 Connections 8 1 Rear Panel ch1 ve nc nc ch2 CDS3 DIN Output CDS3 7 2 Upper Transit Screws Two transit screws must be removed from beneath the transport lid of the CDS3 before use and be replaced if the player is to be carried any distance packed or shipped T...
Page 10: ...an prevent the disc from sitting properly and cause it to slip To clean the transport platter take a piece of Blu Tack and lightly apply it to the top surface of the magnetic metal hub picking up any material attached to it Brush the plastic outer edge lightly with your finger or a soft brush to ensure that it is dust and particle free Similarly clean the puck with Blu Tack to remove debris from t...
Page 11: ...installed in its final location before connecting cables or switching on Ensure that power amplifiers are switched off and the preamplifier volume is turned down before the player or external power supply is switched on The player power button is located on the rear panel Power supply power buttons are located on their front panels The player and power supply are heavy and care should be taken whe...
Page 12: ...ed 12 3 Power Supply Upgrade The CDX2 can be upgraded by the addition of a CD 555PS or XPS Power Supply The external supply takes over from the internal power supply of the CDX2 and offers both a greater number of separate supplies and more sophisticated voltage regulation The external supply is connected to the CDX2 via a heavy duty Burndy cable Switch off both the power supply and CDX2 when maki...
Page 13: ...alled in its final location before connecting cables or switching on Ensure that power amplifiers are switched off and the preamplifier volume is turned down before the player or external power supply is switched on The player power button is located on the rear panel The Flatcap power supply power button is located on its rear panel The Hi Cap power supply power button is located on its front pan...
Page 14: ... automatically recognise and decode it The display will read HDCD for a few seconds after play is pressed 15 3 Power Supply Upgrade The CD5 XS analogue output stage can be upgraded through the addition of an external Flatcap or Hi Cap Power Supply The external supply works with the internal power supply of the CD5 XS to offer both a greater number of separate supplies and more sophisticated voltag...
Page 15: ...t disc pull open the CD drawer using the handle on the left hand side of the player Place the disc on the platter followed by the magnetic puck Do not use a puck from any other Naim CD player Different Naim CD players use dissimilar pucks 18 2 Player Maintenance It is important for reliable operation of the CD5i to ensure that the surfaces of the transport platter and the underside of the puck are...
Page 16: ...reverse rather than step forwards and step backwards can be selected by pressing and holding the CD player next and prev buttons respectively The alternative interface also provides a pause function on CDX2 CD5 XS and CD5i players selected by pressing and holding the play button To select the optional mode press and hold next while the player switches on To select the standard control mode press a...
Page 17: ...ite To switch R com back into CD player mode either press the pre or tun key again In default mode the R com keys have the following functions disp Scrolls through the display options of track time and display off open Opens the door on the CD555 stop Stops CD replay play Begins CD replay prev Selects the previous track or index point next Selects the next track or index point vol Increases the pr...
Page 18: ...be selected The prog key can also be used to delete tracks from a play order To delete a track press and hold the prog key until the prog indicator in the CD display illuminates then delete the track or tracks using the numeric keys followed each time by a further operation of the prog key During deletion the track number indicated in the player display will be followed by either C or or no displa...
Page 19: ...y Products that display the crossed out wheeled bin logo cannot be disposed of as domestic waste These products must be disposed of at facilities capable of re cycling them and appropriately handling any waste by products Contact your local authority for details of the nearest such facility Appropriate recycling and waste disposal helps conserve resources and protects the environment from contamin...
Page 20: ......