


CONFIGURING THE DEVICE
10
etherFAX
®
A2E MT200A2E-EF User Guide
Configuring the Device
There are two tools for configuring the device:
■
Local Device Web Portal
– Use to configure the device for network communication and device specific
firmware updates. It also provides a logging interface and basic network utilities to assist in troubleshooting.
■
etherFAX Client Portal
– Use for DID provisioning and for configuring multiple devices.
Managing the Device via Local Device Web Portal
The etherFAX A2E has a local device portal that you can access via a standard HTTP connection to the device's IP
address on port 80. To access this portal:
1.
Open a web browser and go to the device's IP address (for example, http://10.0.0.100). If you do not
know the device's IP address or a DHCP address was not assigned, refer to
Getting Started
for help with
network settings.
2.
Log in using the default credentials: Username:
admin
Password:
password
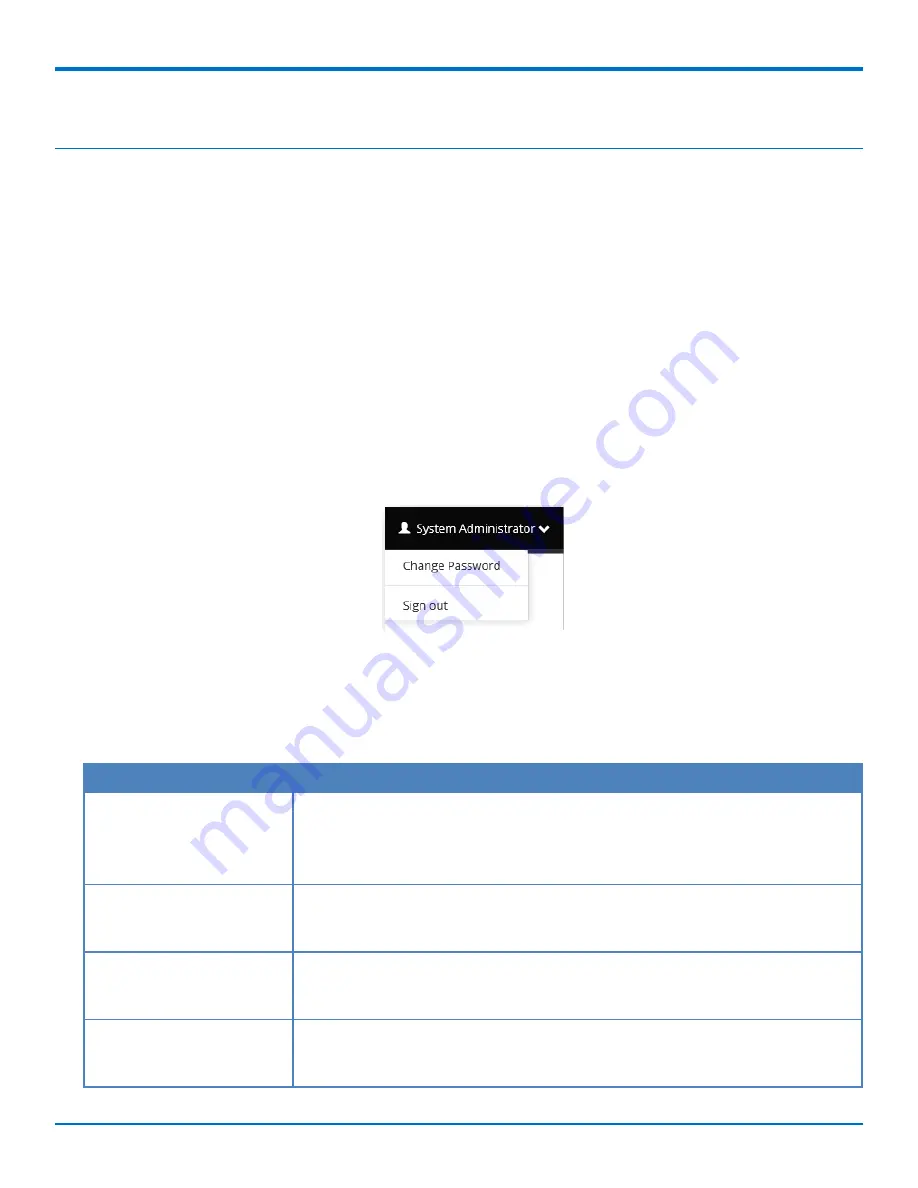
Note:
For security, update your password. To do this, click
System Administrator
on the top right of the
portal and select
Change Password.
System Settings
Use System Settings to update the device configuration locally.
To change system settings, go to
Settings > System.
After changing settings, click
Save
and then select
Test
Connection
to validate the changes.
Field
Description
Service Address
Connection string the device uses to connect to the desired etherFAX POP (Point
of Presence) Options are:
■
https://na.connect.etherfax.net/rest/2.0/api
■
https://ca.connect.etherfax.net/rest/2.0/api
Account
etherFAX account number for the device. Usually this field is left blank, since the
device securely communicates and registers via an authentication token and
doesn't need an account number.
User
etherFAX user account for the device. Usually this field is left blank, since the
device securely communicates and registers via an authentication token and
doesn't need the user account.
Password
etherFAX password for the device. Usually this field is left blank, since the device
securely communicates and registers via an authentication token and doesn't need
the password.


