The Height of Healthy Design
®
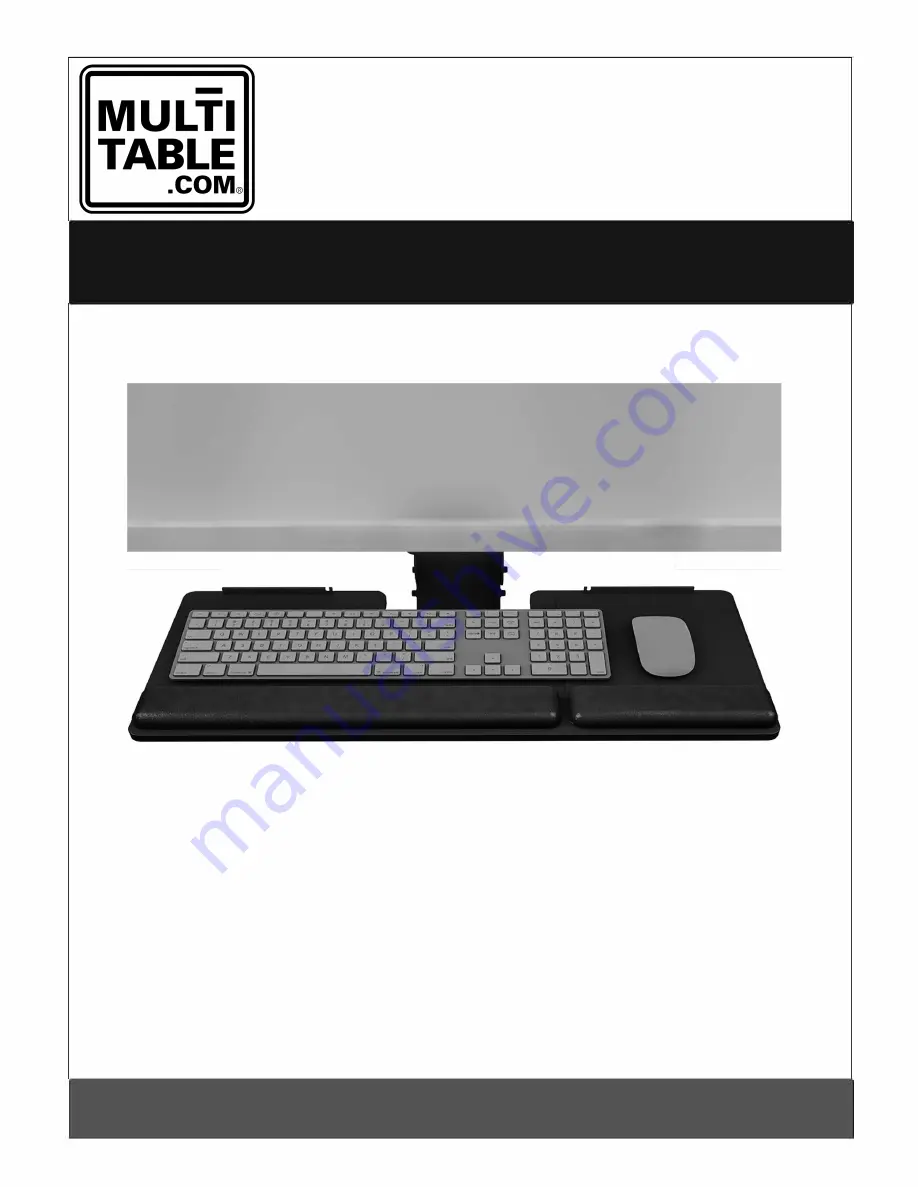
MultiTable Keyboard & Mouse Tray
ASSEMBLY INSTRUCTIONS
Page 1: ...The Height of Healthy Design MultiTable Keyboard Mouse Tray ASSEMBLY INSTRUCTIONS...
Page 2: ...er 1 ADDITIONAL TOOLS REQUIRED Optional CAUTION This install requires a power drill This is not a hand tool install STEP 1 Drill Pilot Holes for Attaching Track Drill with 1 8 bit 2 Phillips bit Posit...
Page 3: ...nstall ArticulatingArm Slide the articulating arm onto the track Position it back far enough so that you have access to the front center hole on the track STEP 4 Attach Front Stop Position the front s...
Page 4: ...r outward to access To Raise Grasp both sides of the platform and raise to the desired height To Lower Grasp both sides of the platform tilt up the front and move down to the desired height To De acti...
Page 5: ...8 32x5 8 panhead screws and a Phillips screwdriver Six screw holes are located in the keyboard platform to accommodate a variety of installation possibilities With one palm rest attach it with two scr...
Page 6: ...ttach the keyboard platform to the keyboard arm and track assembly using the four flathead screws and flange nuts Be sure the flange on the nuts is facing upward IMPORTANT The flange nuts must be full...
Page 7: ...use cables OPERATION To Tilt Loosen the ratchet handle adjust the tilt angle then tighten the handle To Telescope Lift the front of the platform and slide it inward to stow or outward to access To Rai...
Page 8: ...g I 30 Day No Risk Returns I Over 85 000 Sold 855 469 6858 I customerservice MultiTable com I www MultiTable com MultiTable LLC I 2255 W Desert Cove Ave Suite E Phoenix AZ 85029 2019 MultiTable All ri...