EZ Gateway Start-up Guide
0
Start-up Guide
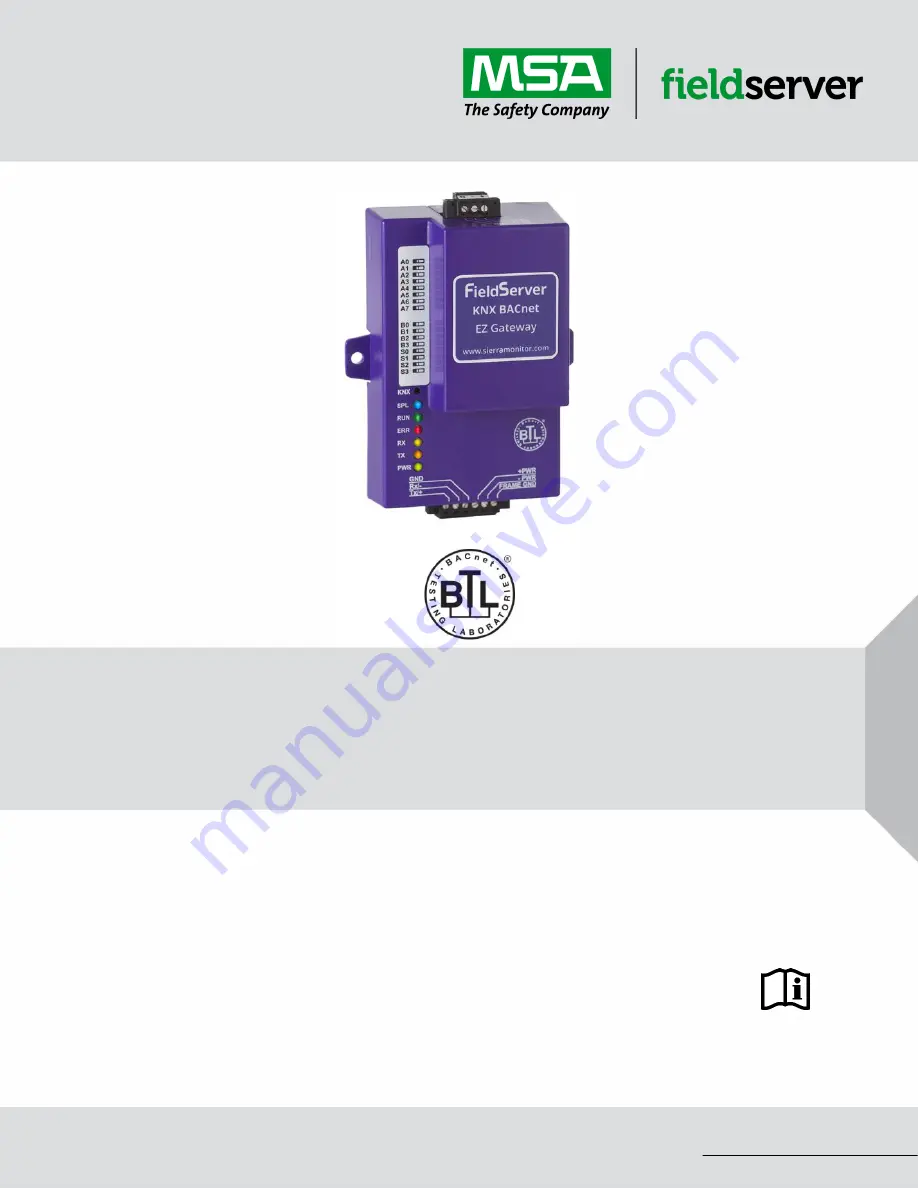
EZ Gateway KNX to BACnet
FS-EZX-KNX-BAC
FS-QS-1011/12X0/12X1/1X50/1X51
MSAsafety.com
Document Revision: 8.A
T18605
APPLICABILITY & EFFECTIVITY
Effective for all systems manufactured after January 2021.
Page 1: ...Guide 0 Start up Guide EZ Gateway KNX to BACnet FS EZX KNX BAC FS QS 1011 12X0 12X1 1X50 1X51 MSAsafety com Document Revision 8 A T18605 APPLICABILITY EFFECTIVITY Effective for all systems manufacture...
Page 2: ...Safety 1991 Tarob Court Milpitas CA 95035 Website www MSAsafety com U S Support Information 1 408 964 4443 1 800 727 4377 Email smc support msasafety com EMEA Support Information 31 33 808 0590 Email...
Page 3: ...d TLS Certificate or HTTP with Built in Payload Encryption 16 6 Configuring the EZ Gateway 17 6 1 Controls Status and Log Functions 17 6 2 EZ Gateway Connection Setup 18 6 3 BACnet Connection Setup 19...
Page 4: ...curity Mode 42 8 1 2 Edit the Certificate Loaded onto the FieldServer 43 8 2 Change User Management Settings 44 8 2 1 Create Users 45 8 2 2 Edit Users 46 8 2 3 Delete Users 47 8 2 4 Change FieldServer...
Page 5: ...ETS4 Export Window 24 Figure 19 Data Map Page 25 Figure 20 KNX Import Missing Fields 28 Figure 21 Mapping BACnet Addresses to the KNX Registers 29 Figure 22 Creating an Item on the Data Map 29 Figure...
Page 6: ...kit optional Part FS 8915 36 QS includes 7 ft Cat 5 cable with RJ45 connectors at both ends Power Supply 110 220V p n 69196 DIN rail mounting bracket Screwdriver for connecting to terminals USB Flash...
Page 7: ...FS 8915 35 QS WARNING Install only as instructed failure to follow the installation guidelines or using screws without the DIN rail mounting bracket could result in permanent damage to the product If...
Page 8: ...Equipment Setup EZ Gateway Start up Guide 8 2 2 Dimension Drawing FS EZX KNX BAC R1 Port R2 Port Figure 2 EZ Gateway Dimension Drawing...
Page 9: ...6 pin connector as shown pins labelled 6 4 3 1 2 RS 485 Connection R1 Port Connect to the 3 pin connector as shown The following baud rates are supported on the R1 Port for BACnet MS TP 9600 19200 38...
Page 10: ...position right side o To enable biasing turn the bias switch ON switch position left side NOTE Biasing only needs to be enabled on one device The FieldServer has 510 ohm resistors that are used to set...
Page 11: ...actory set for 9 30V DC or 12 24V AC NOTE A KNX compatible power supply is required on the KNX network 4 2 Connect the PC to the EZ Gateway Over the Ethernet Port Connect an Ethernet cable between the...
Page 12: ...eway and launch the FS GUI NOTE If the connect button is greyed out the EZ Gateway s IP Address must be set to be on the same network as the PC Section 4 3 2 4 3 2 Using a Web Browser to Connect to th...
Page 13: ...r as untrusted This will cause the following pop up windows to appear When the Web Server Security Unconfigured window appears read the text and choose whether to move forward with HTTPS or HTTP When...
Page 14: ...the Username default is admin and the Password found on the label of the FieldServer NOTE There is also a QR code in the top right corner of the FieldServer label that shows the default unique passwor...
Page 15: ...reen will appear that allows the user to select which mode the FieldServer should use NOTE Cookies are used for authentication NOTE To change the web server security mode after initial setup go to Sec...
Page 16: ...rase fields will appear under the mode selection Copy and paste the Certificate and Private Key text into their respective fields If the Private Key is encrypted type in the associated Passphrase Clic...
Page 17: ...bout the SMC Cloud refer to the SMC Cloud Start up Guide 6 1 Controls Status and Log Functions Along the right side of every Web Configurator GUI page is a column of buttons and event generated messag...
Page 18: ...f the page Figure 15 If navigating from another page in the Web Configurator GUI click the Gateway tab Specify the Gateway s Title and a System ID Number o The System ID Number is a unique number to i...
Page 19: ...net IP connection N1 Enter the required BACnet IP or BACnet MS TP settings and click the Save button in the Controls Panel once all edits are completed to record changes 6 3 1 All Connections Settings...
Page 20: ...t blank Broadcast Distribution Table Click the edit button pencil icon to change the IP Address IP Port and Distribution Mask The following buttons are also available along the bottom of the window o...
Page 21: ...tions The DeviceProxy Data Mapping and Notification tables allow special table editing options listed below Drag and drop When clicking on a field cell in the table a blue dot will appear in the botto...
Page 22: ...that a qualified ETS4 Operator will create the KNX Network in the ETS4 program No direct instructions related to ETS4 besides the file export instructions below are present in this start up guide Whe...
Page 23: ...y Start up Guide 23 Choose the location and name of the file then click Save XML File Export In ETS select the Group Address window and navigate to the desired main group at the highest level to expor...
Page 24: ...ght click on the main group and select Export Group Addresses Select XML as the Output format type enter the desired file location as well as file name in the Export file name field and save the file...
Page 25: ...is generated by giving the option of inserting the group address main group name and or sub group name into the field Auto populate fields Adds options to manipulate certain values generated for the...
Page 26: ...isting entries with imported entries is selected the Show Update Options checkbox can be clicked to decide exactly which elements can be written over by the import o Click the check mark in the bottom...
Page 27: ...ported NOTE To fix an unsupported data type the data type would have to be changed to a supported data type before exporting the KNX address data o On the other hand the Uncertain ESF Entries Window s...
Page 28: ...s complete the EZ Gateway will generate BACnet mapping data automatically but if there are missing fields they must be defined for proper mapping see Section 6 5 2 and Section 6 6 for additional infor...
Page 29: ...ject o Data Type The type of KNX data click to view a table describing the supported types Section 8 5 o Function Read or write type click to view a table describing the supported types o Scan Interva...
Page 30: ...ent refer to the BACnet IP or BACnet MS TP driver manuals NOTE Click the next to the Data Map heading to see a list of all keyboard functions 6 6 1 Table Editing Options The DeviceProxy Data Mapping a...
Page 31: ...s and shortcuts Click Apply Changes and click the x in the upper right corner to exit the window Select Toggle Advanced button to make alarm elements visible Fill in Notification Class High Alarm Low...
Page 32: ...ick on the new table entry shown down the left side of the window Click the Add Entries button to add the number of required entries rows for the table Fill in the desired state values and repeat this...
Page 33: ...tart to load the new configuration NOTE Saving is prevented until all required fields in the table are validated Highlighted fields go through validation and go from red to clear once a valid answer i...
Page 34: ...ons in the related Driver Supplements and Configuration Manual MSA Safety also offers a technical support page on the MSA Safety website which contains a significant number of resources and documentat...
Page 35: ...s Device Manager List and that it is configured to run the TCP IP protocol Check that the IP netmask of the PC matches the EZ Gateway The Default IP Address of the EZ Gateway is 192 168 2 X Subnet Ma...
Page 36: ...ostics page via one of the following methods o Open the FieldServer FS GUI page and click on Diagnostics in the Navigation panel o Open the FieldServer Toolbox software and click the diagnose icon of...
Page 37: ...ll accelerate diagnosis of the problem NOTE While all necessary documentation is shipped with the FieldServer on the USB flash drive these documents are constantly being updated Newer versions may be...
Page 38: ...lick on the Start Diagnostic button o Wait for the capture period to finish and the Diagnostic Test Complete window will appear Step 2 Send Log o Once the diagnostic test is complete a zip file is sav...
Page 39: ...Nodes RUN RUN LED will flash 20 seconds after power up signifying normal operation The EZ Gateway will be able to access the Web App refer to Section 4 3 for more information once this LED starts fla...
Page 40: ...KNX port to activate the service pin when prompted 7 6 Internet Browser Software Support The following web browsers are supported Chrome Rev 57 and higher Firefox Rev 35 and higher Microsoft Edge Rev...
Page 41: ...ettings After Initial Setup NOTE Any changes will require a FieldServer reboot to take effect Navigate from the EZ Gateway landing page to the FS GUI by clicking the blue Diagnostics text on the botto...
Page 42: ...uide 42 8 1 1 Change Security Mode Click Security in the Navigation panel Click the Mode desired o If HTTPS with own trusted TLS certificate is selected follow instructions in Section 5 2 1 Click the...
Page 43: ...will only be available if the security mode was previously setup as HTTPS with own trusted TLS certificate Click Security in the Navigation panel Click the Edit Certificate button to open the certifi...
Page 44: ...on the label For recovery instructions see the FieldServer Recovery Instructions document If the default unique password is lost then the unit must be mailed back to the factory NOTE Any changes will...
Page 45: ...up and Password o User details are hashed and salted NOTE The password must meet the minimum complexity requirements An algorithm automatically checks the password entered and notes the level of stren...
Page 46: ...Click the pencil icon next to the desired user to open the User Edit window Once the User Edit window opens change the User Security Group and Password as needed Click Confirm Once the Success messag...
Page 47: ...on EZ Gateway Start up Guide 47 8 2 3 Delete Users Click the trash can icon next to the desired user to delete the entry When the warning message appears click Confirm Figure 39 Setup Users Figure 40...
Page 48: ...uirements An algorithm automatically checks the password entered and notes the level of strength on the top right of the Password text field NOTE If a gateway in the field is updated to a secure gatew...
Page 49: ...cause radio interference This device complies with part 15 of the FCC Rules Operation is subject to the following two conditions This device may not cause harmful interference This device must accept...
Page 50: ...1 or better If the unit is to be installed in an operating environment with a temperature above 65 C it should be installed in a Restricted Access Area requiring a key or a special tool to gain access...
Page 51: ...ch original identification marks have been removed or altered This Limited Warranty also will not apply to interconnecting cables or wires consumables or to any damage resulting from battery leakage I...