User’s
Operating
Manual
Recirculating
Cooler
Rova-M-C3
3, Hagavish st. Israel 58817 Tel: 972 3 5595252, Fax: 972 3 5594529
[email protected]
MRC.
4
.
21
Page 1: ...User s Operating Manual Recirculating Cooler Rova M C3 3 Hagavish st Israel 58817 Tel 972 3 5595252 Fax 972 3 5594529 mrc mrclab com MRC 4 21...
Page 2: ...urer s warranty 4 Transport the unit with care Sudden jolts or drops may cause damages in the interior of the unit 5 Observe all warning labels 6 Never remove warning labels 7 Never operate damaged or...
Page 3: ...3 3 Operation Guide 7 3 3 1 Switching on 7 3 3 2 Setting the Setpoint Temperature 7 3 3 3 Start Stop Compressor 9 3 3 4 Start Stop Pump 10 3 3 5 PID Adjustment 10 3 3 6 Switching off 11 3 4 Advanced A...
Page 4: ...trument depending on the pump s pressure inside the unit and the temperature sensor detects the medium temperature to realize the control of the cooler The recirculating cooler is applied vastly for a...
Page 5: ...location where acidic solutions used frequently 6 Far from the location where special sprayer sulfide contained used frequently As for convenience and safety of maintenance and installation space betw...
Page 6: ...the installation position after confirmation and ensure it is stable and safe then install the external circulating loop pipelines Attention Please ensure correct collection of the external circulati...
Page 7: ...ank regularly to prevent germs 5 Automatic feed inlet is used to connect with user s bath liquid supply system to realize automatic fluid supplement without supervision User can voluntarily connect th...
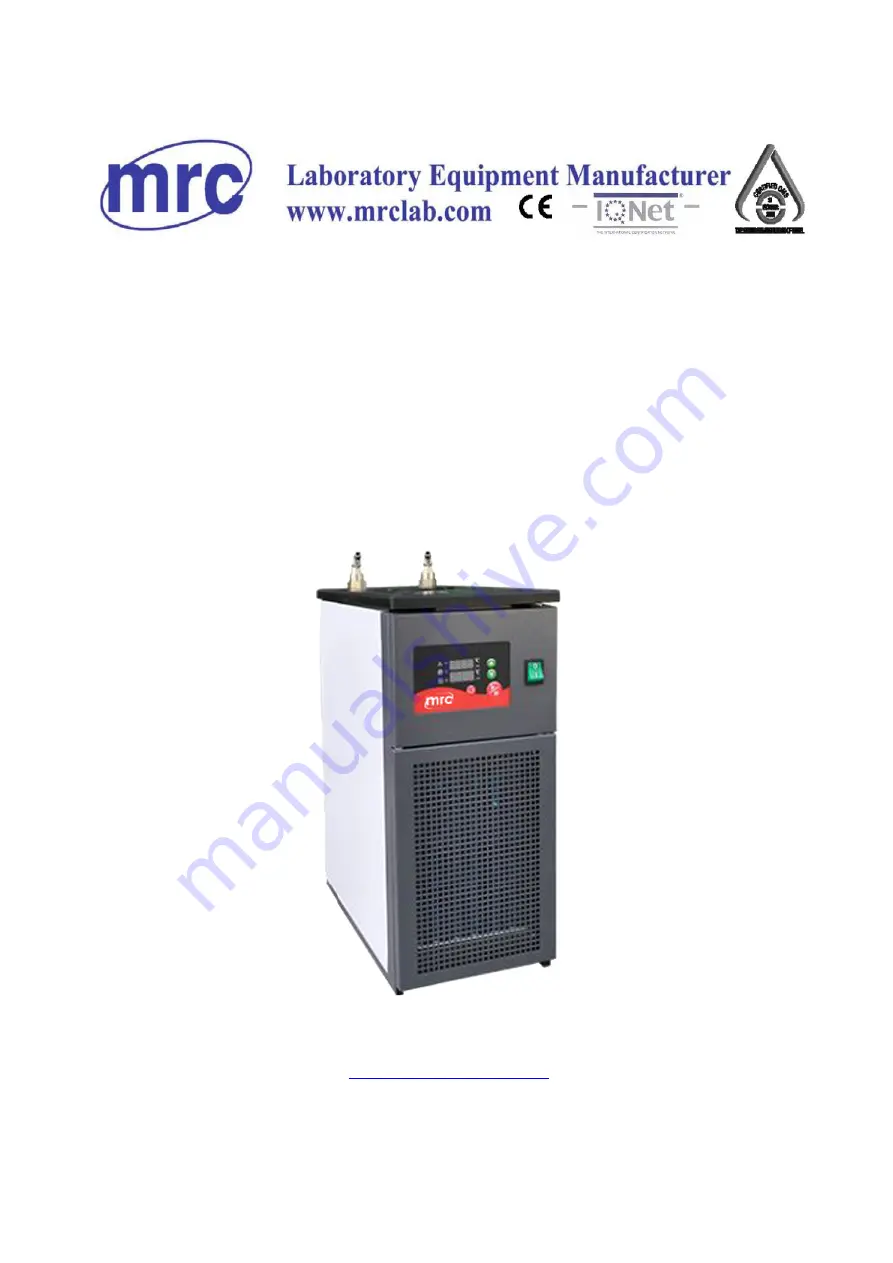
Page 8: ...tart when the temperature of the bath is over 35 3 2 Controller Panel Above is the picture of the unit s controller panel There are two 4 digit LED displays The following one is main display the Top o...
Page 9: ...level alarm No water flow alarm Protection delay alarm High temperature and low temperature alarm Cooling indicator Green light Cooling system working indicator Heating indicator Yellow light Heating...
Page 10: ...Press Start Stop key Check the fluctuation of the outlet pressure gauge and the vibration of the pump Attention In case of abnormal noise when pump works please stop immediately and check if pump can...
Page 11: ...isplay shows setting temperature Press Add key to add or Reduce key to reduce the value of the corresponding point Press Left shift key to change the point of the display After reached the value pleas...
Page 12: ...rature control precision setting now the auxiliary display shows T01 temperature control precision the main display shows the precision of the temperature difference control which can be set by Left s...
Page 13: ...tor is always on state until the pump stops Remark In the unit working state the pump will continue working to provide bath liquid circulation it is invalid to stop the pump by pressing the Pump key 3...
Page 14: ...ger when the environment temperature is under 0 Residual water will freeze and do damage to parts such as the pump heat exchanger and pipes It is suggestive to use antifreeze as circulating medium for...
Page 15: ...auxiliary display shows R_CM the temperature control mode code the main display shows optional parameters of the temperature control mode 1 stands for upper and lower limit 2 stands for single point h...
Page 16: ...on time the compressor starts to cool as soon as the unit starts The start up delay alarm functions when pressing compressor Start Stop key before start up delay protection time fulfils in power on st...
Page 17: ...dicates that there is a failure in the pump or water circuit is blocked please check the water system At this moment please press Start Stop key of the compressor to stop it to lift the alarm and chec...
Page 18: ...E_L1 At this moment the alarm can be lifted either by waiting for the automatic temperature control system of the unit to heat up or just pressing Start Stop key of the compressor to stop After it you...
Page 19: ...with low level or when disconnected Pin 10 control input port Pin 11 12 reservation Chapter IV Trouble Shooting Guide Phenomenon the unit starts with the power supply switch indicator not on and pump...
Page 20: ...indicator flashes with buzzer beeps Possible reason and solution a Reason the pump is not started Solution press Pump key to start b Reason water circuit leaks Solution check the water circuit c Reaso...
Page 21: ...set mode 0 1 tracking mode Main sensor option R_MS Main temperature sensor port option 1 sensor port 1 1 2 sensor port 2 3 sensor port 3 Auxiliary sensor option R_SS Auxiliary sensor port option 0 no...
Page 22: ..._L2 The second point of the user defined low temperature alarm C_PL E_L1 C_PL Water level enable E_LW Set water level switch to enable 0 No alarm 1 alarm 1 Water flow enable E_LF Set water level switc...
Page 23: ..._ S3 alarm 8 E_CE alarm 9 E_ PL alarm 10 E_PH alarm 11 E_CH alarm Warning port 2 E_O2 Alarm output port 2configuration output port 6 0 No alarm 1 E_H1 alarm 2 E_H2 alarm 3 E_L1 alarm 4 E_L2 alarm 5 E_...
Page 24: ...he temperature lower than E_H2 back to original work mode Low temperature alarm 1 2S flash E_L1 Current temperature No quit when the temperature higher than E_L1 back to original work mode Low tempera...
Page 25: ...g quit at normal water level and back to original work mode Sensor 3 short 1S flash E_S3 999 Stop heating cooling quit at normal water level and back to original work mode Delay 2S flash E_dL Countdow...