Morningstar MC6 MkII User Manual Download Page 13

1.  

2.  

3.  

4.  

5.  

1.  
2.  
3.  

4.  

How to Update your Firmware

To update your Morningstar controller firmware, you first need to download the 

 from the 

Morningstar Firmware Updater

Morningstar 

 in the ‘Downloads’ section. Both Mac OS and Windows versions are available. Just download the correct version for your 

website

operating system. Download the Firmware Uploader 

.

here

Install the Firmware Updater on your computer. If you are on Mac OS, you may need to go into your security and privacy settings and 
click on Open Anyway to allow the application to be installed.
After you’ve installed the Firmware Updater, you’ll need to 

, also found under the ‘Downloads’ section on 

download the latest firmware

the Morningstar Website. Download the latest MC6 firmware 

here

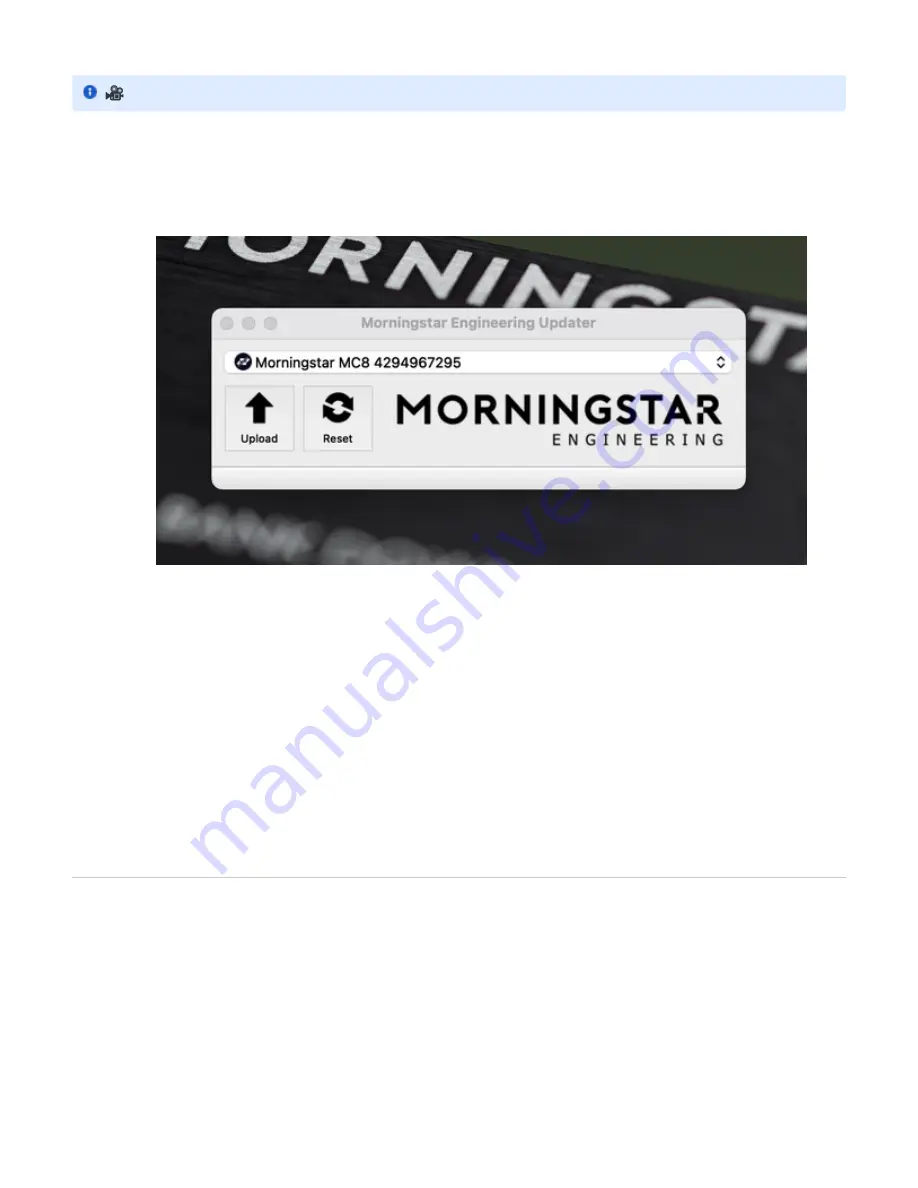
Once you’ve downloaded it, launch the Morningstar Firmware Updater and connect your MIDI controller to your computer via 

. Your controller will automatically be recognised by the Updater.

USB
Click on the Upload button and open the new firmware .hex file from your downloads folder. The firmware update will begin automatically 
and your controller will restart. That’s it!

Unsuccessful Firmware Update

In the rare event where your device upload is not successful, the device might appear to be bricked with blocks showing across the LCD screen. 
Do not worry and follow these steps:

Download the latest firmware from our website.
Remove the back cover for your device and locate the reset button.
While the device is connected to your computer via USB, and with the Firmware Uploader open, press the reset button location on the 
PCB.
Once pressed, the Firmware Uploader should detect the device. Thereafter, repeat the above upload procedure.

Using an External MIDI Controller to control the MC6

The MC6 can be controlled by external MIDI controllers, via both its MIDI input and USB port.

MIDI Implementation Charts

PC Messages

 Watch video tutorial 

https://youtu.be/wtvX8Y9LzXo

Summary of Contents for MC6 MkII

Page 1: ...s 11 Expression Pedals 11 1 Connecting an Expression Pedal 11 2 Programming an Expression Pedal Preset 11 3 Select Expression Messages to Send or Omit 12 External Aux Switches 13 TRS MIDI Outputs 1 4...

Page 2: ...owing ways 9V DC centre negative Power Supply Connect a 9VDC centre negative power supply to the power input of the MC6 Phantom Power 9 12v AC or DC Connect a 7 pin MIDI cable to the MIDI Out port of...

Page 3: ...ve MIDI messages only PC CC Note and MIDI Clock via USB and relay them out through its 5 pin and 1 4 inch MIDI outputs 9VDC Where the MC6 receives 9v DC centre negative power EXP 1 and 2 Omniports Omn...

Page 4: ...witches B C And to bank down press A B Holding down either of these switch combinations will continuously scroll up down through the banks Each bank has 2 pages The first 6 switch presets A to F are a...

Page 5: ...n perform multiple functions For example you can map a message to a Press action and a message to a Release action When the switch is pressed a CC 1 CC 2 CC 1 message will be sent and when the switch...

Page 6: ...e sent with the first press of a switch and messages in Position 2 will be sent upon the second press of a switch Messages that get sent will alternate between positions 1 and 2 with each press Messag...

Page 7: ...osition setting Pos 1 Pos 2 or Both When Pos 1 is selected the message will only be sent when the preset is in toggle position 1 When Pos 2 is selected the message will only be sent when the preset is...

Page 8: ...ion pedal check to make sure that the Exp port you are using is set to accept an expression pedal You can access this menu by going to the Press D F Global Config Menu ExpInpt Press switch A or D unti...

Page 9: ...itches for extra control Under your Global Config settings you can configure to behave as fully programmable switches or Fixed Switches to control banking up down and page toggle Press D F GblConfg Ex...

Page 10: ...IDI configurations available MIDI Out Standard Send MIDI via the Tip and the Ring is powered MIDI Out Tip Active Send MIDI via the Tip and Ring is unpowered floating MIDI Out Ring Active Send MIDI via...

Page 11: ...C6 can receive and respond to MIDI messages from other MIDI controllers Press Up or Down to select your desired MIDI receive channel Reset Factory Reset To perform a factory reset hold down for 2 seco...

Page 12: ...t out through all MIDI outputs RmbTog Remember Preset Toggle States Across Banks Determine whether preset toggle states are remembered across banks even after you have changed banks If ON your presets...

Page 13: ...puter via Your controller will automatically be recognised by the Updater USB Click on the Upload button and open the new firmware hex file from your downloads folder The firmware update will begin au...

Page 14: ...Function CC Value Bank Up 0 any Bank Down 1 any Set Toggle All 2 127 Set Toggle Individual 2 0 Preset A 1 Preset B 2 Preset C 11 Preset L Clear Toggle All 3 127 Clear Toggle Individual 3 0 Preset A 1...

Page 15: ...Set MIDI BPM LSB 7 bits 6 0 127 Engage Expression 1 51 0 127 Engage Expression 2 52 0 127...

Reviews: