HTP-1 Installation and User Guide Release 1.8.1
Using Wi-Fi
After you have setup the HTP-1 to use a wired Ethernet connection in the BASIC SETUP section, you can
switch over to use a Wi-Fi® connection. Ensure that the antenna that came with the unit is connected to
the gold SMA antenna connector on the rear panel.
With the HTP-1 powered on, note the IP address on the
Front Panel LCD Display
and enter it into your
browser. Click the
gear
icon on the
Web GUI Home Page
to access the
System Configuration
screen.
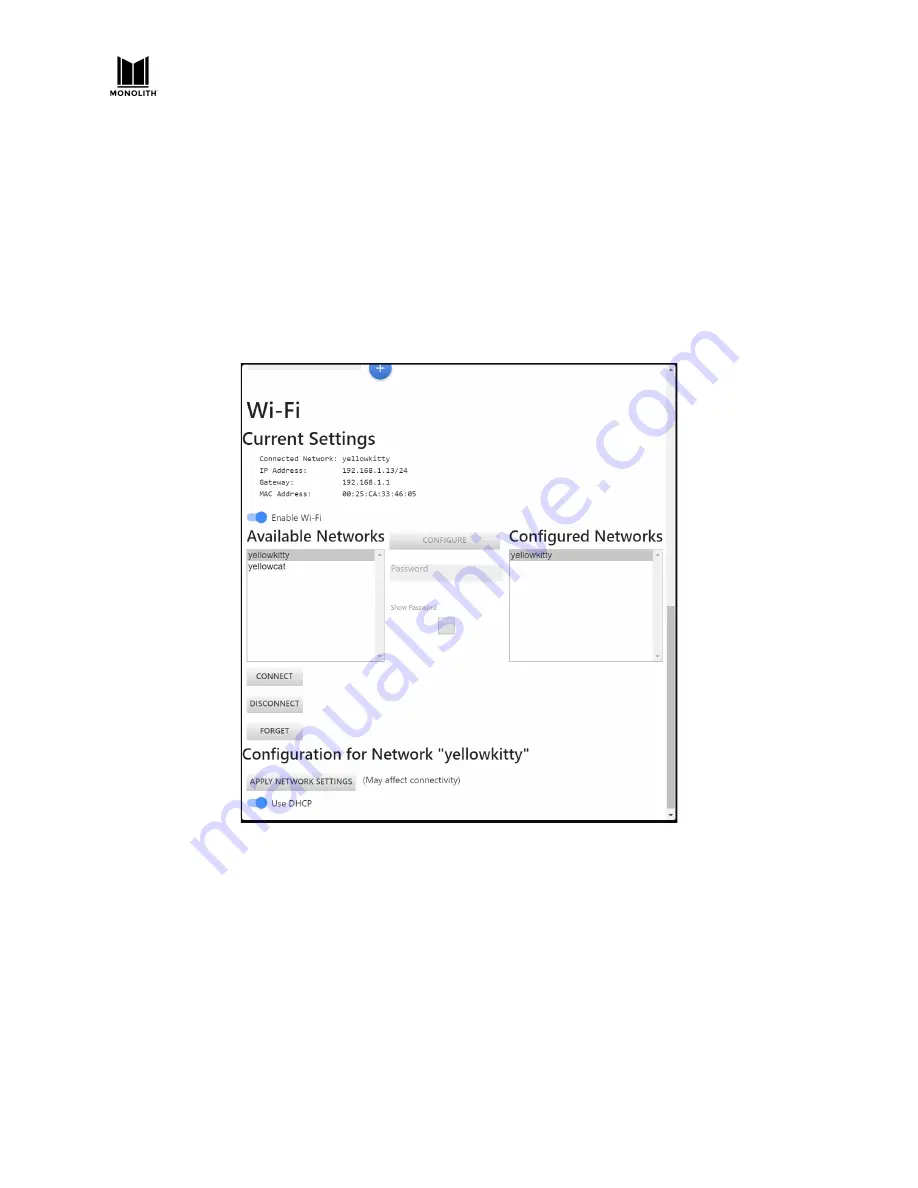
Click the
CONNECTIVITY
tab and click the
Enable Wi-Fi
slider to turn Wi-Fi on. Enter your network name
(SSID) and password or scan for networks, select your network, and enter the password. You must press
the Apply Network Settings button for these changes to take effect.
Once you have joined the Wi-Fi network, you can unplug the wired connection and use the Wi-Fi IP
address to access the Web GUI Home Page.
Dirac and Wi-Fi:
Note that third party tools like the Dirac Live calibration program may not find the
HTP-1 if both network interfaces are enabled. Choose either wired or wireless for calibration.
Choosing DHCP or Static IP Address Assignment
DHCP is typically used to automatically assign an IP address. If you wish to use a static assignment, this
can be achieved by turning off DHCP. You may lose your network connection when you change from
DHCP to a static address. The front panel will always display the correct IP address.
HTP-1 User Manual
Page 80
V1.8.1


