Moneris® Go Plus: Using Your Terminal
56
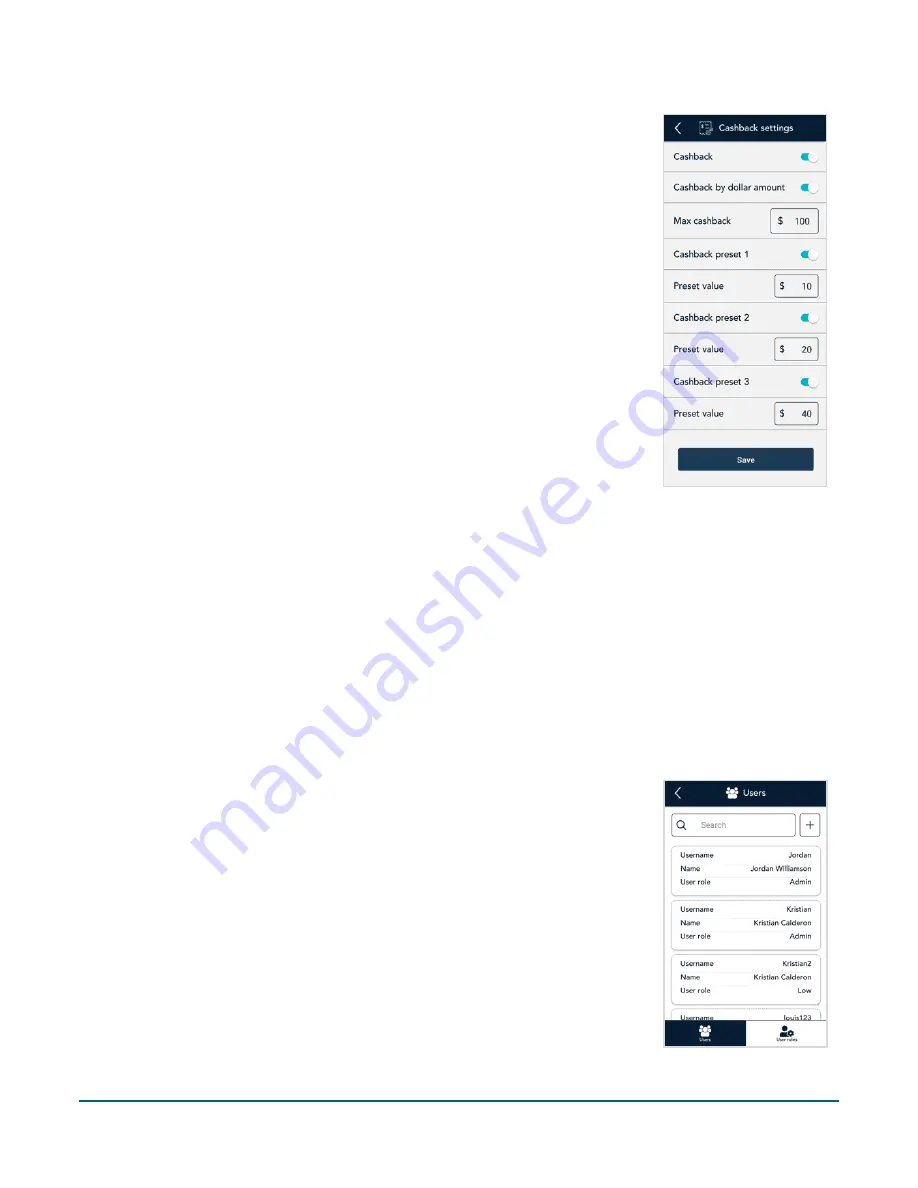
Cashback by dollar amount
. Enable this option to allow customers to
enter the dollar amount (no cents) they would like as cash back. The value
they enter must be a multiple of 5.
Max cashback
. Enter the maximum dollar amount you wish to offer to
customers as cashback; for example, $100.
Cashback preset 1.
Tap the toggle to enable this preset amount. The
Preset Value field appears. Enter a preset value that your customers can
select; for example, $20.
Cashback preset 2.
Tap the toggle to enable this preset amount. The
Preset Value field appears. Enter a preset value that your customers can
select; for example, $40.
Cashback preset 3.
Tap the toggle to enable this preset amount. The
Preset Value field appears. Enter a preset value that your customers can
select; for example, $60.
Tap
Save
when finished with Cashback settings. The application returns to
the Transaction settings screen.
3.
Tap
Save
when finished with Transaction settings.
User management
The Moneris Go Plus application allows you to maintain a secure processing environment through a combination
of users and user roles. No one can operate the terminal without signing in with a valid username and password.
Each user is assigned a user role which determines which transactions and functions the user is allowed to
perform. Continue reading to understand how to manage users and user roles.
Users
When you received the terminal from Moneris and signed on for the first time, you created a new user. You
were automatically assigned the Admin user role. You can now create new users and assign roles to them.
To view and manage users, follow these steps.
1.
On the Settings menu, tap
Users
.
The Users screen appears.
2.
Choose from the following tasks:
View and edit user details
. The application displays all users, in a compact
format. Tap a specific user to see complete details for that user, then go
to step 3.
Search for a user
. Tap the
Search
field then go to step 4
Create a new user
. Tap the
+
sign next to the Search field. The new user
screen appears. Go to step 5.


