User Manual
Please read this user manual completely before operating this DVR system and keep it in a safe place for future reference.
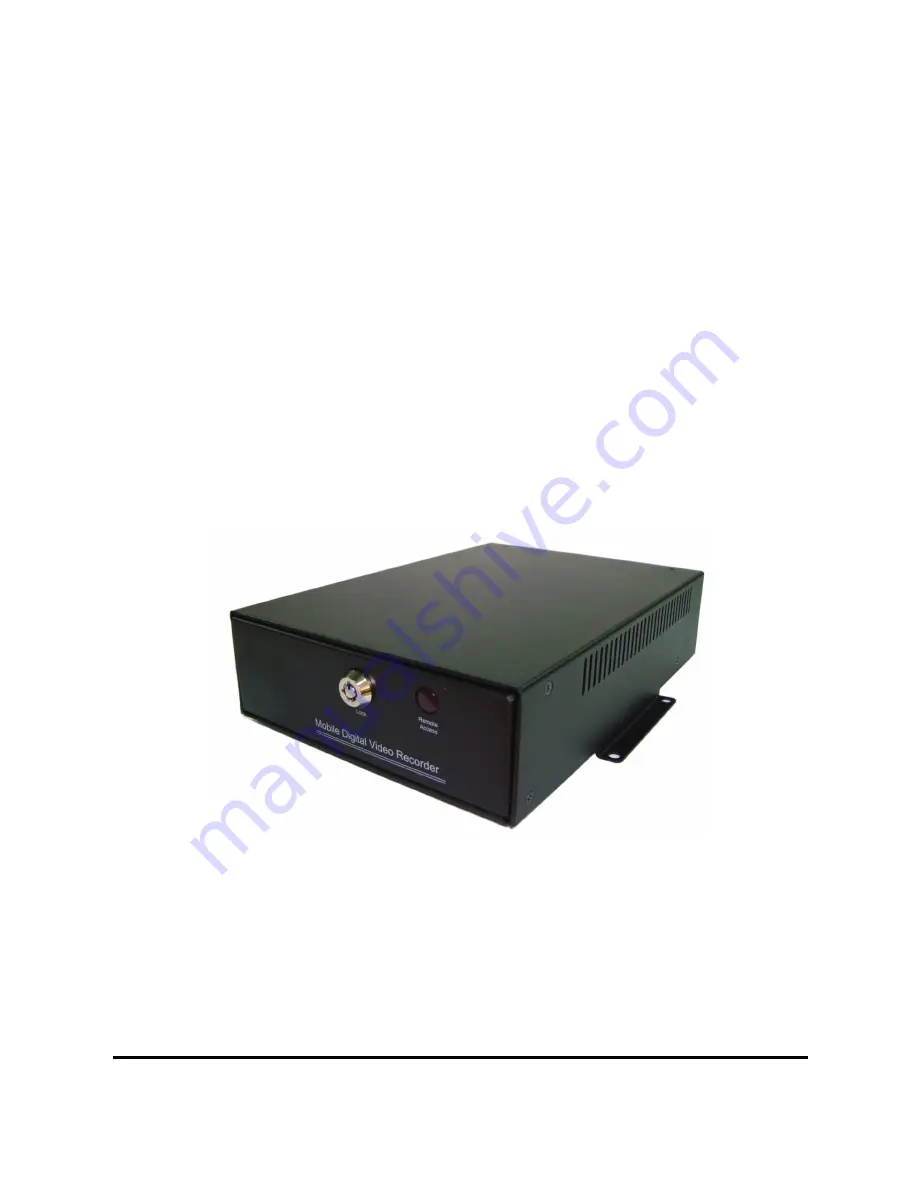
DVR42092 - 4CH MOBILE DVR
Page 1: ...User Manual Please read this user manual completely before operating this DVR system and keep it in a safe place for future reference DVR42092 4CH MOBILE DVR...
Page 2: ...on for operation 14 Screen Instruction 15 OSD Setting Operation 16 Camera Setup Operation 16 Date Time Daylight Saving Time Setting 20 HDD Setup 22 Record Setup 24 Backup Setup 27 Network Setup 28 Per...
Page 3: ...leaning 4 Do not use this product near water 5 Do not place this product on an unstable cart stand or table 6 Do not allow anything to rest on the power cords Do not place this product in a location w...
Page 4: ...cover for cable tool screws 2 x Key for front cover 2 x Shockproof rubber for HDD 4 x Screws for fixing DVR 1 x A V Input connector 1 x Driver action box Sensor signal box 2 x Fuse for DVR power cord...
Page 5: ...connector 1 x USB cable for data download mobile rack 1 x IR remote control 1 x User s Manual Optional Accessories Panic button with 5M cable G sensor box External GPS unit GPS E1 LAN box Announcement...
Page 6: ...EL AND FUNCTION Front Panel 1 Key socket 2 IR remote control receiver 3 Screw hole 4 USB Host download port 5 Record indicator 6 Power indicator 7 IR remote control receiver 8 USB Slave download port...
Page 7: ...ideo output terminal 14 Video Audio 1 4CH input socket Camera 15 Mile KM select switch 16 Driver action detecting wire connecting socket 17 Panic button connecting socket 18 Notification device connec...
Page 8: ...top 7 Value up button PTZ zoom in 8 Value down button PTZ zoom out 9 Zoom button 10 Sequence mode button 11 Copy button 12 Lock button 13 Rewind button 14 Play button 15 Pause button 16 Stop button 17...
Page 9: ...ith the package to open the front locking panel 2 Hard Disk installation Please carefully follow the steps below to install Hard Disk Drive a Fix the shockproof rubbers to 2 5 HDD two sides as the pic...
Page 10: ...Put the HDD into the DVR HDD slot Step 5 6 Close the top cover and insert the mobile rack to DVR Please refer to the installation process as the following drawing 3 System camera installation Connect...
Page 11: ...Connect the key start wire white to car key Start position The built in power supply with delay circuit board designed for DVR is to delay switch on time for 10 seconds With the delay it can avoid DVR...
Page 12: ...for wireless download and notification function 13 DC 12V output plug This plug can supply 12V DC power 14 G sensor box connection optional The G sensor box is connected to record G force event BEFORE...
Page 13: ...enter the OSD Menu for setting Then press Enter button If the screen shows below it means the password is correct If the screen shows below it means the password is incorrect Then please enter correc...
Page 14: ...o change the value for your setting 5 Press Menu button to exist for other settings Button and Function for Operation 1 MENU operation button Button Operation Remarks MENU Enter OSD Menu 1 Press Menu...
Page 15: ...rol button operation Button Operation Remarks Screen zoom Zoom in Zoom out Go up Go down Go left 1 Press ZOON button to enter the function 2 Press function button to operate 3 Press direction button t...
Page 16: ...HDD recording capacity 1 HDD information R Recycle recording Overwrite enabled O Once recording Overwrite not allowed R OW 2 Audio channel A01 Audio on channel 1 A02 Audio on channel 2 MUTE Audio mut...
Page 17: ...utton to enter menu selection mode B Use button to select CAMERA SETUP setting section C Press button to enter Camera Setup screen D Press button to enter camera title setup E Use button to select cha...
Page 18: ...kest level 63 the lightest level b Contrast Contrast is adjustable from 00 63 c Saturation Saturation is adjustable from 00 63 d Hue Hue is adjustable from 00 63 e Gain Gain is adjustable from 00 63 f...
Page 19: ...section and press button to enter MOTION DETECTION D Press RUN to enter area setting and the screen will show as listed below There are 16 x 12 blocks E Use button to select the area F Use button to a...
Page 20: ...button to select CAMERA SETUP setting section and press button to enter C Use button to select STATUS SELECT setting section and press button to enter STATUS SELECT D Use button to select the camera...
Page 21: ...ion and press button to enter C Use button to change the display format D Use button to select the other item Year Month Day Hour Minute Second E Use button to change the time digit F If you want to s...
Page 22: ...to go TIME ZONE SETUP section and press button to enter I Use button to set AUTO TIME ADJUST BY GPS ON or OFF J If the TIME ZONE is incorrect use button to GMT section and press button to adjust to c...
Page 23: ...de A Use button to select HDD REC MODE setting section B Use button to select HDD recording mode to recycle or once C Press button to exit HARD DISK SETUP HDD INFORMATION HDD REC MODE RECYCLE HDD FORM...
Page 24: ...o be formatted select YES and press button to format HDD The DVR will back to standby when the HDD is formatted 3 3 Auto Format A Use button to AUTO FORMAT setting section B Use button to select ON or...
Page 25: ...s button to enter RECORD MODE E Use to select time for setting F Use button to select the record mode Continuous Alarm Motion Non Record G Press button to exit H Press button to enter CONTINUOUS RECOR...
Page 26: ...evel record quality 4 kinds of frame rates and duration to record while detecting alarm or motion Quality Standard Normal High Super REC FPS Set up frame per second fps as below MP4L 30 60 120 fps JPE...
Page 27: ...Setup A Press button to enter menu selection mode B Use button to select BACKUP SETUP setting section C Press button to enter BACKUP SETUP select mode Please refer to the USB Download Instruction sect...
Page 28: ...ode STATIC DHCP PPPOE D Use button to select setting section E Use button to select the word digit After the setting has been made move cursor to OK and press button NETWORK SETUP TCP IP SETUP E MAIL...
Page 29: ...RAL SETUP setting section C Press button to enter PERIPHERAL SETUP select mode 7 1 Buzzer Setup A Use button to select BUZZER SETUP setting section PERIPHERAL SETUP BUZZER SETUP ALARM SETUP SEQUENCE S...
Page 30: ...deo signal is lost Alarm event Buzz when alarm input is triggered Motion Buzz when system motion is detected Time duration 1 60 to be selected C Use to select item for setting D Use button to select O...
Page 31: ...loop becomes opened again In other words if the loop keeps on closed for a period of time alarm will keep on triggering at that interval Full Full screen C Use to select item for setting D Use button...
Page 32: ...on to select PASSWORD SETUP setting section B Press button to enter PASSWORD SETUP select mode initial password 0000 C Use number button to change the password Please refer to Button Function Operatio...
Page 33: ...ection B Press button to enter GPS select mode GPS This function is available when DVR is connected with GPS unit Baud rate 2400 4800 9600 for select C Use to change the baud rate D Use to speed limit...
Page 34: ...Protocol PELCO D PELCO P Baud rate 2400 4800 9600 Speed 01 10 Please refer to PTZ Camera and Setting Control section for more details 8 4 DVR ID The DVR ID is for setting DVR ID number A Use button to...
Page 35: ...setting section B Press button to enter FACTORY DEFAULT select mode C Use button to select YES or NO D Press button to RUN this function When you press ENTER button the DVR will go back to factory de...
Page 36: ...ue 01 16 for select C Use button to select INPUT VOLUME or OUTPUT VOLUME for setting D Use button to select volume value E Press button to exit 8 8 SD Record Module A Use button to select SD RECORD MO...
Page 37: ...for setting D Use button to select AUTO or MANUAL E Use button to select FORMAT SD RUN section F Press button to format the SD G Press button to exit SD RECORD MODULE STATUS RECORDING SD SIZE 3 9 GBY...
Page 38: ...n CH3 VIDEO LOSS EVENT OFF B Use button to select ON or OFF this function C Press button to exit ALERT SETUP PANIC VIDEO STATUS OVER SPEED OVER G FORCE START RECORDING STOP RECORDING HDD FAIL DVR BOOT...
Page 39: ...de B Use button to select KEYLOCK SETUP setting section C Press button to enter KEYLOCK SETUP select mode D Use button to select YES or NO E Press button to exit After exit the OSD Main Menu press the...
Page 40: ...start day and time which you want to play back then move to RUN and press ENTER button to playback 2 Playback by Event a Press PLAY button you can select the PLAY BY EVENT from SEARCH menu SEARCH TIME...
Page 41: ...VENT is recorded in the HDD It can be searched for playback when the HDD is removed and installed into the other DVR in same type EVENT SEARCH YY MM DD HH MM SS 000 10 07 20 12 00 30 R00 001 10 07 20...
Page 42: ...press FF again the speed will be changed to x8 If you want to return to normal playback speed just press Play button FAST REW Fast Rewind Press the FB once the backward speed will be changed to x2 to...
Page 43: ...no 1 CH2 camera as ID no 2 This way it will be more convenient to control your PTZ camera Follow the figure to connect all of cameras RS485 TX and RX together then insert RS485 TX into the RS485 TX t...
Page 44: ...elect speed to match your PTZ camera setting 4 PTZ Control How to move PTZ camera 1 Select channel which you want to control 2 Press PTZ pause button into PTZ mode 3 Press UP button to move camera up...
Page 45: ...and the screen will show CONNECT OK Please copy the recorded files to PC Please note that the PC should be Window 2000 XP version Recorded data downloaded speed via USB Salve port 1 The system is des...
Page 46: ...is finished the Bi sound will be heard then it will continue to download and show the followings on screen 3 When the file is downloaded completely the DVR will emit continuous Bi sound WAIT INITIAL 1...
Page 47: ...ed 4 If no you will hear 5 short buzzing every 5 seconds Press STOP button to exit Then go back to Step 1 5 If yes DVR will start download process Under such circumstances the Record LED will be in fl...
Page 48: ...low 4CH E120 50 43 24 A01 N21 54 15 38 01 HD1 68 R OW ID201005068 SA 02 03 BR LT BU D 1 10 05 06 04 0MPH H SD 08 56 50AM CON 1 The location LT Left Turn will show RT when right turn signal lights up 2...
Page 49: ...socket is designed for connect to car monitor as assistance for driver Position Speed Head Direction Record in DVR Function Car speed position and head direction will be recorded in your mobile DVR T...
Page 50: ...nload is completed d Select CLOSE after download is completed The download LED will be off after download is completed e The download file will be saved under GPS download file user can open the file...
Page 51: ...SOFTWARE OPERATION Install PC player software Open the PC Player Software burnt on CD and install it on your PC When above installation is finished the Viewer icon will be showed on PC desktop and rea...
Page 52: ...follow Start playback process to play the DVR files b Connect SATA HDD tray with built in USB dongle by USB connecting cable b 1 Remove HDD tray from the DVR b 2 Connect one end of the USB connecting...
Page 53: ...52 Control panel function Open new file Save as JPEG Create Media File Copy File to PC On Screen Display Auto Browse Account Management...
Page 54: ...ed data is abnormally put in or removed Press Play button to continue the playback Enhance video quality Information related to the current software or file Play Volume adjustment or activate mute pla...
Page 55: ...54 6 Find the DVR device and select one file and then press OPEN 7 Highlight desired time and click Open...
Page 56: ...o play 10 Press button 11 Click to play video How to archive your event data Once the file is opened after follow Steps 1 10 of Start playback as mentioned above please follow the steps below to archi...
Page 57: ...select 5 From the noted times slide the time slider to the beginning time 6 Now select Set time parallel to Start Time 7 Now move the time slider to the end of the event 8 Now select Set time paralle...
Page 58: ...u created and rename the file Make sure the file name ends with dvr How to create an AVI file Once the file is opened after follow Steps 1 10 of Start playback as mentioned above please follow the ste...
Page 59: ...ick Set End 5 Click and choose the location you want to save 6 Name your file 7 Click This may take several minutes depending on the file size to be created 8 You will see the percentage completed Whe...
Page 60: ...rs are subject to change without prior notice MOLPIR spol s r o Hrachov 30 821 05 Bratislava Slovakia tel 421 2 4319 1218 fax 421 2 4319 1220 www molpir com info molpir com shop molpir com NU_DVR42902...