OVA7000 Routine Service Manual V1.5
7
This manual is a simple step-by-step guide to routine servicing of the OVA7000. For more detailed information
and instructions on more advanced functions, please refer to the other manuals supplied with the instrument – the
OVA7000 Operation Manual and the OVA7000 Reference Manual.
The majority of OVA maintenance operations require user interaction with the OVA Application software while
the user also interacts with the OVA unit itself. The optional OVA7000 Set Top Box (or VGA monitor with a
mouse) is the easiest solution; otherwise a laptop computer with VNC Viewer software will need to be
connected.
The OVA7000 Set Top Box is a touchscreen monitor without a physical keyboard, however a virtual onscreen
keyboard is accessible by clicking on the
icon on the quick launch taskbar at the bottom of the screen.
2.1
Powering Up and Communicating with the
OVA7000
Caution: Always ensure that both inner and outer reference chambers are full, and there is liquid covering the
working electrode inside the cell. Failure to do this may cause an alarm condition, or damage to the electrode
.
To power up and communicate with the OVA7000.
1.
Switch on the external supply power to OVA7000 and press the power button. The power button will then
glow green to indicate that power is being supplied, and the OVA7000 will take a few minutes to start up.
2.
After the front display shows the System Ready message, establish a network connection using a laptop or
PC if one doesn’t already exist (see Networking section 4.3 of the OVA Reference Manual).
3.
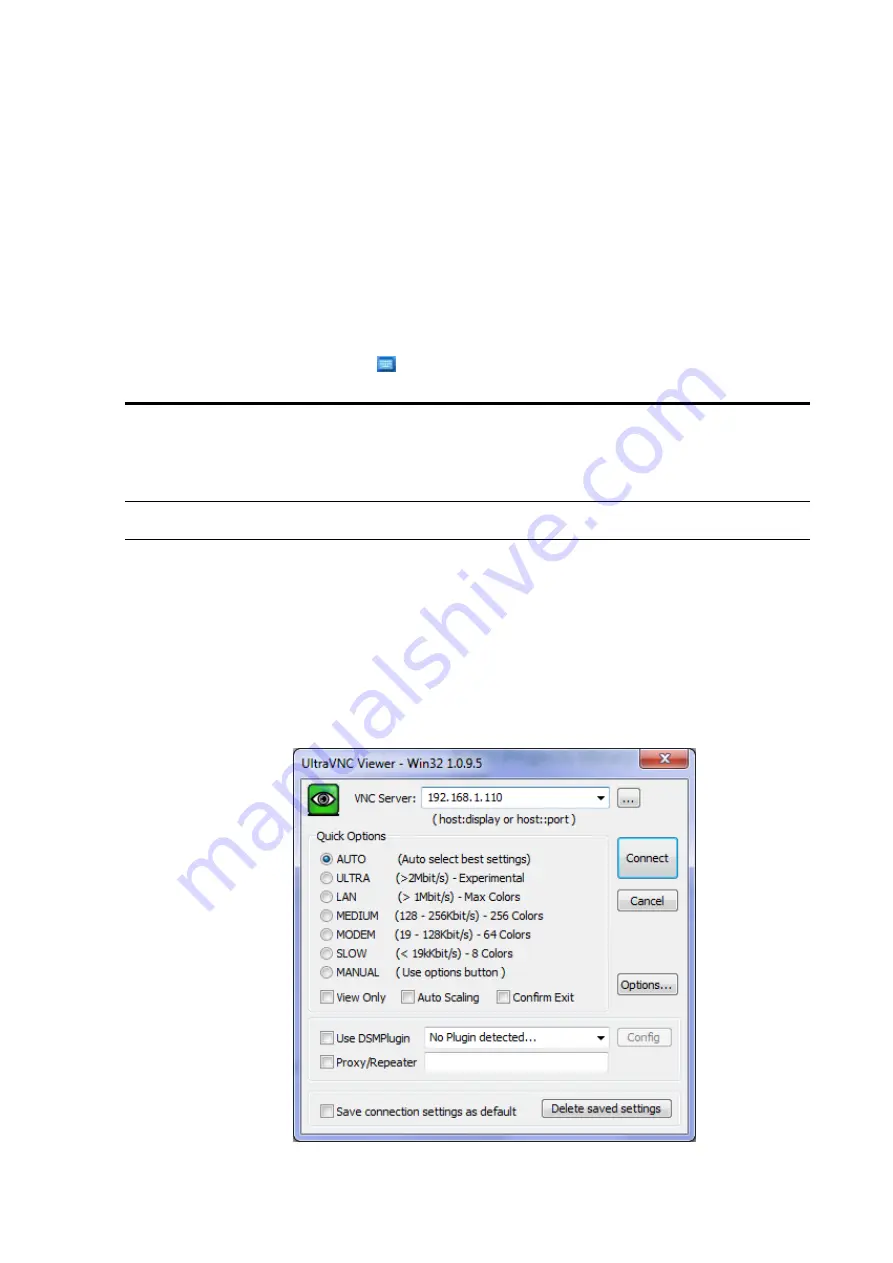
Log into the OVA7000 via the remote desktop connection, using the laptop or PC running Ultra VNC
Viewer. Enter the IP address of the OVA7000 (and the port number if the network requires) and press
connect. After establishing contact with the OVA7000’s Ultra VNC Server the Viewer will be asked to
enter a password.
Figure 2. Ultra VNC Viewer Screen
2
Getting Started


