CHECKING THE POWERBANK’S POWER LEVEL
•
When there is no device connected to the powerbank, press
the power button once. The LEDs will light up to indicate the
charge level.
•
One LED indicates up to 25% charge, two LEDs up to 50%, 3
LEDs up to 75%, 4 LEDs up to 100%.
•
In 35 seconds the powerbank will automatically turn off to
conserve power.
•
To turn off the LEDs before the 35 seconds, double tap the
power button
Note on the IP64 rated housing: IP rated as "dust tight"
protected against water splashing from any direction when the
port cover is in place. Do not immerse in water.
Note on solar charging: Avoid prolonged exposure to heat as
it may damage the battery, do not place on a car dashboard or
other surfaces that can become hot to the touch.
Specifications
Capacity: 10,000mAh 37Wh
USB Out 1 & 2: 2.1A (10.5W) Total
Micro USB in: 5V/2A (10W)
Solar Panel: 5V/200mA
Operating Temperature: 0 - 45C (32 to 113F)
Need help? We are here to help with any product questions
you may have, please contact customer service at
[email protected] or 1-800-838-3200 from 9AM – 6PM
Mon – Thu, 9AM – 3PM Fri, Eastern time.
LIMITED WARRANTY
Thank you for purchasing a ToughTested® product from Mizco
international, Inc.
We want you to enjoy this product without any problems.
However, in the unlikely event that it malfunctions, we will
either repair or replace it as part of the product’s limited 5 year
warranty.
If the product has malfunctioned during normal use, the
responsibility of ToughTested® is limited solely to the repair or
replacement, at its option, of the product. This warranty does
not extend to damage or failure that results from misuse,
neglect, accidents, alteration, abuse, improper installation or
maintenance. This warranty does not extend to equipment
used with the product.
All brands represented herein are registered trademarks of
their respective manufacturers. Design and specifications are
subject to change without notice.
©Mizco International, Inc. All rights reserved.
All trade names are registered trademarks of the respective
manufacturers listed.
Mizco International Inc., Cranford, NJ 07016
[email protected] www.mizco.com
www.toughtested.com
ENGLISH
ENGLISH
ENGLISH
ENGLISH
ENGLISH
POWER PACK
BLOC-PILS
USER GUIDE
SOLAR10
TT-PB-SL10
TT-PB-E10
USING THE POWERBANK
•
Connect your device to one of the USB A ports
•
You can charge multiple devices at the same time, though
charging may be slower.
•
Press the power button to start charging.
•
Your Smartphone power indicator will tell you that it is charging.
•
When the last LED is blinking on the powerbank, it needs to be
recharged.
OPERATING THE PANEL LIGHT
(For TT-PB-SL10 only)
•
Press and hold the power button for three seconds to turn the
light on.
•
Press and hold the power button again for three seconds to
turn it off.
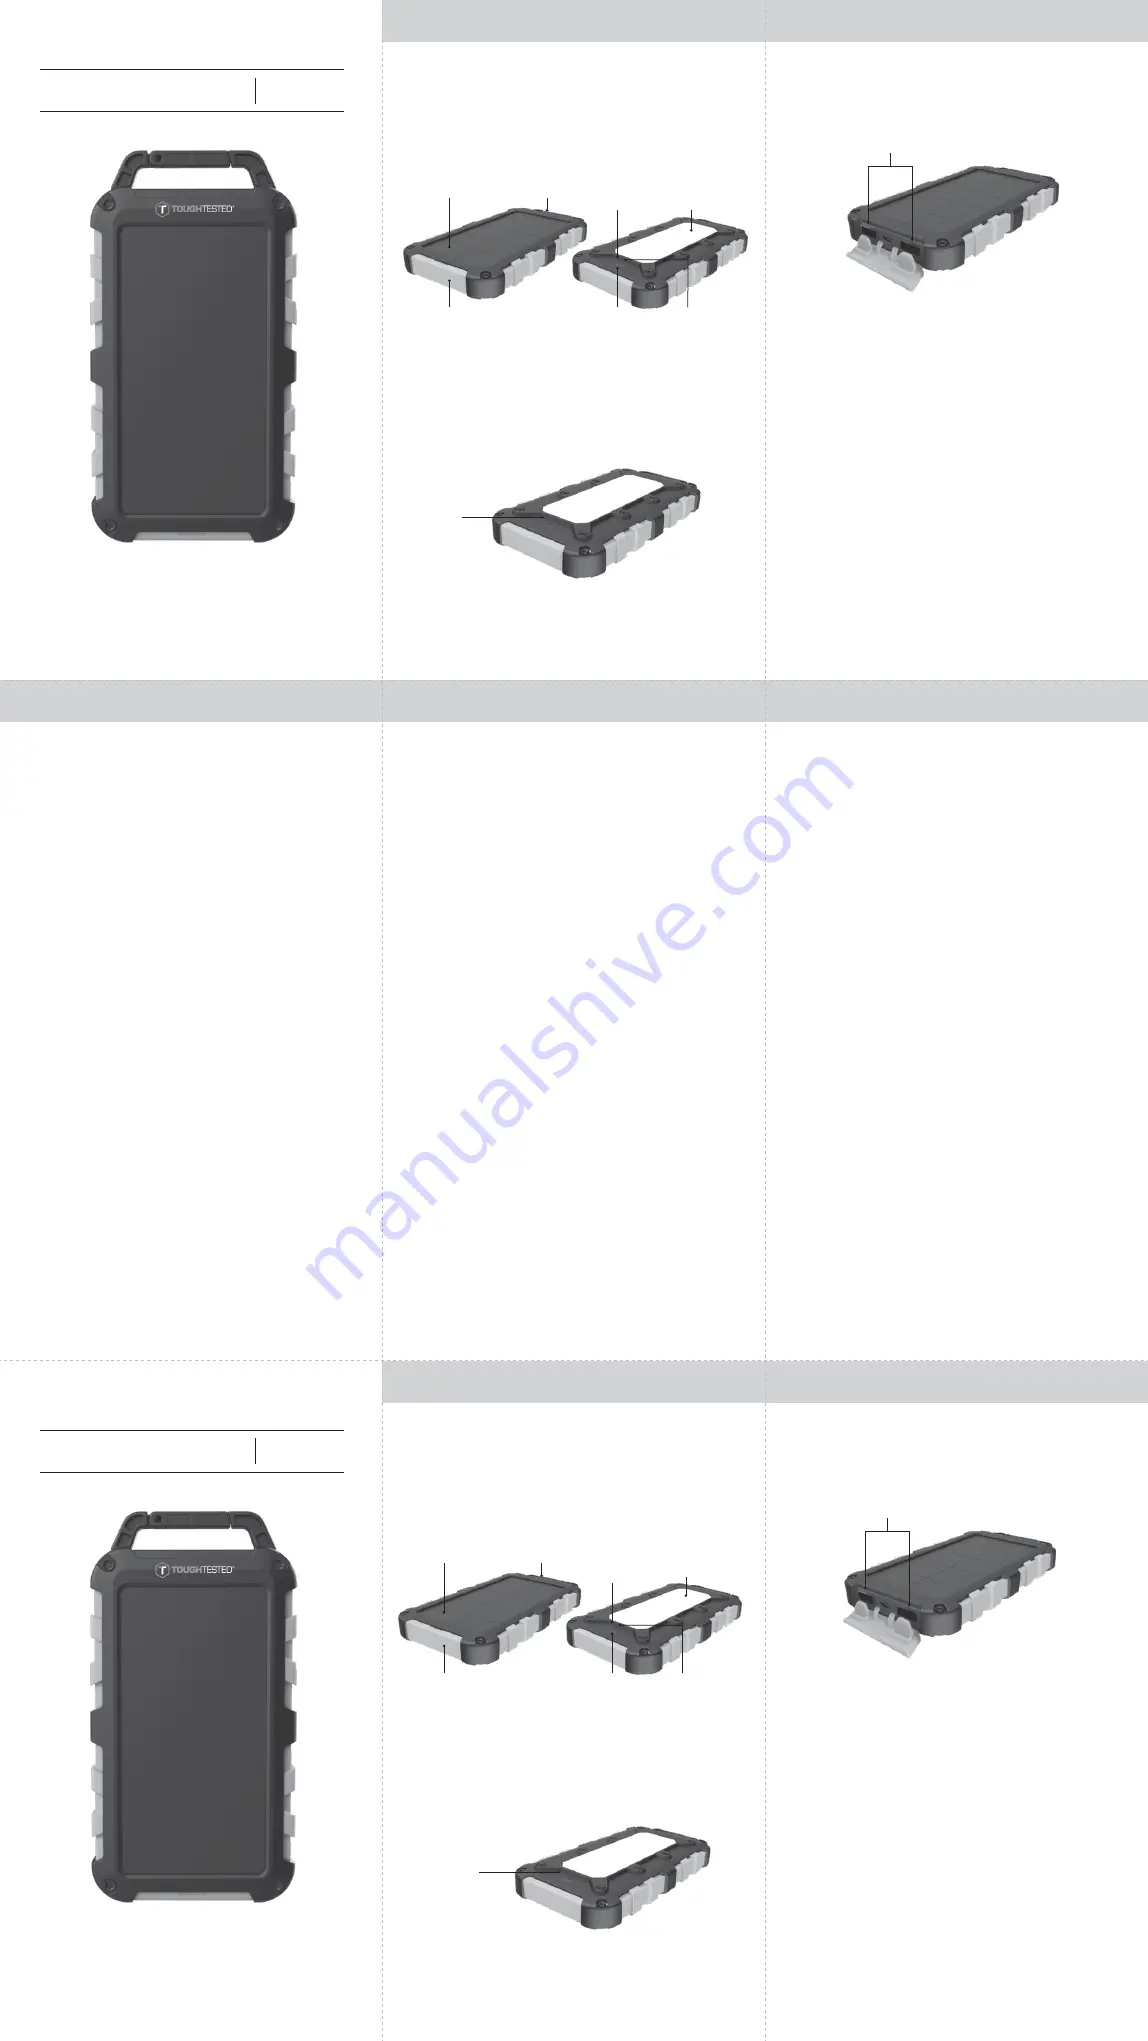
USB A ports
CHARGING THE POWERBANK
•
Pull the rubber end cap down.
•
Connect the included cable into the Micro USB port (center port).
•
Connect the other end to a USB power source such as a wall charger.
•
For faster charging, use a USB power source of 2 amps (10 watts).
•
To fully charge the powerbank: Let charge until all 4 LEDs are lit. This
can take up to 6 hours with a 2 amp power supply, 12 hours with a 1
amp power supply.
•
For solar charging place the solar panel facing direct sunlight.
•
The red solar charge LED next to the power button will illuminate.
•
Solar charging is best used for emergency purposes only.
•
5 hours of solar charging will provide enough power to
charge a Smartphone about 30%.
Light panel
(For TT-PB-SL10 only)
Rubber end cap
Power button
Red solar
charge LED
Red solar
charge LED
Power LEDs
Solar panel
Built-in carabiner clip
FRANÇAIS
FRANÇAIS
CHARGEMENT DU CHARGEUR PORTATIF
•
Abaissez le capuchon de caoutchouc.
•
Branchez une extrémité du câble fourni sur le port micro-USB (situé
au centre).
•
Branchez l’autre extrémité sur une source d’alimentation USB telle
qu’un chargeur mural.
•
Pour une charge plus rapide, utilisez une source d’alimentation USB de
2 ampères (10 watts)
•
Pour une charge complète du chargeur portatif : Laissez charger
jusqu’à ce que les quatre voyants soient allumés, ce qui peut
prendre usqu’à 6 heures avec un courant de 2 A ou 12 heures avec
un courant de 1 A.
•
Pour une recharge solaire, orientez le panneau solaire directement
vers la lumière du soleil.
•
La luz LED roja de carga solar junto al botón de encendido se
encenderá.
•
La recharge solaire doit être privilégiée pour les situations
d’urgence seulement.
•
Une recharge solaire de 5 heures fournira suffisamment
d’énergie pour charger un téléphone intelligent à 30 % de
sa capacité environ.
Panneau lumineux
(Pour TT-PB-SL10
seulement )
Le capuchon de caoutchouc
Bouton
d’alimentation
Voyant rouge
de recharge
solaire
Voyant rouge
de recharge
solaire
Voyants indicateurs
d’alimentation
Panneau solaire Mousqueton intégré
POWER PACK
BLOC-PILS
GUIDE D’UTILIZATION
SOLAR10
TT-PB-SL10
TT-PB-E10
UTILISATION DU CHARGEUR PORTATIF
•
Branchez votre appareil sur un des ports USB A
•
Vous pouvez charger plusieurs appareils en même temps,
cependant l’opération sera plus lente.
•
Appuyez sur le bouton d’alimentation pour commencer
la charge.
•
Le voyant d'alimentation de votre téléphone intelligent
indiquera que la charge est en cours
•
Lorsque le dernier voyant sur le chargeur portatif clignote, cela
signifie qu’il est temps de le recharger.
UTILISATION DU PANNEAU LUMINEUX
(Pour TT-PB-SL10 seulement )
•
Appuyez sur le bouton d’alimentation et maintenez-le enfoncé
pendant trois secondes pour allumer le voyant.
•
Appuyez sur le bouton d’alimentation et maintenez-le enfoncé
de nouveau pendant trois secondes pour l’éteindre.
Les ports USB A


